Uploading Files to LiveRamp
(1-2 Days)
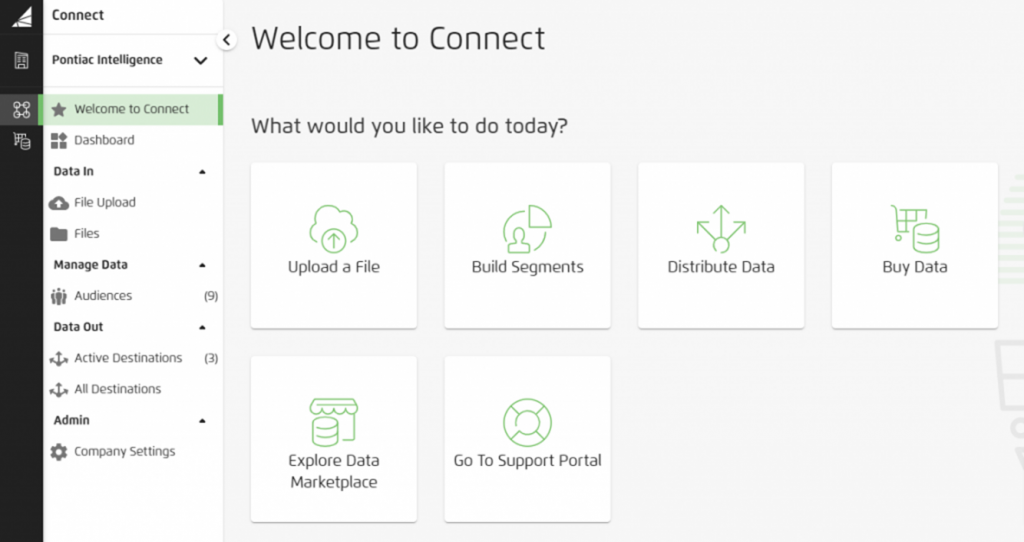
- Once you have signed into your account, you should be brought to this page:

- You are now ready to upload data files into the audience your AM created for you. From the Homepage (which you can access by clicking on the triangle symbol next to ‘Connect’ in the upper-left corner, pictured above), select ‘Upload a File’ and follow the prompt.
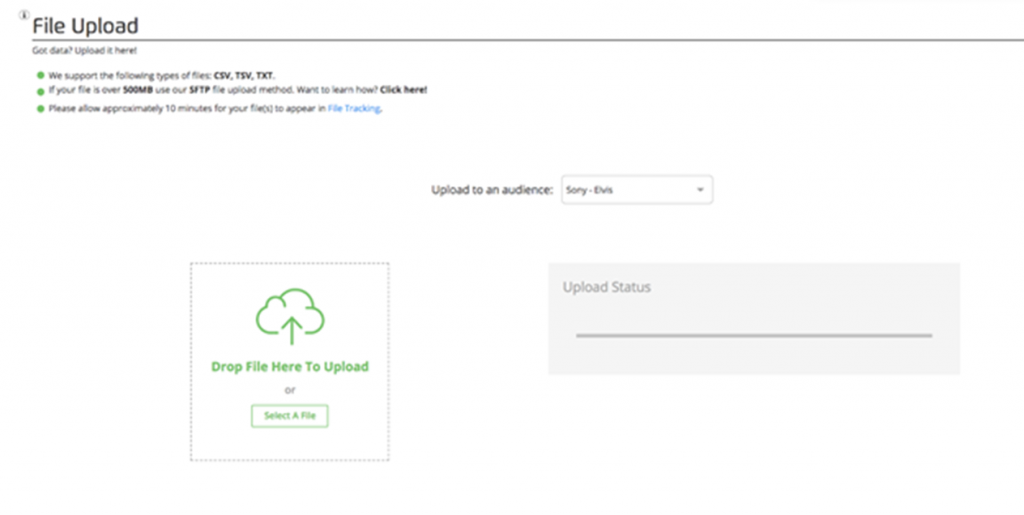
- Within the File Upload page, select the name of your audience from the drop-down ‘Upload to an Audience’ menu. Your first Audience folder will be created for you when the account is created. Each file uploaded to an Audience must contain the same data columns, as this is mapped for matching with the first file. If you need to upload files with different columns, your Account Manager can create additional Audience folders for you.

- Once you have selected the audience, a box will appear prompting you to either drag in or select the appropriate file. You should proceed to upload the desired csv, tsv, or txt.
- Once you select your file, click ‘Upload File’ in the ‘Upload Status’ window to begin processing.
- Once ‘Upload Status’ says the file upload is complete, you will have the option to select a button that says, ‘Go to Audience’. If you click this immediately after uploading, another tab will open in your window to bring you to the ‘Manage’ page for that audience. You will likely not see any segments listed within the audience as can take 24-48 hours for the newly uploaded segment to appear.