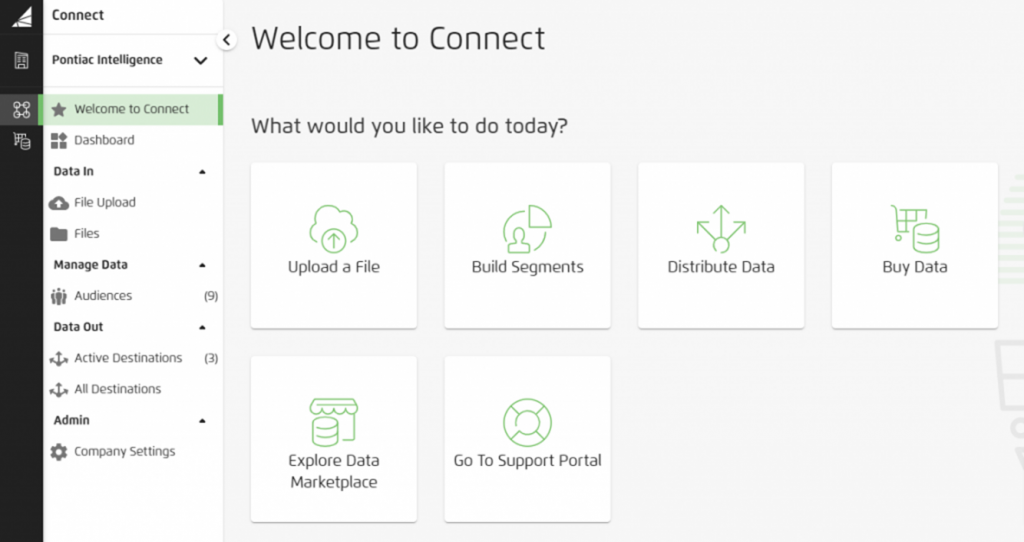
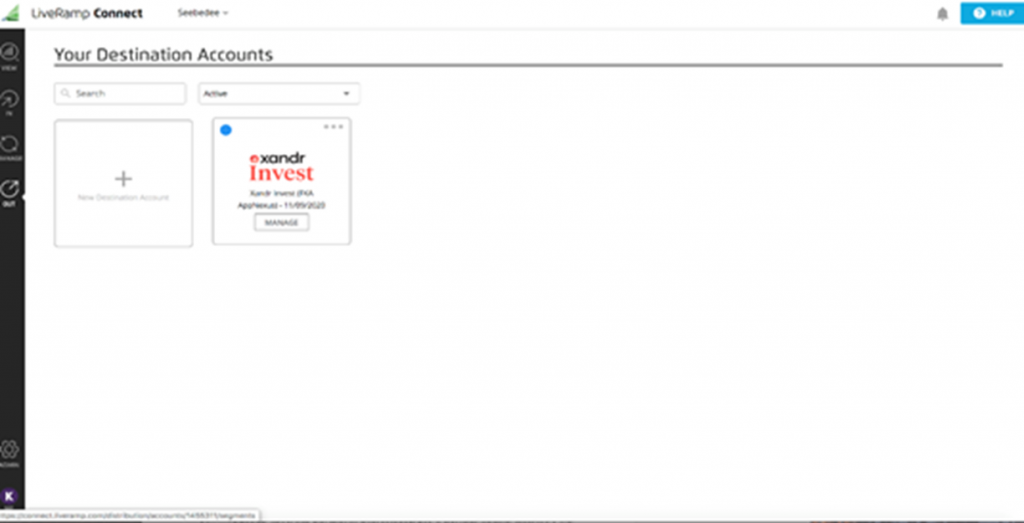
Pontiac Wiki Pontiac Wiki

LiveRamp Tutorial

LiveRamp Tutorial

  • LiveRamp Overview
  • LiveRamp Terminology
  • Account Set-up
  • Process Overview
  • LiveRamp File Format
  • Uploading Files to LiveRamp
  • Mapping Process
  • Distributing Files to Xandr
  • Audience Onboarding & Matching
  • Removing Segments that are no longer in use
  1. Home
  2. Origin Documentation
  3. LiveRamp Tutorial

LiveRamp Overview

LiveRamp is a data management platform (DMP) that allows you to upload personally identifiable information (PII) that you have about your audience. This can include:

  • Name and postal addresses (NAP)
  • Email addresses
  • Phone numbers
  • Client customer IDs (your internal customer IDs)
    • This functions as an audience key that allows LiveRamp to delete duplicates in an uploaded file. If there is no customer ID, LiveRamp will use either the email addresses or NAPs provided.

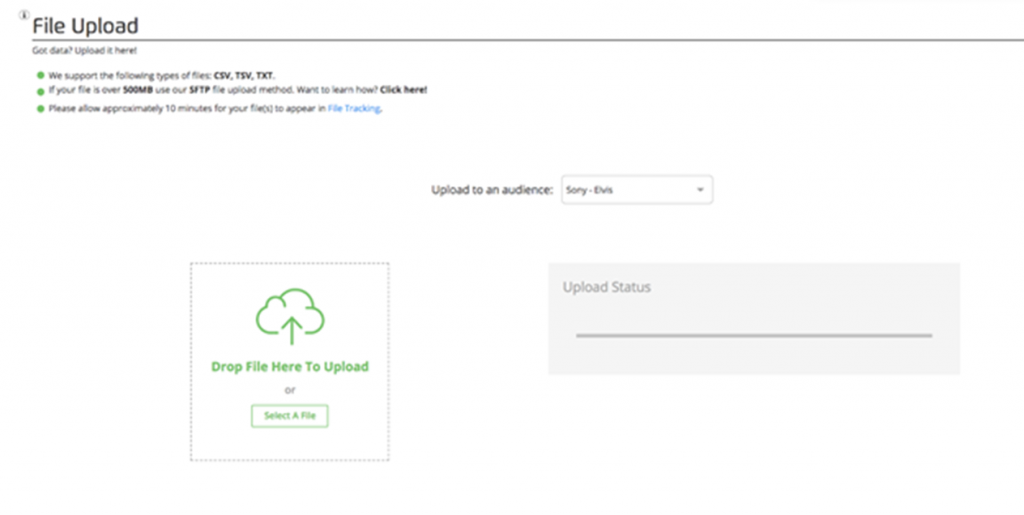
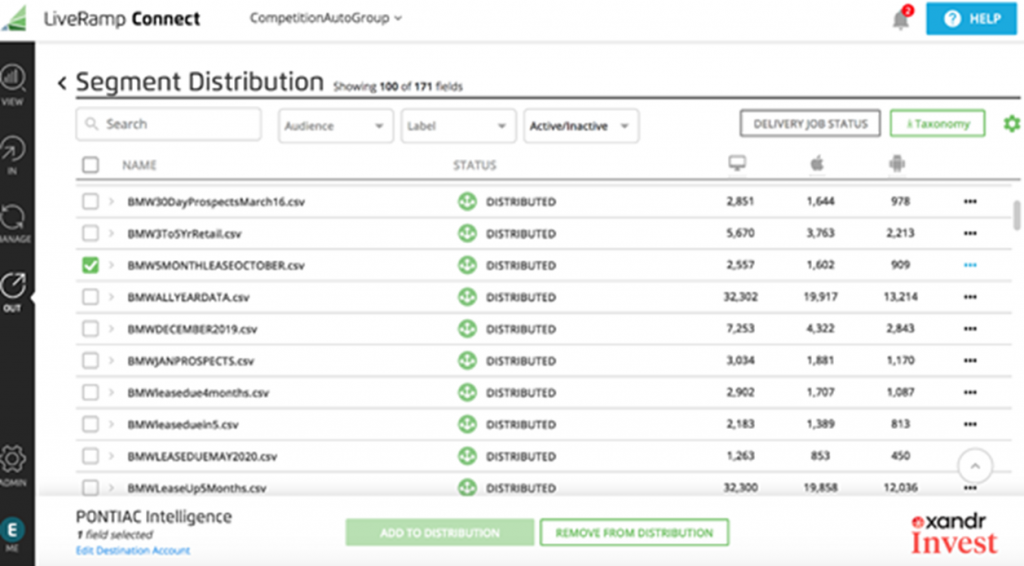
You can upload a csv, tsv, or txt file containing information into LiveRamp, which will match the submitted information with cookies and allow you to target these individuals across the Internet through Pontiac.
We recommend clients allow for a two-week lead time when working with LiveRamp. The maximum number of records allowed per seat at any given time is 300,000. Please do no not send any files or screenshots of files containing PII through the Help Center or to anyone on the Pontiac team. 

LiveRamp Terminology

  • File: A set or list of PII uploaded to LiveRamp as a CSV, TSV or TXT file. Each file uploaded will be converted into an Onboarded audience in Pontiac.
  • Audience: In the LiveRamp dashboard, an ‘Audience’ is a folder to which files with the same type of PII and column headers can be uploaded. Your first Audience folder will be created for you when the account is created. The folder will be ‘mapped’ based on the column headers of the first file uploaded. All subsequent files uploaded to an Audience will need to contain the same column headers. Notify your Account Manager if you need a new Audience folder created for a different type of data.
  • Mapping: This process is done manually by the LiveRamp team to determine which PII identifiers are in each column of the file, allowing the data to be properly ingested.
  • Matching: The process of matching personally identifiable information (PII) to the cookies for that individual, allowing them to be targeted on the open web.
  • Distribution: The publishing process through which data is delivered to Xandr and subsequently made available for targeting in Pontiac.
  • Records: The number of unique individuals in a file. There is a maximum of 300,000 distributed records per LiveRamp account at any given time.

Account Set-up

  1. To start using a LiveRamp account, all Pontiac users will need to sign a LiveRamp user agreement. This agreement can be found in the ‘Admin’ tab under ‘Seat Settings’ in the ‘Addendum’ section. To sign this agreement, check the ‘Accept LiveRamp Addendum’ box at the bottom of the contract and click ‘Submit’. By checking this box, you are agreeing to the terms of the agreement.
  2. Once you have completed these steps, reach out through the Help Center with the email address you would like to be used for the account. The Pontiac Team will create an account on your behalf using the email address provided.  Once your account is set up, you will receive an email from LiveRamp asking you to follow a link for creating a Password. After establishing your Password, you will be able to sign into LiveRamp with your email address and new password.

You can download and review the LiveRamp addendum here: LiveRamp Addendum

Process Overview

We recommend clients allow for at least a two-week lead time when working with LiveRamp.

  • 1-2 days to upload the files:
    • Once you upload the file there will be a delay in this file showing up in the Audience folder, it may take up to 48 hours to appear.
  • 5-8 days for the files to be mapped:
    • This is a manual process, so this stage can take some time. Typically, this takes 5-8 days for the first file in an Audience, but it is usually quicker for subsequent files.
  • 1-2 days for distribution to Xandr:
    • Once mapping is completed you will get a notification email to distribute the audience. Select the file(s) that you wish to send to Xandr. After you have selected your desired files, select ‘Add to Distribution’ at the bottom of the page and notify your Account Manager. It will take 1-2 days for the segment to appear in Xandr.
  • 1-2 days for the file to be onboarded, matched & fully populated in Pontiac:
    • Once the segment appears in Xandr, your Account Manager will onboard the audience to Pontiac. While the audience will be available to associate to a Line, it may still be in the matching stage and could take an additional 1-2 days to fully populate in Xandr/Pontiac.

LiveRamp File Format

Files uploaded to LiveRamp must be 500MB or smaller and a CSV, TSV or TXT with no spaces in the File Name. There are 3 types of PII that can be uploaded:

  1. Emails
  2. Phone numbers
  3. Name and Postal address

You can include one, two, or all three of these. But if you want to use Name and Postal address you must include all of the columns listed under ‘Name and postal address’ below (full name and full address).
Use the following column headers to identify the type of PII in your file:
Name and postal address:

  • FIRSTNAME
  • LASTNAME
  • ADDRESS1
  • ADDRESS2 (optional)
  • CITY
  • STATE
  • ZIP
  • ZIP4 (optional)

Plaintext email address:

  • EMAIL1
  • EMAIL2
  • EMAIL3

MD5 hashed email address:

  • MD5EMAIL1
  • MD5EMAIL2
  • MD5EMAIL3

SHA-1 hashed email address:

  • SHA1EMAIL1
  • SHA1EMAIL2
  • SHA1EMAIL3

SHA-256 hashed email address:

  • SHA256EMAIL1
  • SHA256EMAIL2
  • SHA256EMAIL3

Plaintext phone number:

  • PHONE1
  • PHONE2
  • PHONE3

SHA-1 hashed phone number:

  • SHA1PHONE1
  • SHA1PHONE2
  • SHA1PHONE3

Customer ID (used to de-duplicate rows):

  • CCID

See a sample 100 rows of fake data here: Sample File

Uploading Files to LiveRamp

(1-2 Days)

  1. Once you have signed into your account, you should be brought to this page:
  1. You are now ready to upload data files into the audience your AM created for you. From the Homepage (which you can access by clicking on the triangle symbol next to ‘Connect’ in the upper-left corner, pictured above), select ‘Upload a File’ and follow the prompt.
  2. Within the File Upload page, select the name of your audience from the drop-down ‘Upload to an Audience’ menu. Your first Audience folder will be created for you when the account is created. Each file uploaded to an Audience must contain the same data columns, as this is mapped for matching with the first file. If you need to upload files with different columns, your Account Manager can create additional Audience folders for you.
  1. Once you have selected the audience, a box will appear prompting you to either drag in or select the appropriate file. You should proceed to upload the desired csv, tsv, or txt.
  2. Once you select your file, click ‘Upload File’ in the ‘Upload Status’ window to begin processing.
  3. Once ‘Upload Status’ says the file upload is complete, you will have the option to select a button that says, ‘Go to Audience’. If you click this immediately after uploading, another tab will open in your window to bring you to the ‘Manage’ page for that audience. You will likely not see any segments listed within the audience as can take 24-48 hours for the newly uploaded segment to appear.

Mapping Process

(5-8 Days)

The first file uploaded to each audience is mapped to determine which data points are in each column of the document so that the PII can be properly ingested. This is a manual process completed by LiveRamp and it can take up to 5-8 days.

LiveRamp will send you an email when your file has been mapped and is ready for distribution. If you see delays in this process that exceed 8 days, let your Account Manager know and they will contact LiveRamp support to try to expedite this process.


Distributing Files to Xandr

 (1-2 Days)

  1. In order to publish your segment(s), you must configure Xandr as a destination. This only needs to happen once.  From the menu, select ‘Data Out  – ‘Active Destinations’ ‘New Destination Account’.
  2. You will be brought to a page listing many possible destinations. Use the search bar to look up ‘Xandr Invest’.
  1. When you hover over the icon, you will be prompted to ‘Activate’ the destination.
  1. You will be brought to a page titled ‘Configure Properties’. In the ‘Destination Specific Settings’, enter the client ID ‘3344’.
  2. After you have set up Xandr as a destination, you will be able to push your audience segment to distribution. Select ‘Active Destinations’ from ‘Data Out’ in the sidebar.
  1. Select ‘Manage’ from within the Xandr box
  2. Select the file(s) that you wish to send to Xandr. After you have selected your desired files, select ‘Add to Distribution’ at the bottom of the page. From distribution, it will take 1-2 days for the segment to appear in Xandr.


Audience Onboarding & Matching

 (1-2 Days)

  1. Once you have added a segment to distribution for Xandr, reach out to the Pontiac Team through the Help Center to say that you have pushed a segment. Please provide the segment name.
  2. The Pontiac Team will inform you when the file has been onboarded to your Pontiac seat.
  3. You will now have access to your audience Segment within the Pontiac console. Your audience will be located within the Audiences tab under ‘On Boarded.’

Note, while the segment may be available in Pontiac rather quickly, the file may still be in the matching process and the segment may take 1-2 days to fully populate in Xandr/Pontiac.

Removing Segments that are no longer in use

Any segments that are no longer being used in the Pontiac console or in LiveRamp should be removed from distribution. Your Account Manager will send a friendly reminder at the end of each month, reminding you to remove the segments that are no longer being used. The maximum number of records allowed per seat at any given time is 300,000.

To remove the segments from distribution, click on the out section in LiveRamp, and then click the ‘Manage’ button in Xandr Invest. There you will see all your segments that have been uploaded. Click the box next to the segment that you wish to remove from distribution. At the bottom, there will be a green button that states, remove from distribution. Once you click ‘remove,’ the process will be complete.

© 2025 Pontiac Wiki Sec · All Rights Reserved · Developed by RDK

  • Contact Us
  • Privacy Policy
  • Terms & Conditions
  • Pontiac.media