Pontiac Wiki Pontiac Wiki

Creative Upload

Creative Upload

  • Creative Upload Process
  • Creative Click URLs
  • Pixeling Creatives
  • HTML5 Upload Error
  1. Home
  2. Origin Documentation
  3. Creatives
  4. Creative Upload

Creative Upload Process

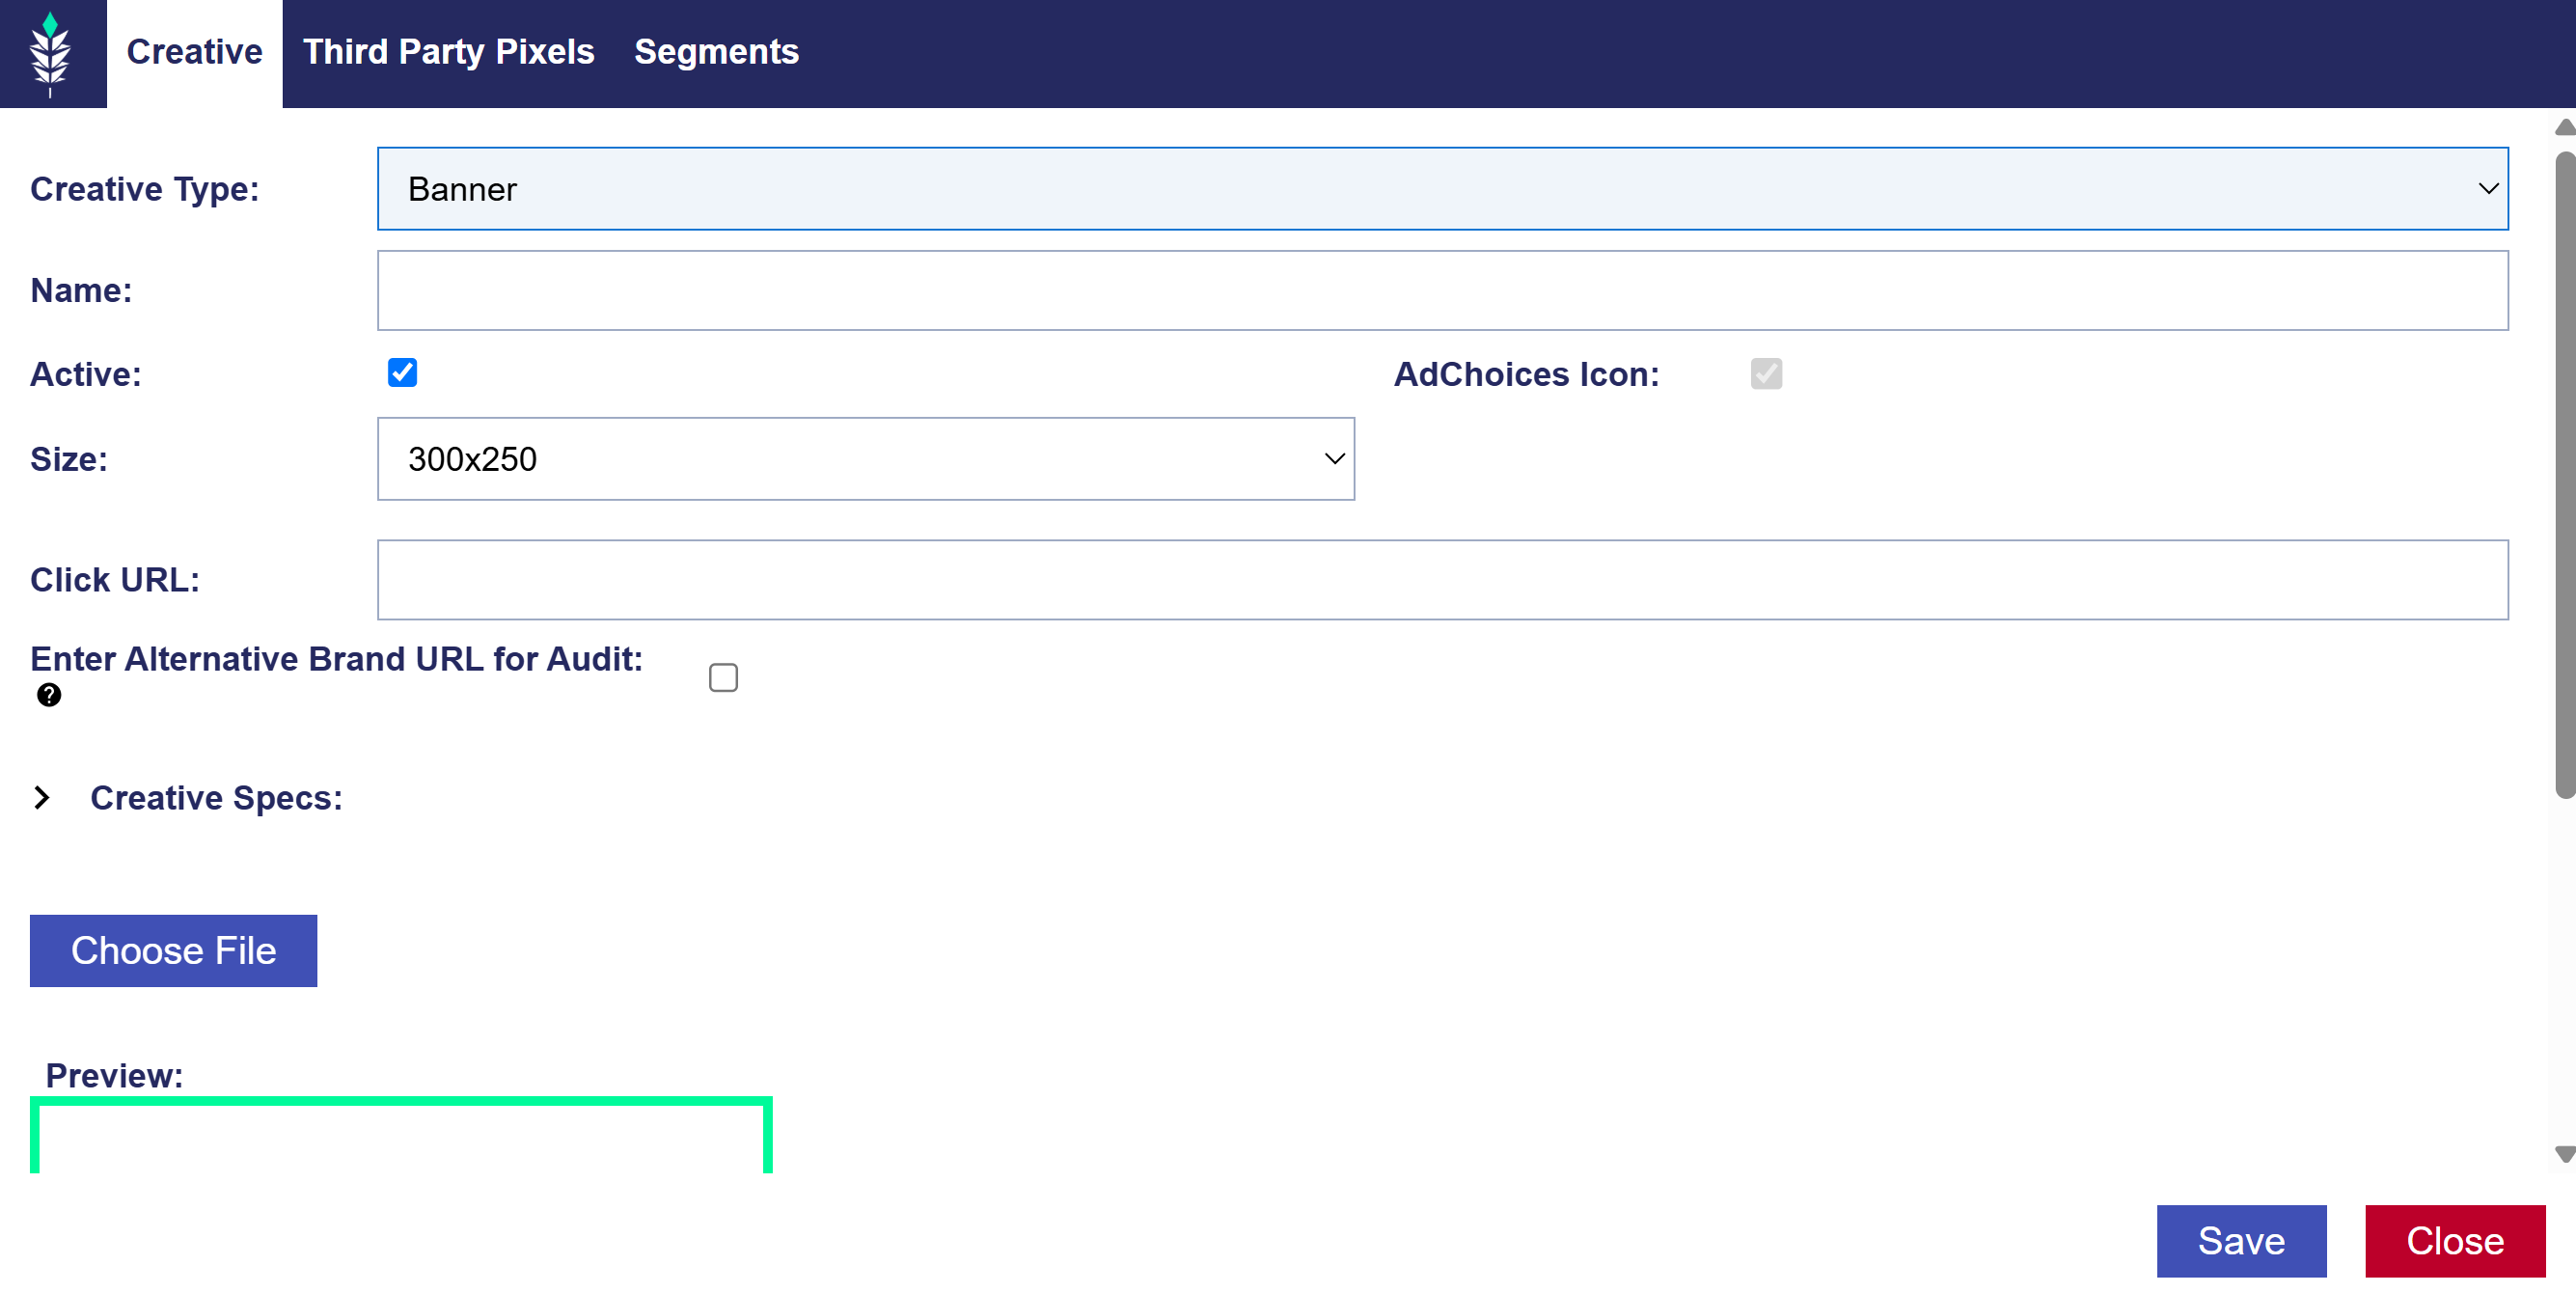
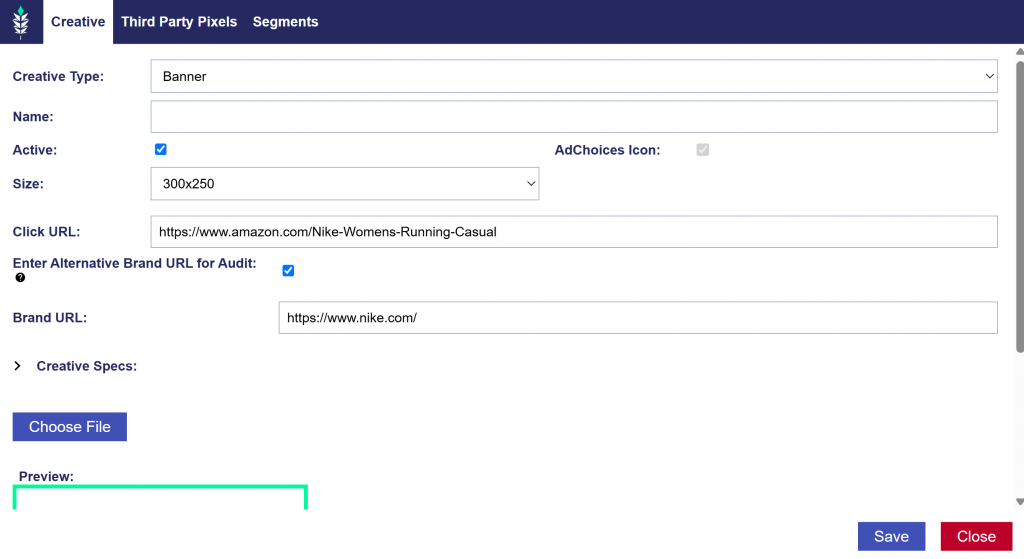
To upload a Creative, go to the Advertisers tab and click on the name of the Advertiser under which you would like to upload the Creative. Select ‘New Creative’ and select the type of Creative that you will be uploading. A preview of the Creative should appear in the green ‘Preview’ box. Ensure that the Creative does not extend outside this preview box. Complete all relevant fields, then click ‘Save’. Each Creative Type has a max file size as indicated in the Creative Specs. Creatives that exceed the max file size will incur Creative Overage Fees as indicated in our Pricing here: Pricing

Creative Click URLs

The Click URL entered for each Creative is the landing page the user will be taken to when they click on the Creative.

As a part of the Creative Audit process, the branding represented in the Creative will be validated against the branding of the Click URL to ensure that they match. If you are using a Click URL for a site that does not represent your branding, such as Amazon or another third-party marketplace, check the box ‘Enter Alternative Brand URL for Audit’ and enter a URL that contains the same branding represented in your ad. The audit team will use this URL to validate the branding represented in the creative. This will not be used as the landing page for the creative, it is only for audit purposes.

This is an example of what this would look like in the upload process:

To incorporate UTM Codes into your Click URL read more info here: UTM Code Implementation

Pixeling Creatives

If you would like to associate a Third-Party Pixel to a Creative, switch to the ‘Third-Party Pixels’ tab and click the green plus next to the pixel. This pixel must be added under ‘Third Party Pixels’ in the Advertiser settings before the Creative upload. See more information on Third Party Pixels here: Third-Party Pixels (Trackers).  If you are uploading a Video or Audio Creative this tab will be called ‘Trackers’ and the pixel can be added at the time of the Creative upload.


Remarketing Pixels can also be added to the Creative in the ‘Segments’ tab at the time of Creative upload. Click the green plus next to the name of the pixel to associate it to the Creative. This will add any user that is served your Creative into this Remarketing segment. This pixel must be created in the Advertiser settings before the Creative upload. See Remarketing Pixels for more information here: Segment Pixels (Remarketing).

HTML5 Upload Error

“Zip package must contain single html file named index.html which must reside in the root of the zip file and not in a subfolder. Index.html should be a complete and valid HTML document including the entities <html><head><body>) and not an HTML fragment. All external resources must be secure (https)”

If you are receiving the above error when uploading an HTML5 creative, it may be due to one of the following:

  1. The index.html file is in a folder inside your zip folder. This file must be in the root of the zip file and not a subfolder. In which case you should extract the necessary files from the folder and re-zip them so that they reside in the root of the zip folder.
  2. The html file is not named ‘index.html’. In which case you should rename this file, then re-try the upload.
  3. The folder was zipped using a Mac and there are hidden files (.DS_store files and _MACOSX folder) within the zip folder that are causing the upload to fail. There are two ways to resolve/prevent this:
    • Use the the zip command in the Mac Terminal to compress the assets, instead of the Mac ‘compress’ function, for example:
      • zip -r -X html5_300x250.zip html5_300x250
    • You can still use the Mac ‘compress’ function, as long as you do not open the new zip folder before uploading it to Pontiac. These hidden files are only added when you open the folder and browse the content.

© 2025 Pontiac Wiki Sec · All Rights Reserved · Developed by RDK

  • Contact Us
  • Privacy Policy
  • Terms & Conditions
  • Pontiac.media