Campaign Setup Overview
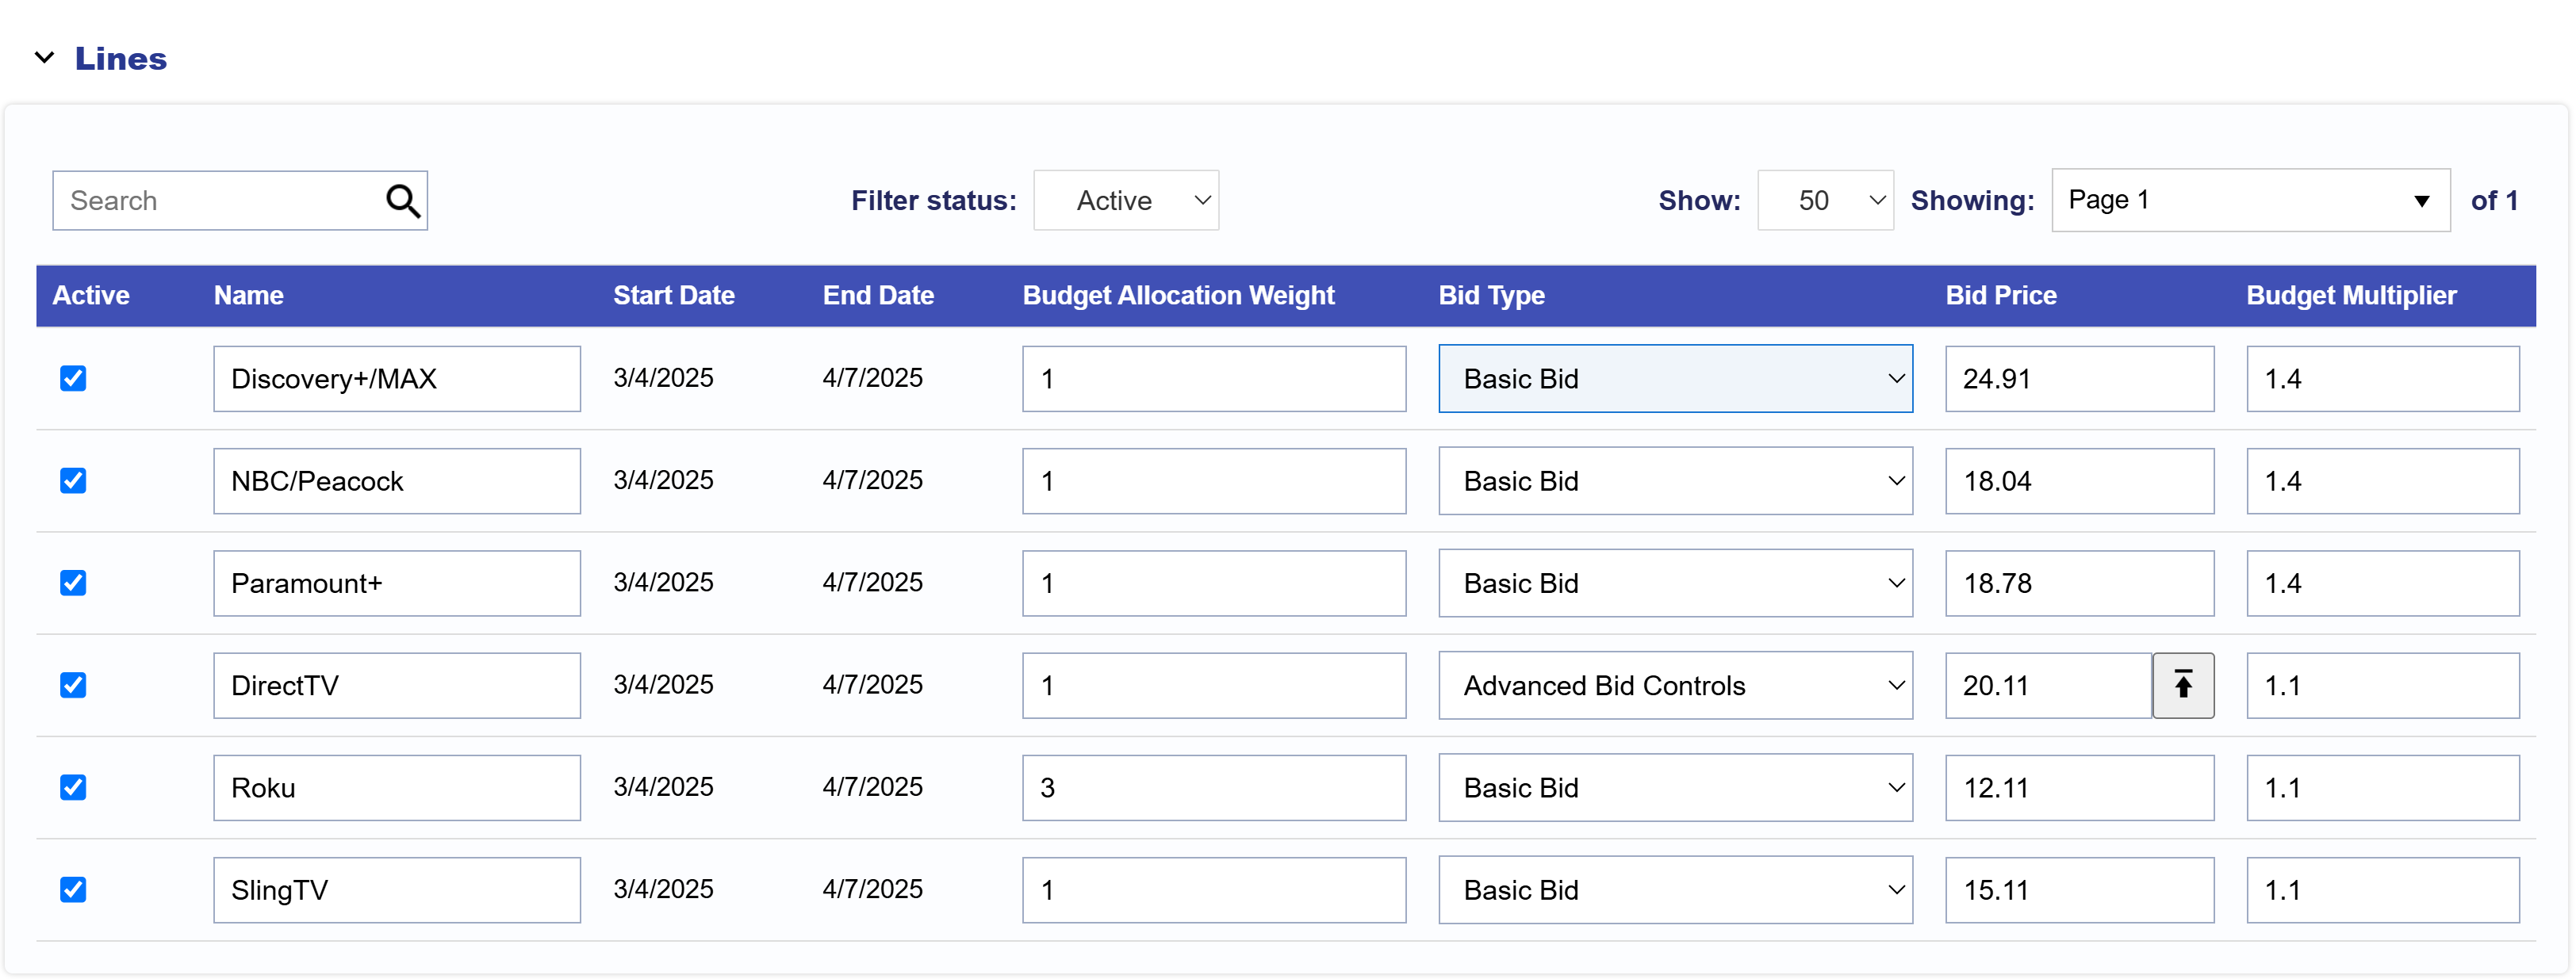
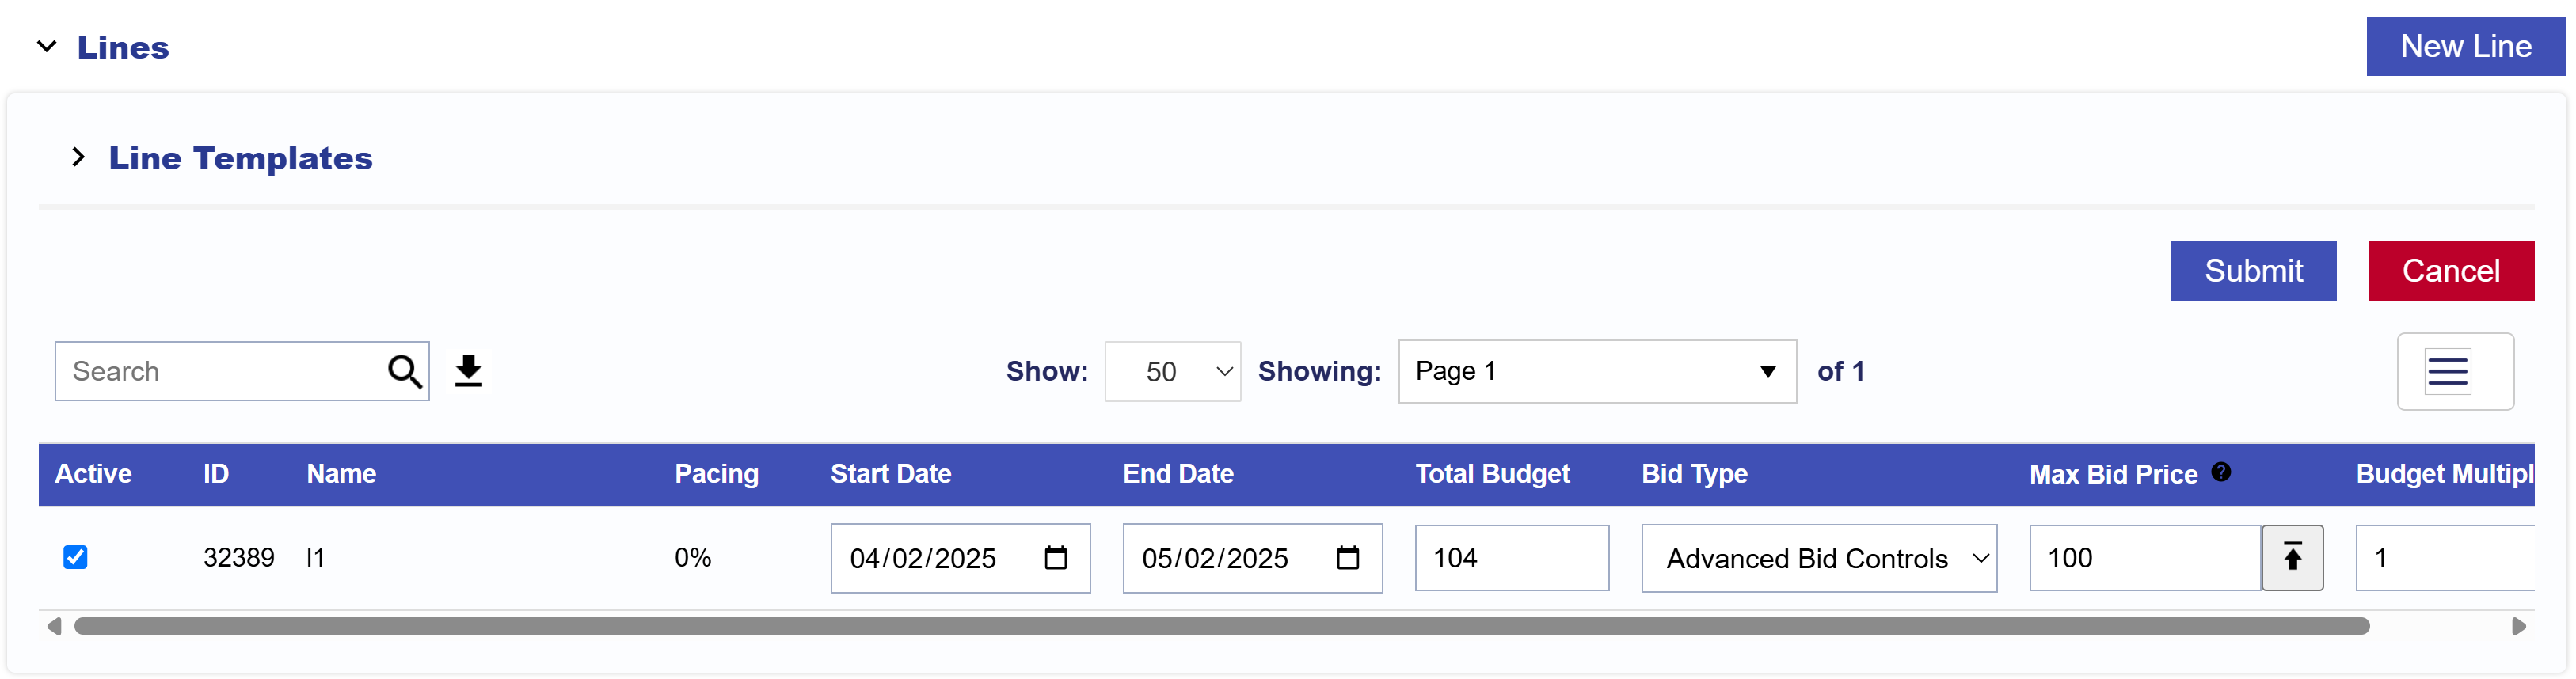
The campaign, or Insertion Order, is used to organize a group of strategies for a set period of time under a single budget. For example, if your Advertiser is a Pet Supply Company, you may have multiple campaigns running at the same time for each product line – a campaign for dog food, and another for cat food. Under the campaign, line items can be set up to divide the full campaign budget into multiple strategies. For example, divide the dog food campaign budget into lines targeting different inventory targeting strategies or divide the cat food budget across multiple geo targets.
All campaigns must have at least 1 line item created under them, or they will not deliver impressions. The campaign object can control the budget of associated lines, but it does not execute the campaign spend.
For recommend Campaign setups, refer to the documentation: Best Practices
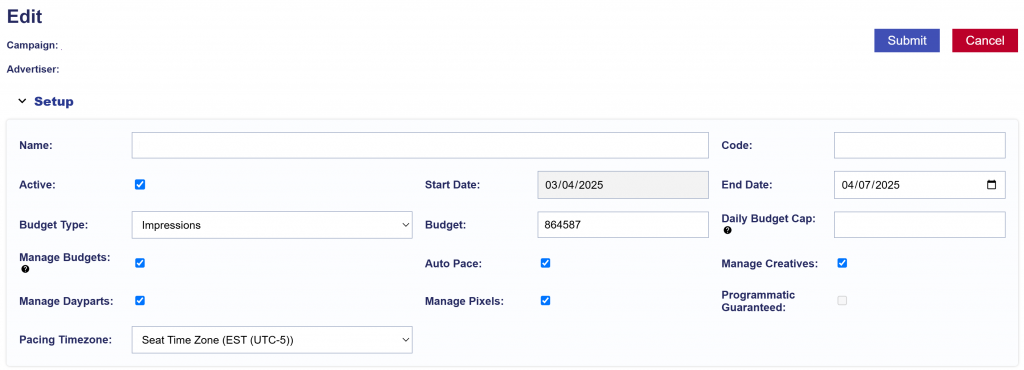
Campaign Fields
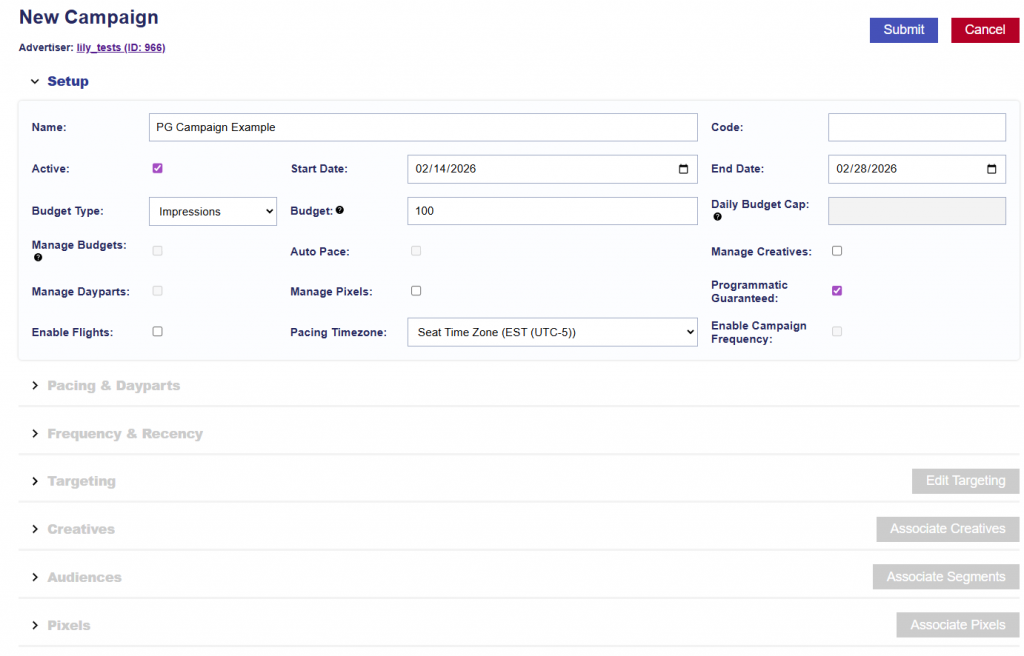
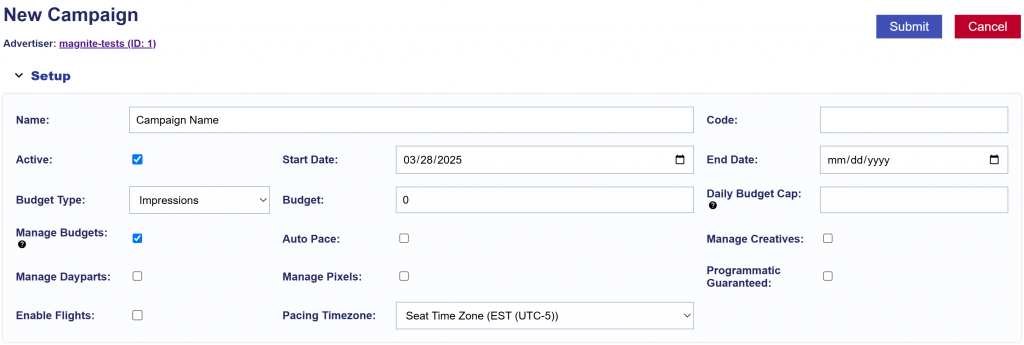
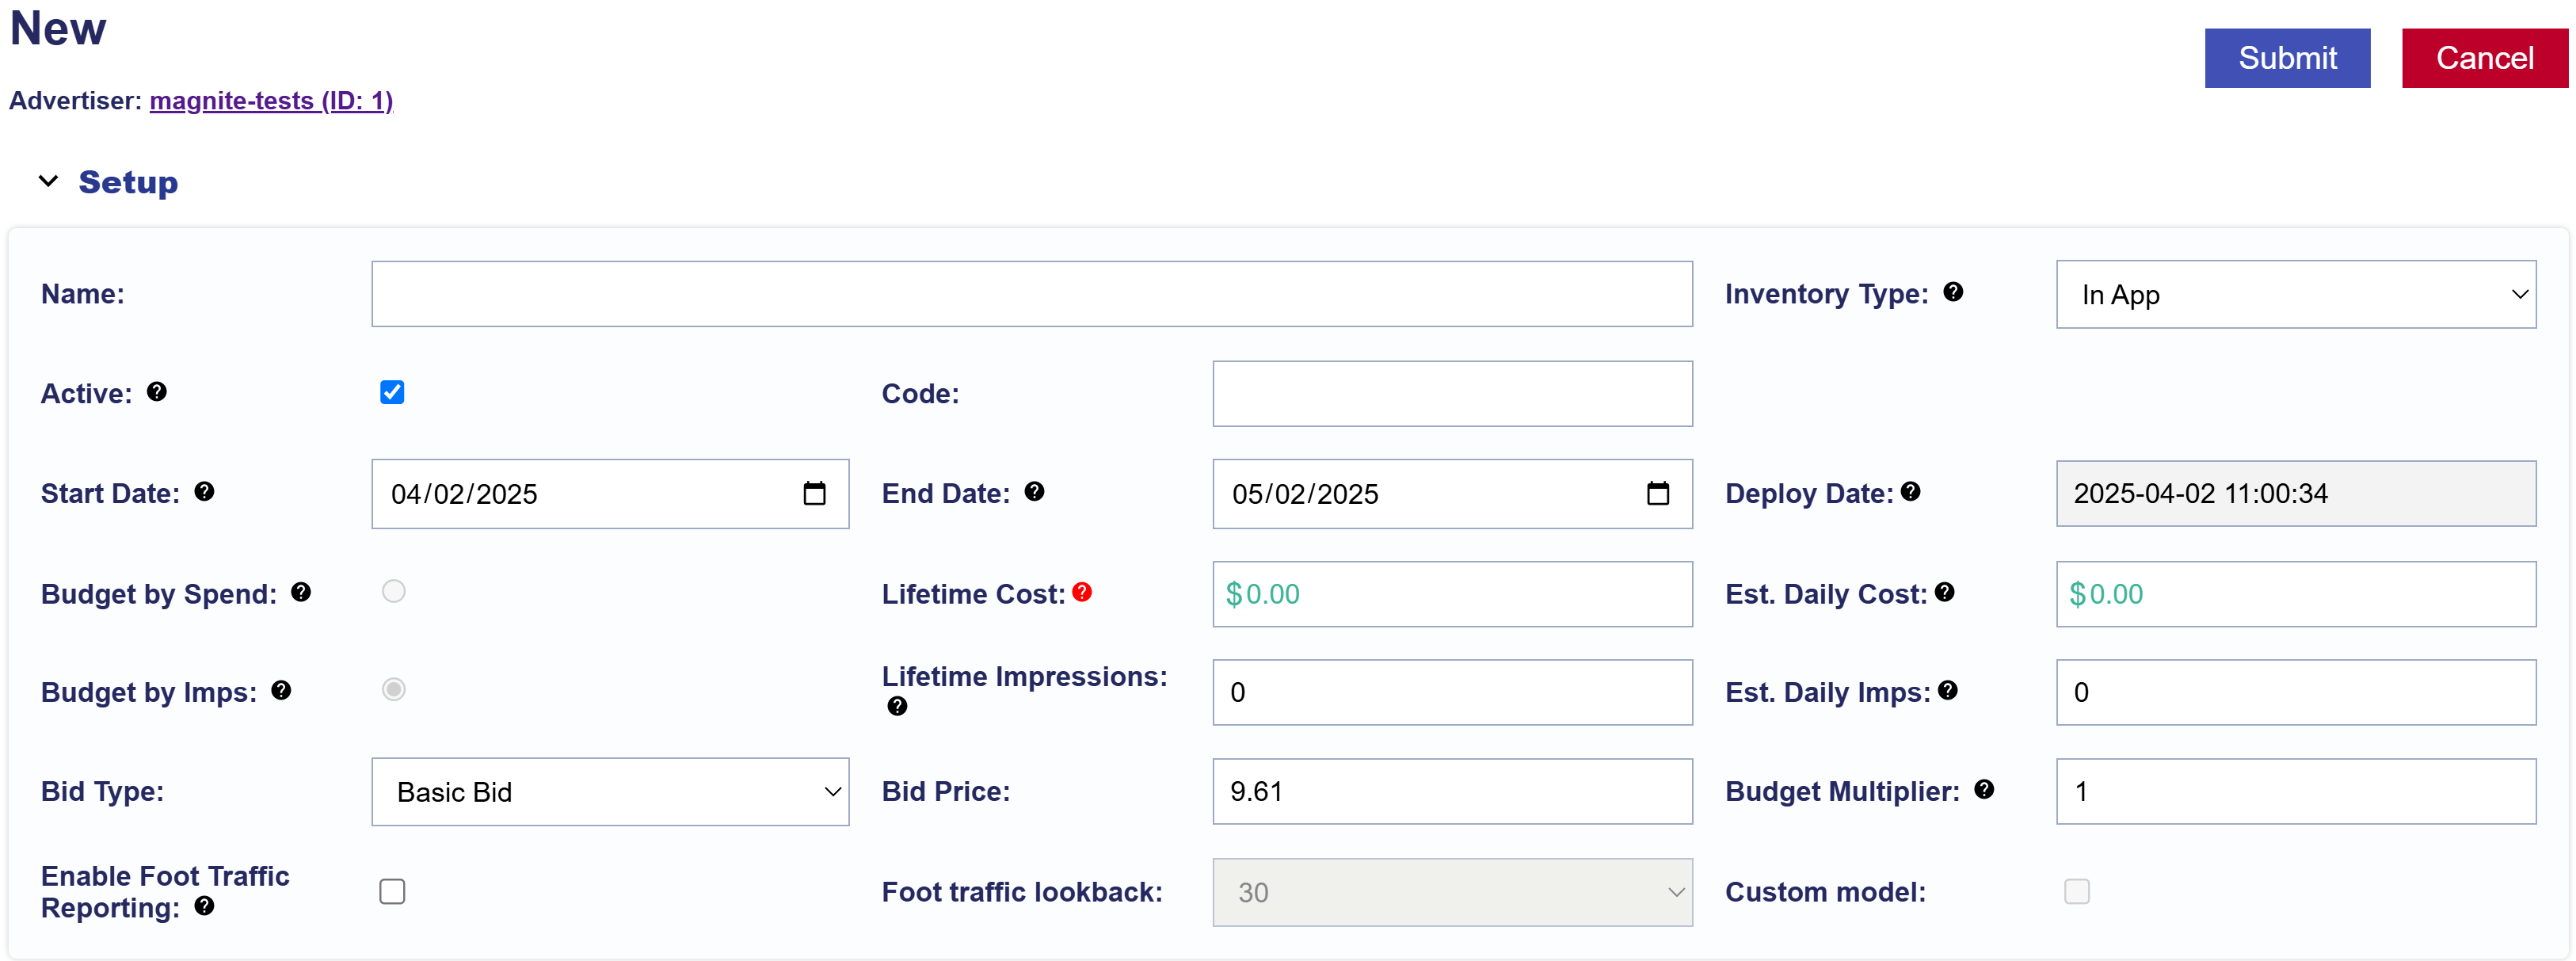
- Name: Give your Campaign a name.
- Code: The code field is a space that can be used to associate an external ID to your campaigns. This code can be pulled in reporting and allows users to easily tie all campaigns to salesforce IDs, client IO numbers, billing codes etc.
- Active: Must be checked for the campaign to run. Leave unchecked to pause the campaign.
- Start Date: The date the campaign becomes eligible to begin delivering.
- End Date: The final date the campaign is eligible to deliver.
- Budget Type: Set the campaign budget as either a dollar amount or an impression goal.
- Budget: Enter the campaign’s total dollar amount or impression goal based on the selected budget type.
- Daily Budget Cap: This is an optional field to set a cap on total daily spend or impressions for the campaign.
- If ‘Manage Budgets’ is checked and the pacing time zone is set at the campaign level, this time zone will be used to define the ‘day’ and apply the cap.
- If ‘Manage Budgets’ is not applied to the campaign and pacing time zone is controlled by the lines, the seat time zone will be used here.
- When the daily budget cap is reached for the campaign, all lines under the campaign will stop bidding regardless of line budget and pacing. It is not recommended to enable catchup pacing if a daily budget cap is set as this may cause erratic behavior.
- Manage Budgets: When selected, all lines under the campaign will be modified to match the campaign’s start date, end date, and budget type. Budgets must be allocated below using budget allocation weights.
- If ‘Manage Budgets’ is selected on the campaign, the budget entered at the campaign level will be controlling. The associated line items will inherit the same flight dates as the campaign and Line budgets will be applied as a weight. Changes to the campaign budget or flight dates will automatically update the Line flight dates & budgets accordingly.
- When budget allocation weights are updated, the system does not immediately rewrite line budgets on save. Instead, the update is queued and processed asynchronously. Budget allocation weights only apply to the remaining campaign budget, not the full campaign budget.
- When weights are updated, the remaining impressions are redistributed across active lines only, using the allocation weights. New line budget = current lifetime delivered + (remaining campaign budget × allocation weight)
- If ‘Manage Budgets’ is not applied to a campaign, each line can have a dollar amount or impression budget assigned. Keep in mind your line budgets will not have to equal the campaign budget, so be sure to check the ‘Flight Checks’ section to verify that you have not over or under allocated budget to your lines. Updates to campaign budget and dates will not change associated line settings.
- Auto Pace: Available when Manage Budgets is enabled. Automatically keeps budgets fluid between Lines and optimizes delivery to pace toward the Campaign goal.
- Set target allocations to divide the total campaign budget between each line item, then allow the system to optimize according to available impressions and real time delivery to pace towards the over-arching campaign goal.
- If ‘Manage Budgets’ is selected on the campaign, the budget entered at the campaign level will be controlling. The associated line items will inherit the same flight dates as the campaign and Line budgets will be applied as a weight. Changes to the campaign budget or flight dates will automatically update the Line flight dates & budgets accordingly.
- Enable Campaign Frequency: Apply frequency and recency caps across all lines under the campaign using the selected identifier.
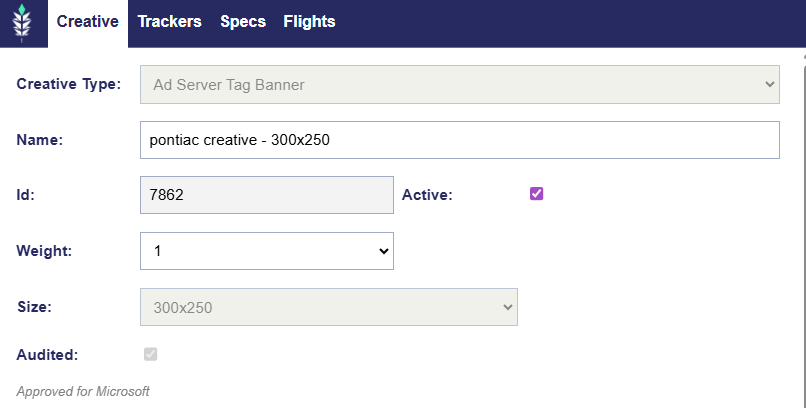
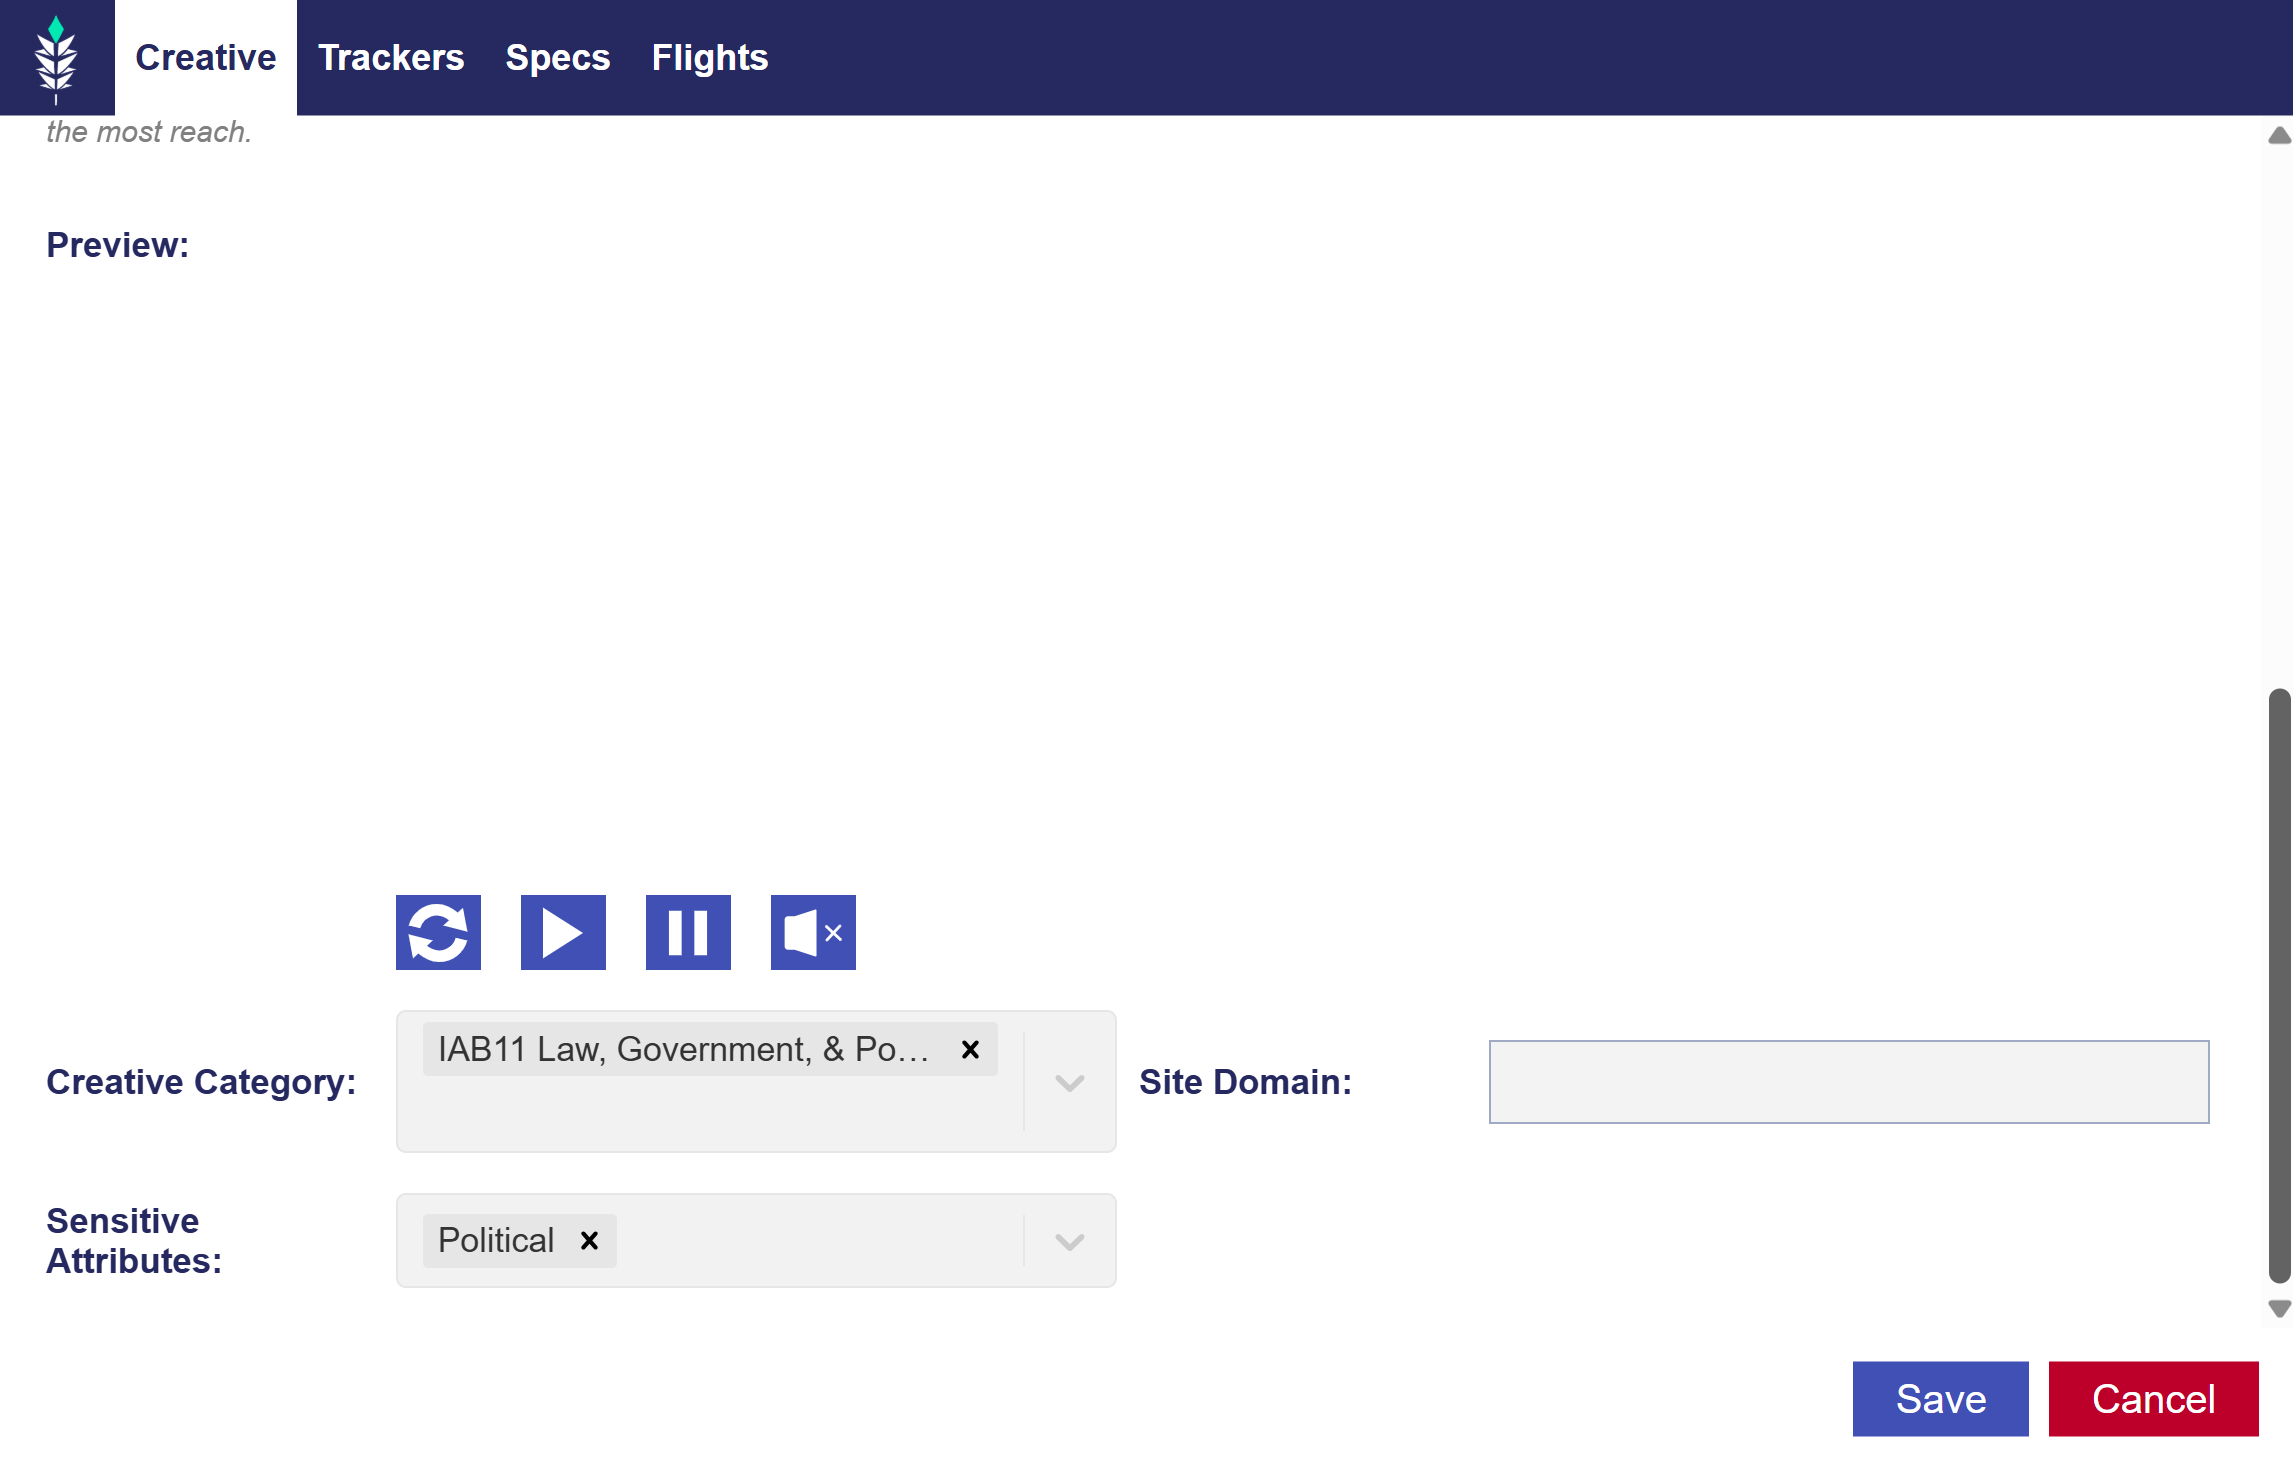
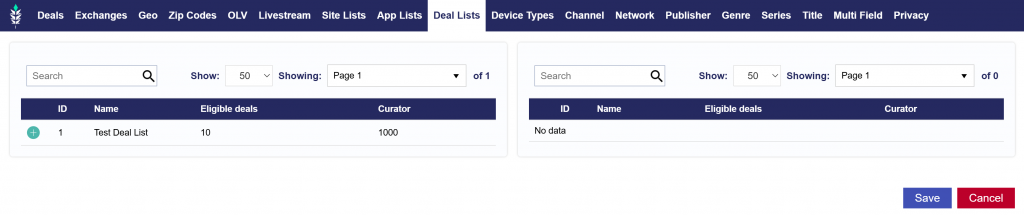
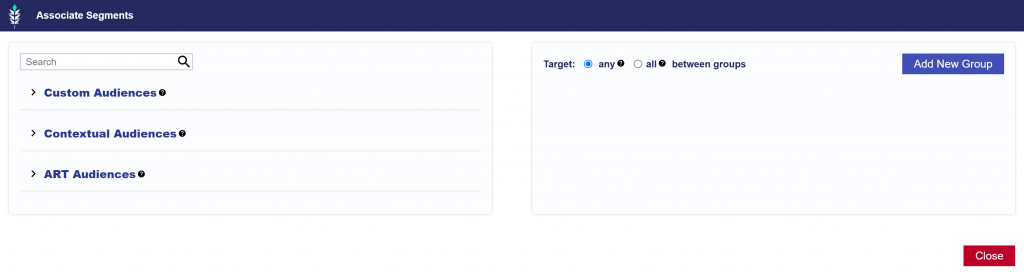
- Manage Creatives: Associate creatives at the campaign level so they are targeted by all lines under the campaign. For more information about creatives, see here: Creatives
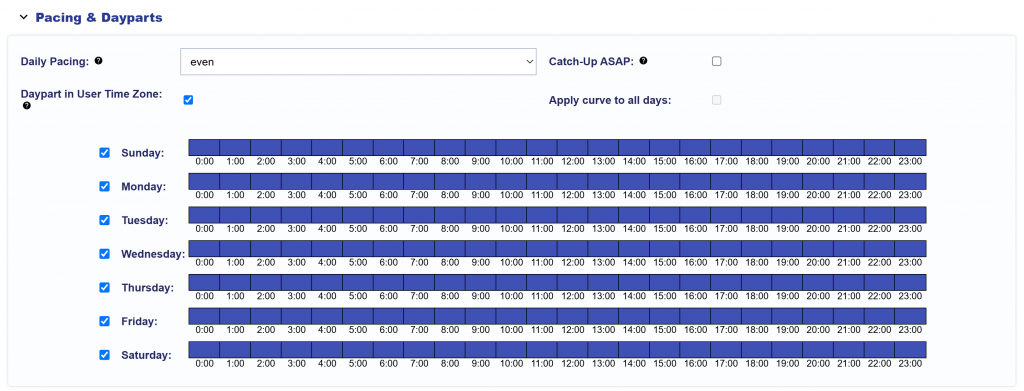
- Manage Dayparts: Control pacing and dayparting at the campaign level for all associated lines. For more information on setting pacing & dayparts, see here: Pacing & Dayparts
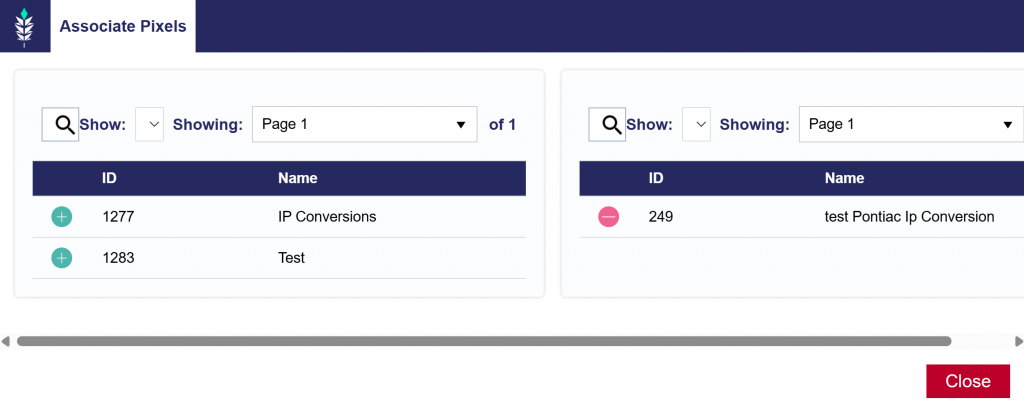
- Manage Pixels: Associate conversion pixels at the campaign level for attribution across all lines under the campaign. For more information about pixels, see here: Pixels
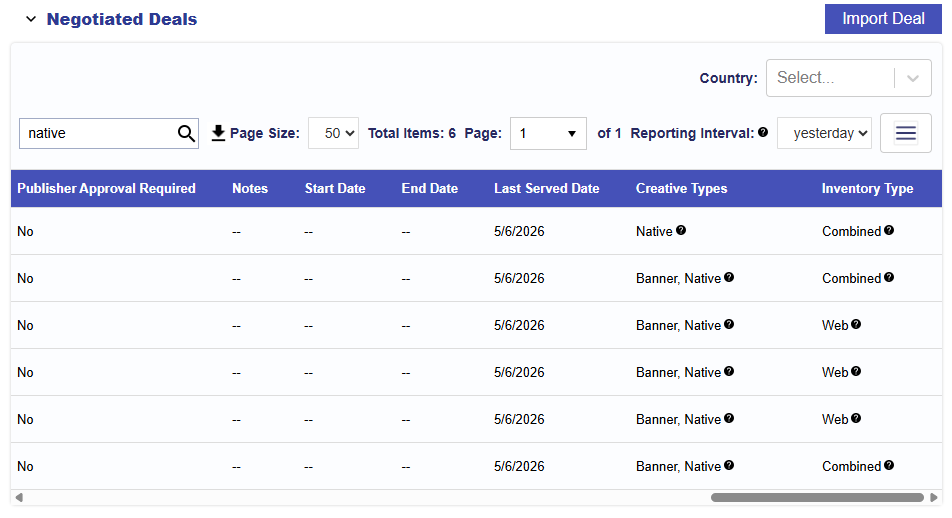
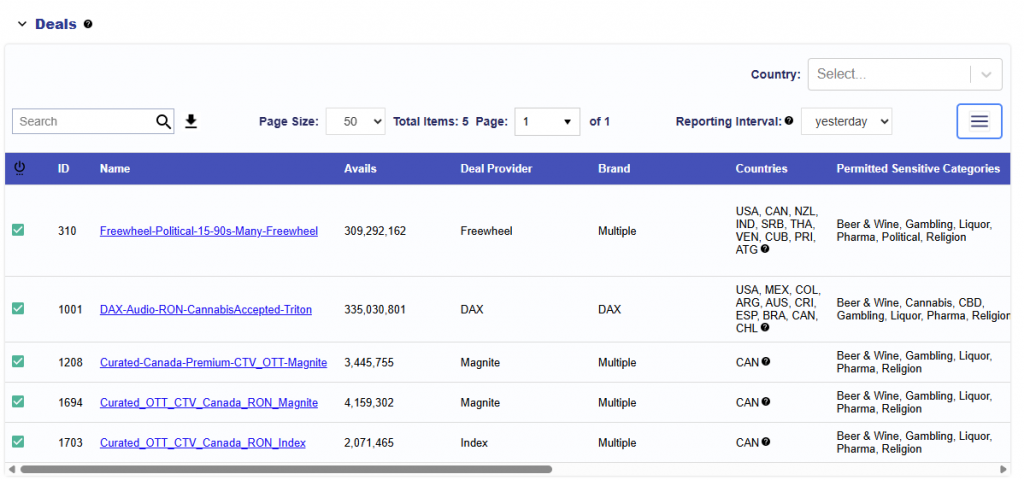
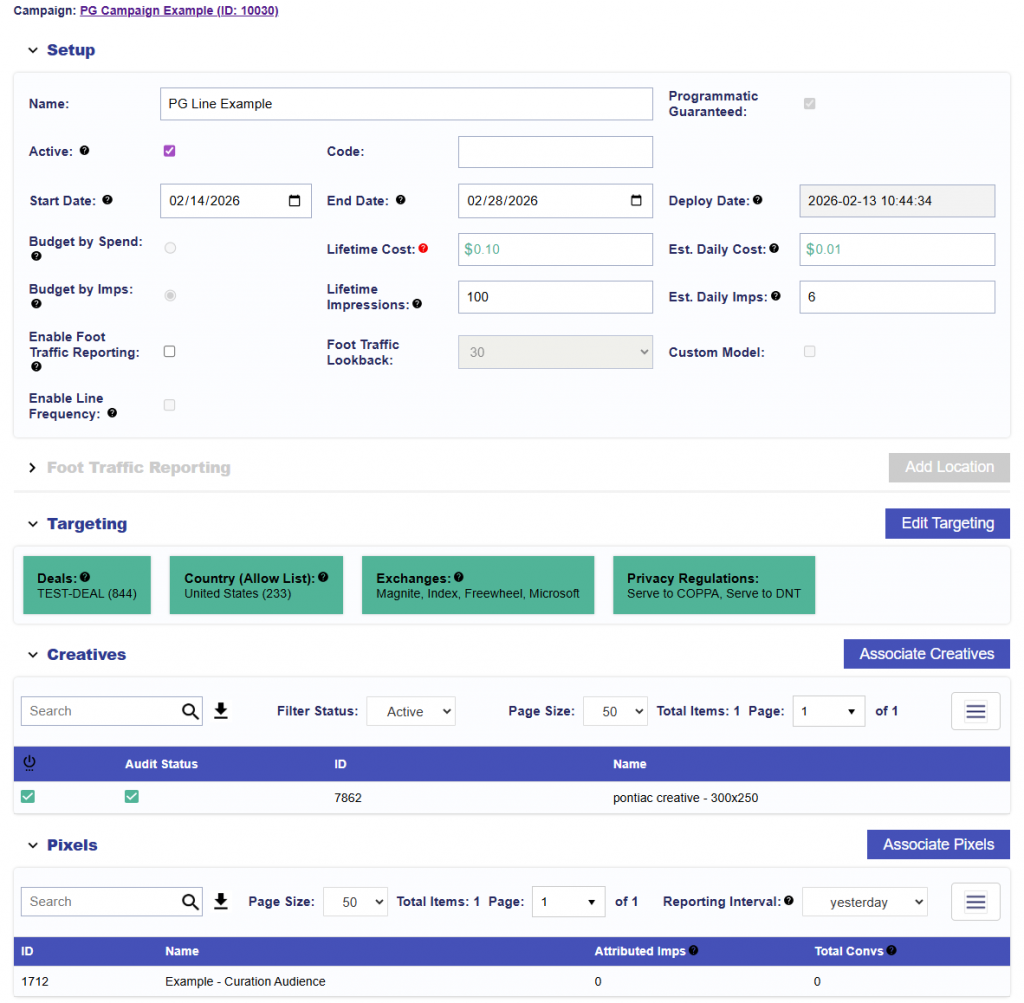
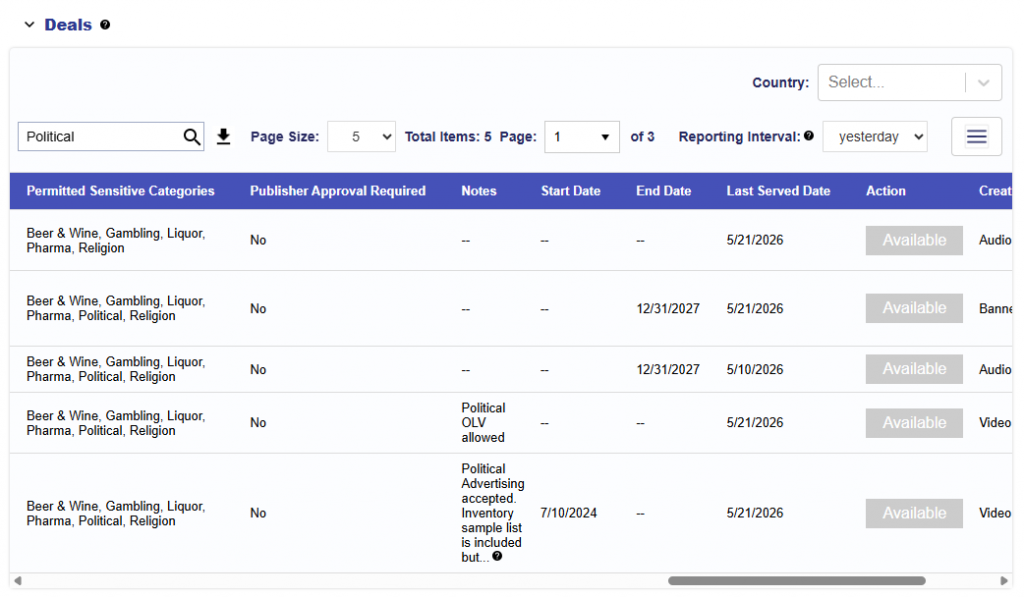
- Programmatic Guaranteed: Enable for campaigns using a Programmatic Guaranteed deal negotiated directly with a publisher at a fixed rate and committed impression volume. The campaign must target the associated PG deal. Targeting is controlled by the publisher, while the campaign budget and flight dates are used for monitoring only.
- If you have a programmatic guaranteed deal created for a campaign, this will need to be set up in Pontiac with the ‘Programmatic Guaranteed’ check box applied at the campaign level. This will restrict the targeting and capabilities at both the campaign and line level to respect the parameters of the deal configured with the publisher. The budget and flight dates can be set on the campaign in Pontiac, but these fields are only used for monitoring pacing and campaign progress – they will not be respected by the bidder. Flight dates and budget should be configured on the deal by the publisher.
- How to Import your PG deal: Import Deal
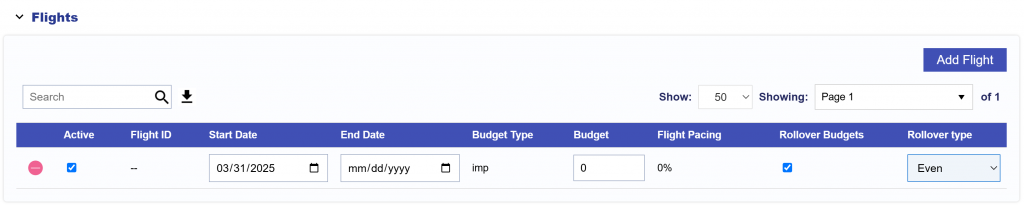
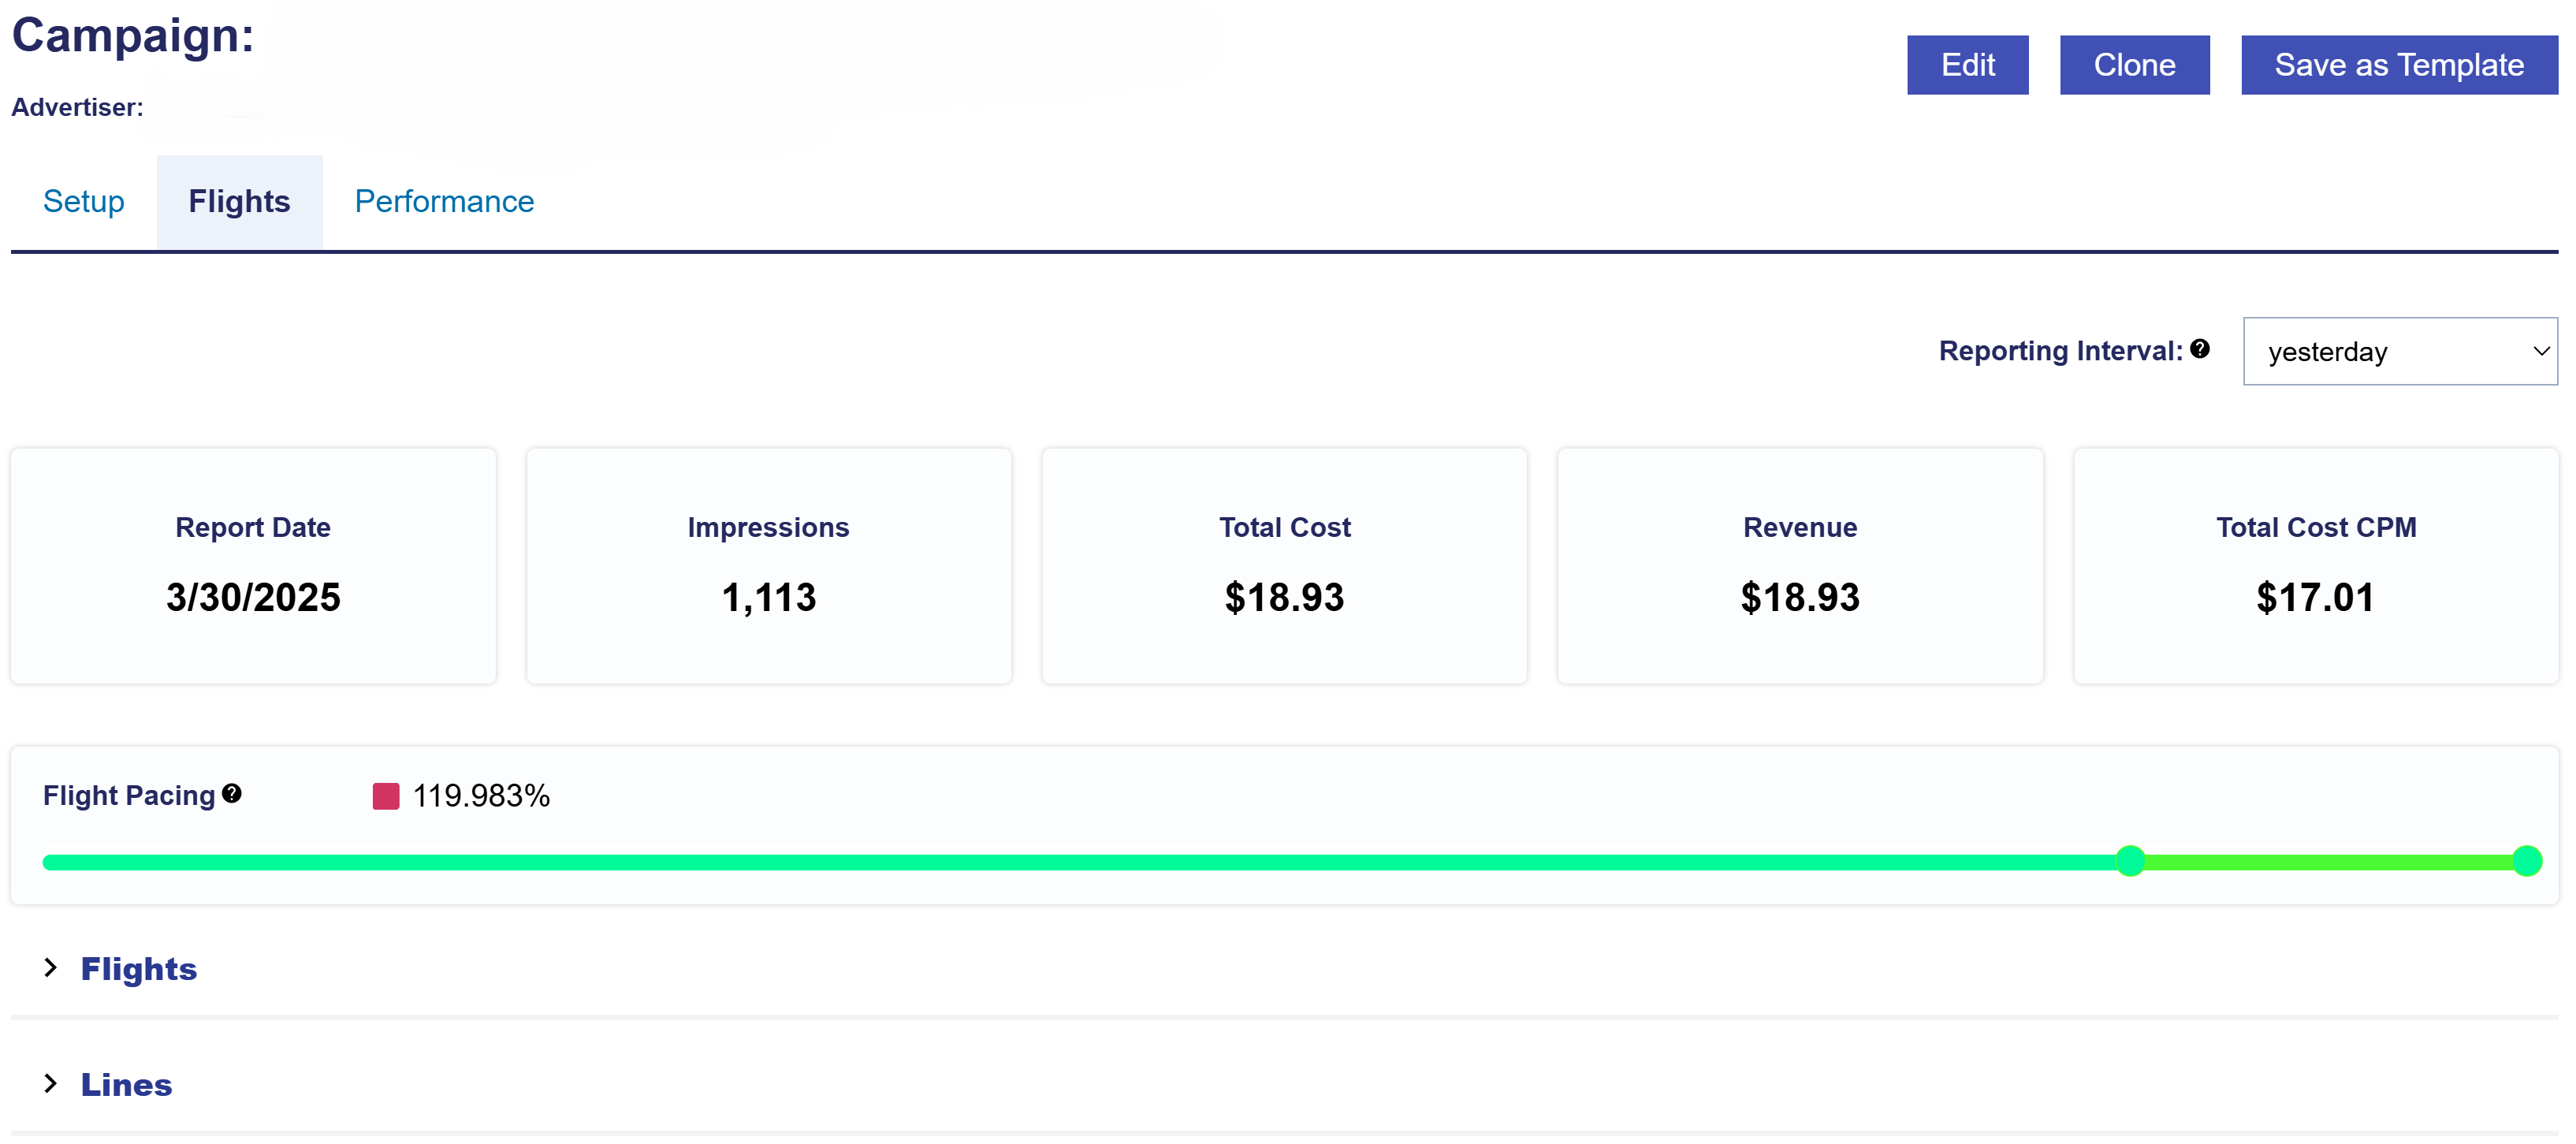
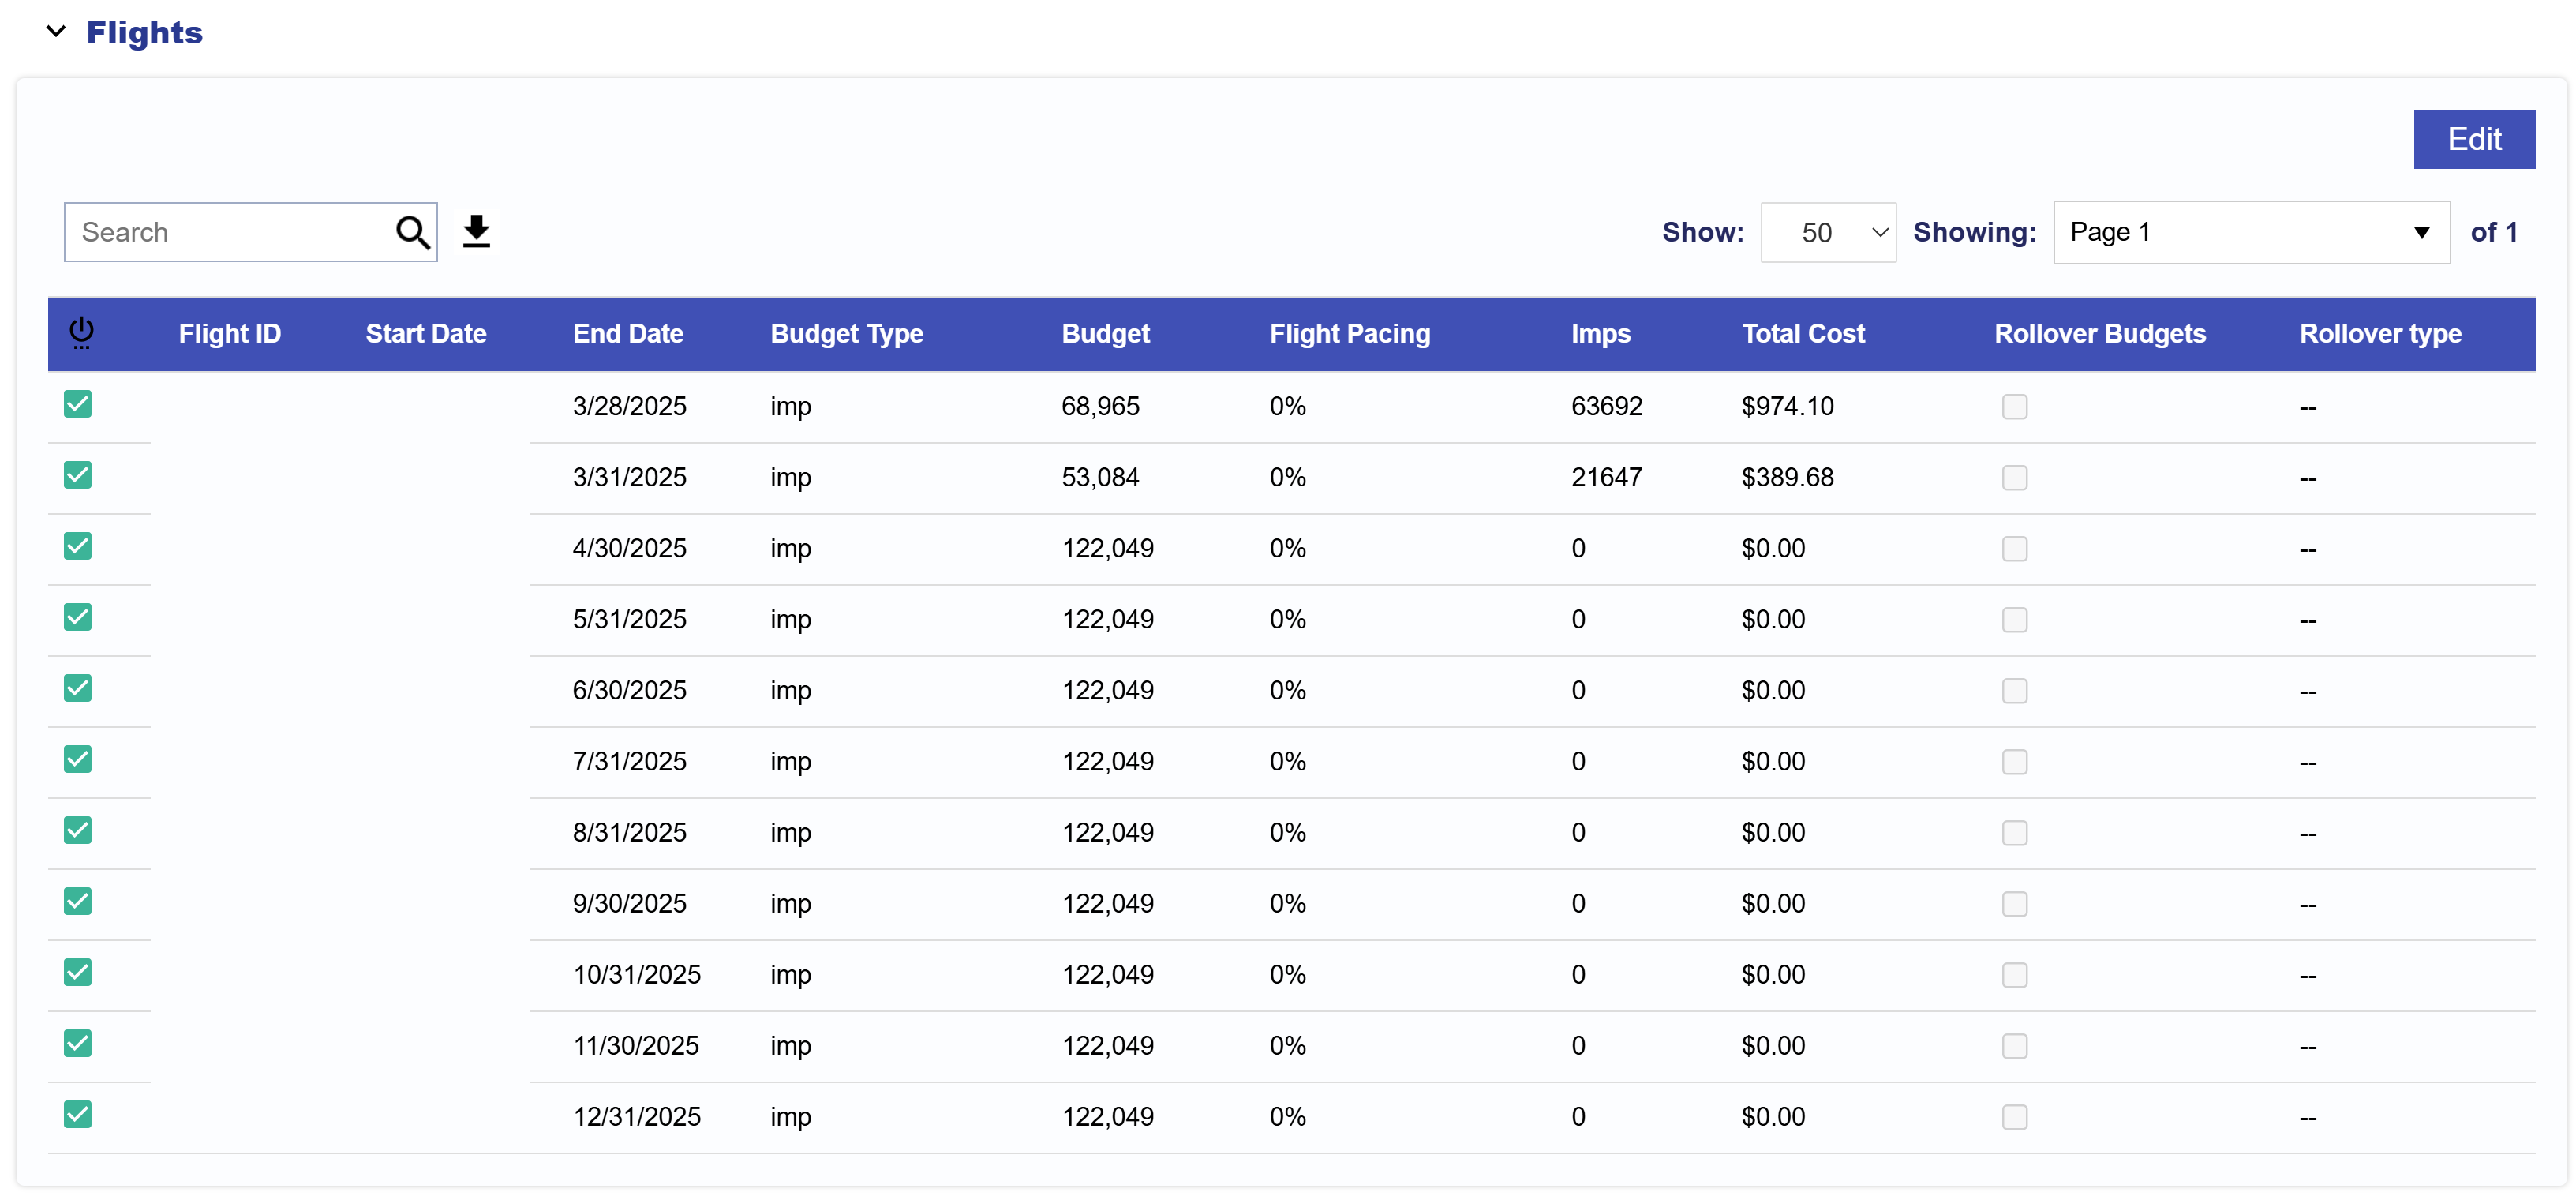
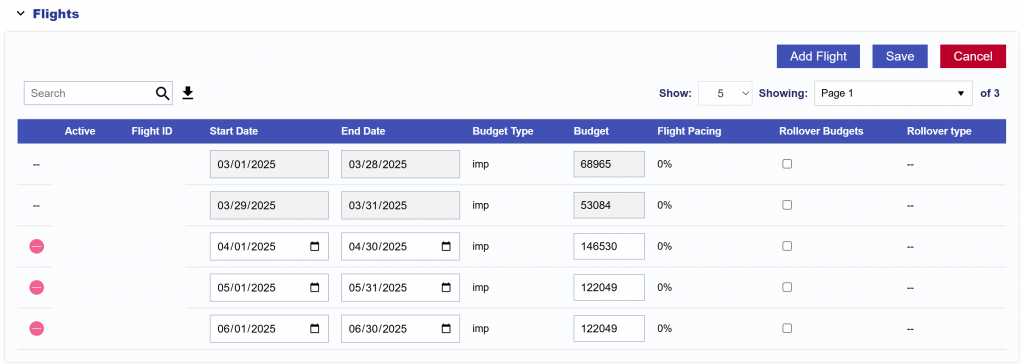
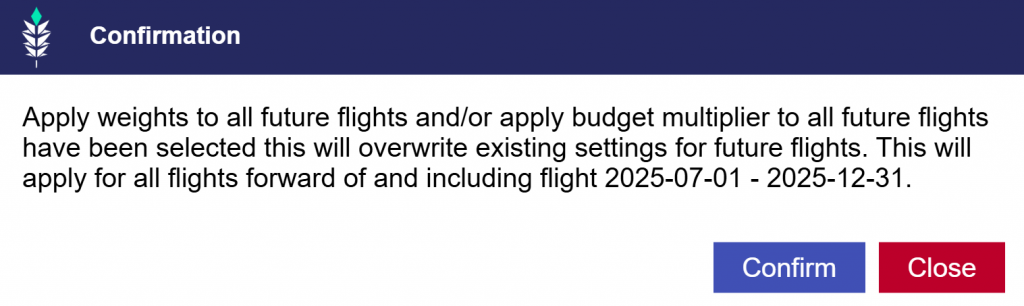
- Enable Flights: Used to split the campaign into flight date ranges with separate budgets.
- Campaign Flights allow users to set different budgets for specific date ranges within the overall Campaign’s date range. This enables more granular control of pacing, spend, and scheduling, helping teams optimize delivery throughout a Campaign’s lifecycle.
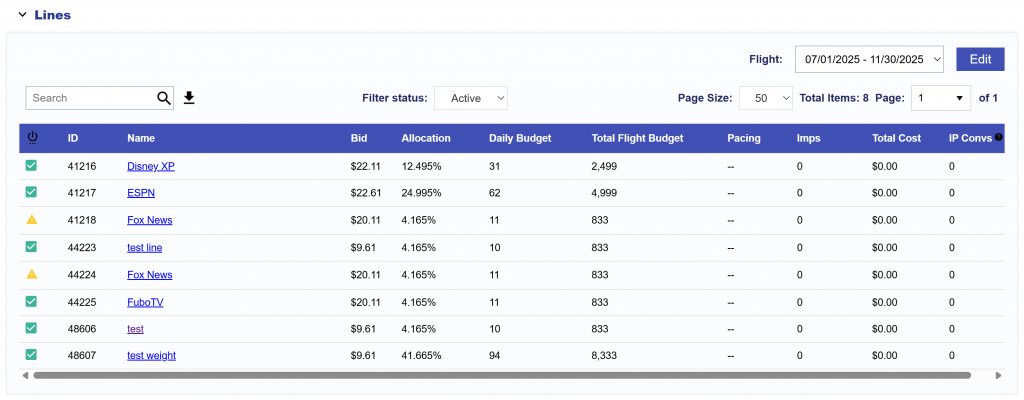
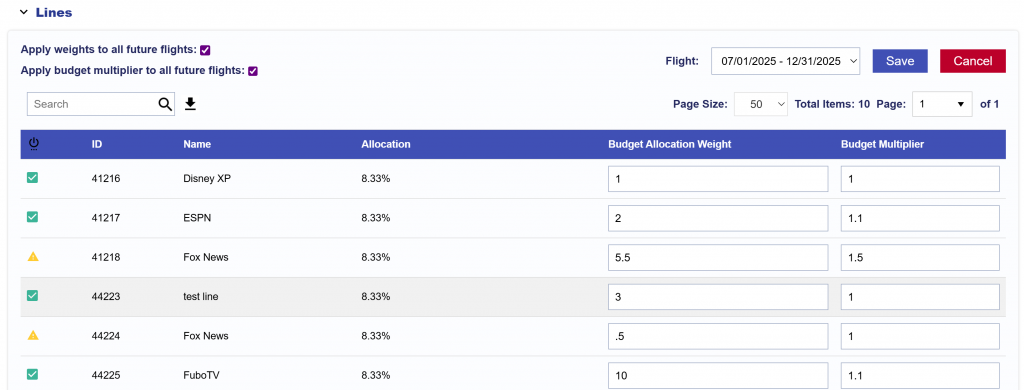
- If ‘Manage Budgets’ is enabled, in the Flights tab > Lines expandable section, users can filter by a selected flight and change the Budget Allocation Weight and Budget Multiplier by Line for each Flight.
- If ‘Manage Budgets’ is not enabled, in the Flights tab > Lines expandable section, users can filter by a selected flight and change the Flight Budget manually based on impression or spend and Budget Multiplier by Line for each Flight.
- Rollover Budgets: For each Campaign Flight, Rollover Budgets is an option to move any remaining budget over to another flight. There are two different rollover types:
- Even: The remaining budget will rollover evenly across the other flights. For example, if remaining impressions are 100 and there are three more flights in the Campaign, then 33 would be rolled over to each flight.
- Next Flight: The remaining budget will rollover to the next flight. In our above example, 100 impressions would rollover to the next flight and 0 impressions would get rollover to the last two flights.
- Campaign Flights allow users to set different budgets for specific date ranges within the overall Campaign’s date range. This enables more granular control of pacing, spend, and scheduling, helping teams optimize delivery throughout a Campaign’s lifecycle.
- Average Bid: The average of the bid values configured across all lines in the campaign. For lines using Basic Bid, the configured bid is included in the average. For lines using Bid at Floor or Advanced Bid Controls, the configured maximum bid is included. This value reflects campaign setup and may not match the actual bid submitted for each impression.
- Pacing Time Zone: Determines the time zone used to define the start and end of each day for campaign pacing.
- For example, if end date is 1/31 and pacing time zone is EST, the campaign will stop delivering at 11:59:59 pm EST on that date.
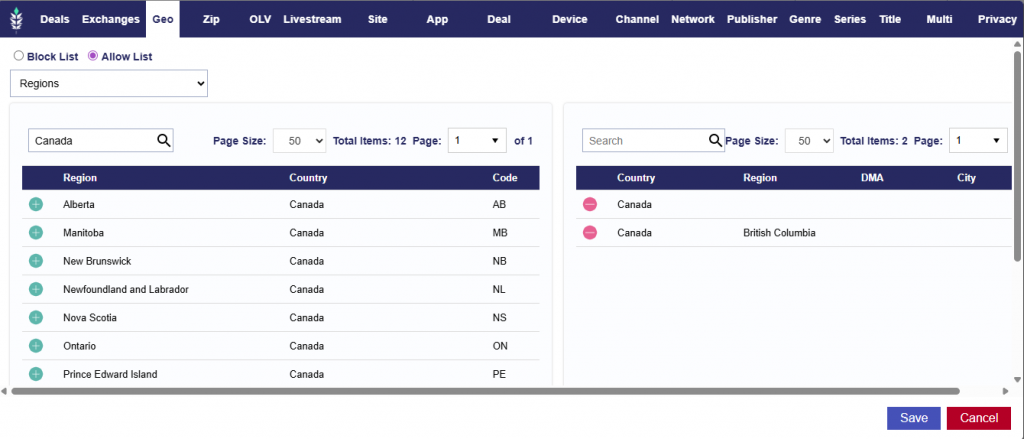
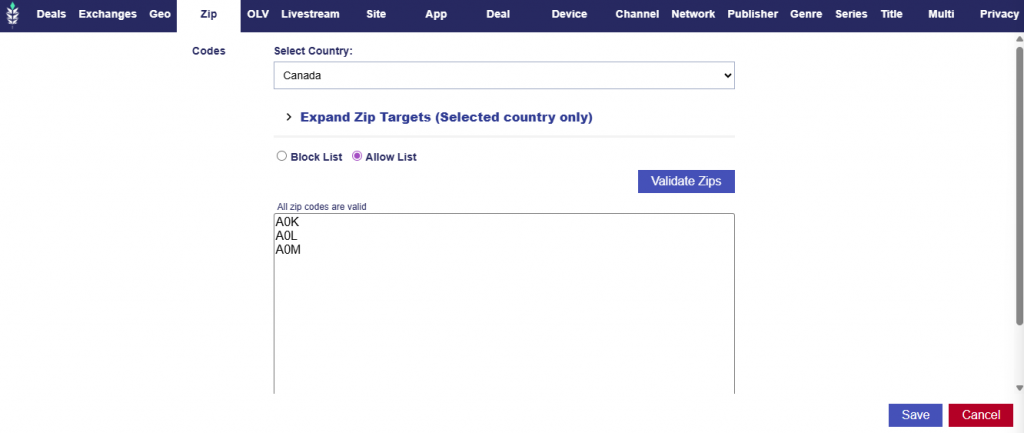
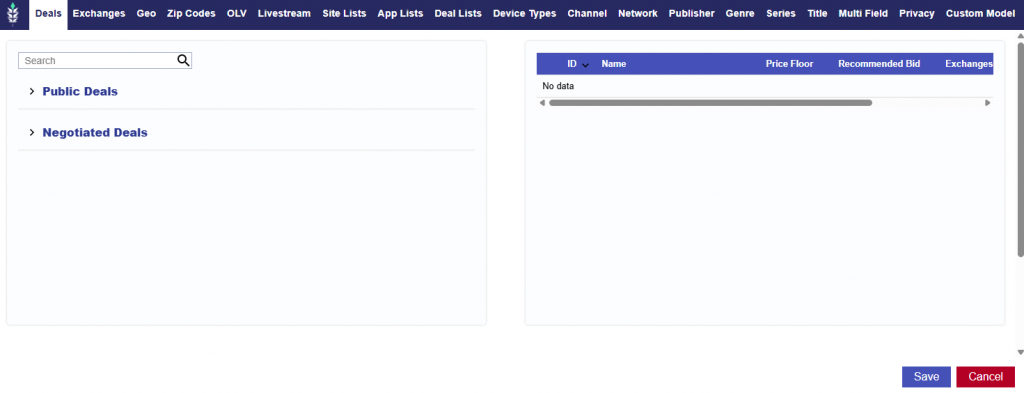
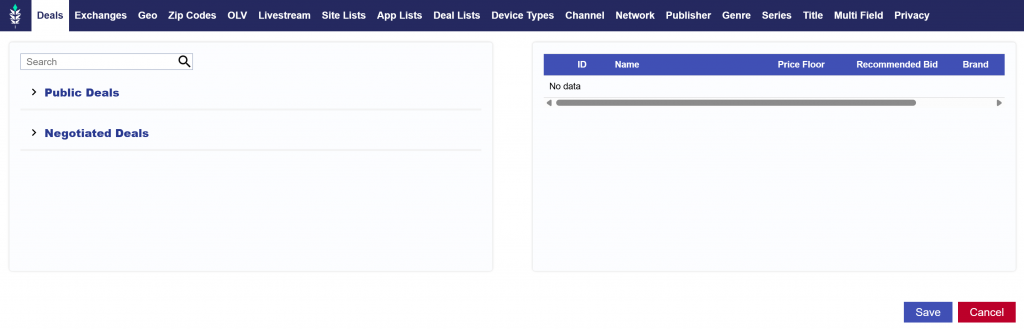
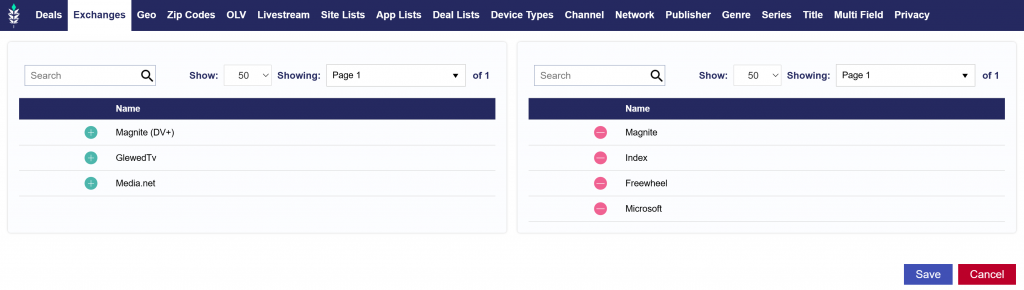
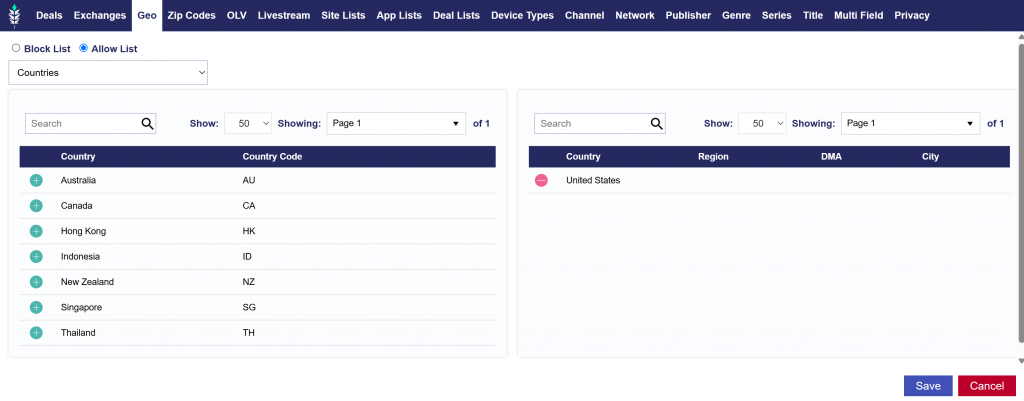
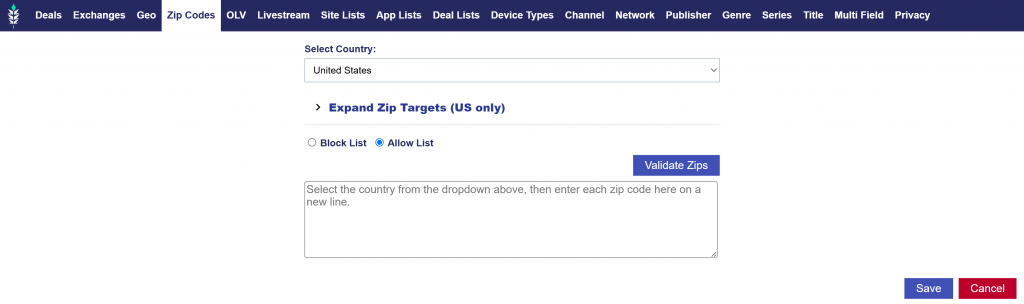
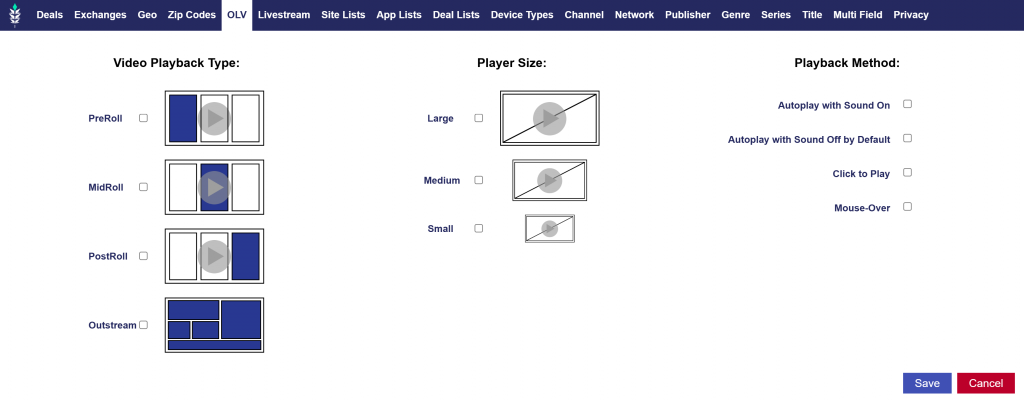
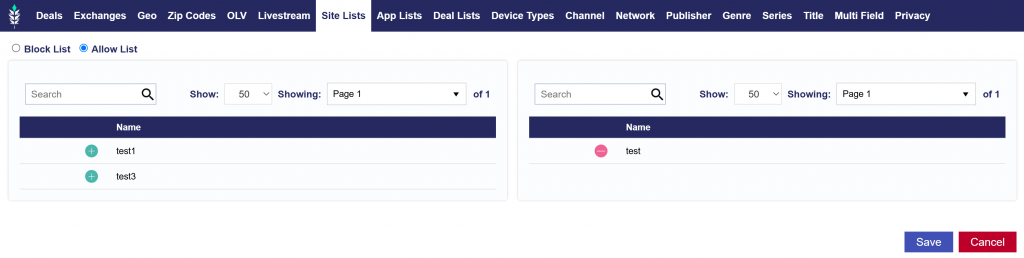
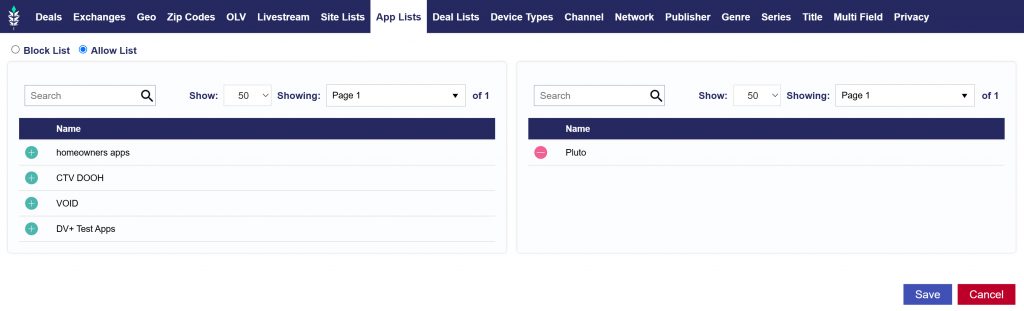
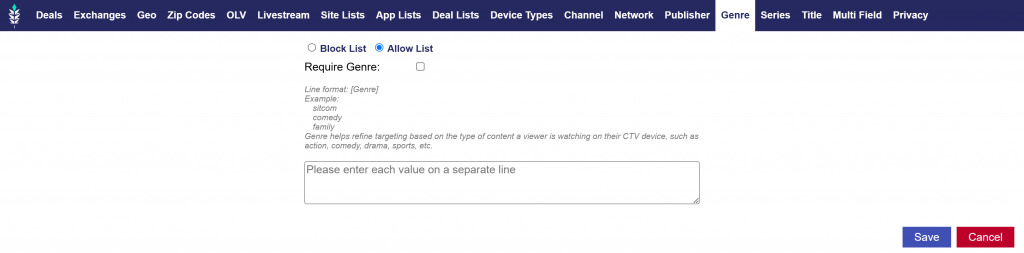
Targeting on a Campaign
The Pacing & Dayparts, Frequency & Recency, Targeting, Creatives, Audiences, and Pixels sections of the Campaign can be used as additional filters for all Line Items associated. It is recommended to use these sections, only if the targeting parameters apply to ALL Line Items. For example, if all of your lines are using the same zip codes, these can be applied in the campaign targeting section instead of opening each individual line and entering them there. This is an extra layer of filtering applied to the line items under the campaign and an impression must meet all conditions for the targeting applied to both the line and campaign to be eligible.