Edit a Line Template
To edit a Line Template, navigate to the ‘Templates’ tab and expand the Line Templates dropdown section. Click on the name of the Line Template you wish to edit, and then click the ‘Edit’ button located in the top right corner. This will allow you to make the below changes to the selected Line Template.
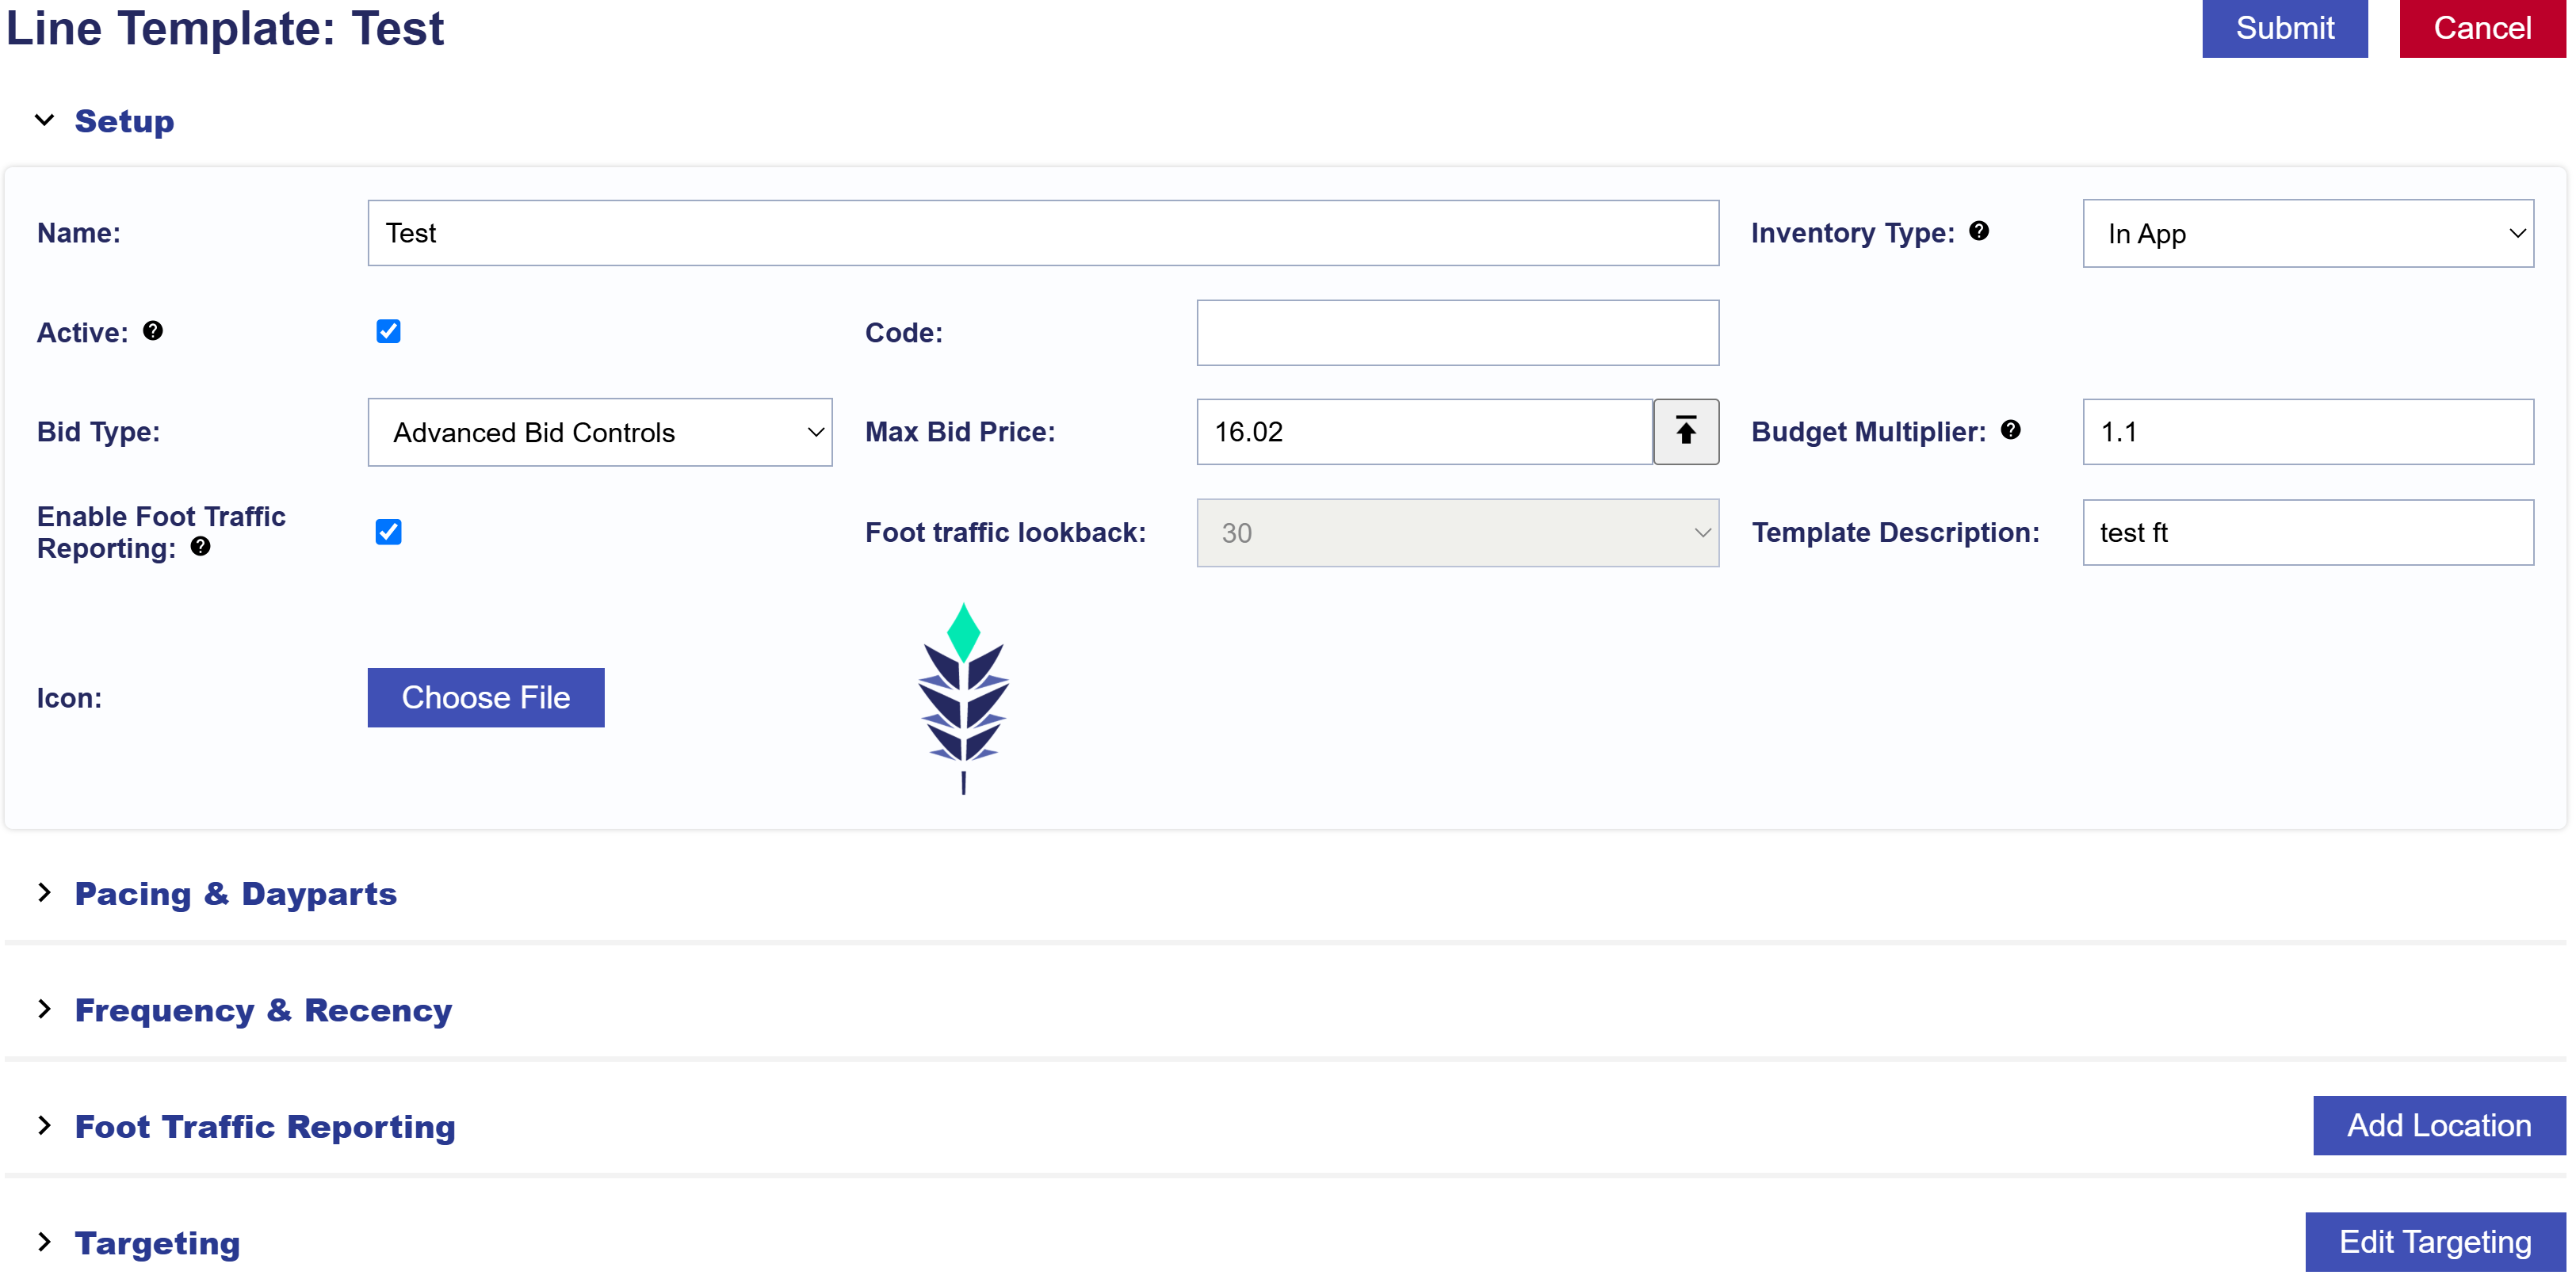
Setup Section
In the Setup section, edit the following fields:
- Name: Enter a unique name for your new Line Template to identify it easily.
- Inventory Type: Web, In App, Combined
- Active Status: Check the ‘Active’ box if you want the Line to be live, but uncheck it if you want to create an Inactive Line or to pause the Line.
- Code: Optional and for reporting purposes.
- Bid Type:
- Basic Bid: Standard bid price applied across all inventory of the Line.
- Bid at Floor Price: The maximum bid price and CPM floor allowed for an auction.
- Advanced Bid Controls: A feature that allows setting a maximum bid price for Deals, giving more control over bid adjustments and spending limits.
- Bid Price: The bid price determines how much you are willing to spend based on the selected bid type. For Advanced Bid Controls, set a Default Bid Price and custom bid prices. Deals must be associated at the Campaign and Line level to allow for custom bid prices. When new Deals are added to the Line if a custom bid is not set, the bid price will default to the value set in the Default Bid Price field on the Line.
- Budget Multiplier: This feature allows the user to specify a multiplier on the daily budget. For example, setting a 1.1 multiplier will allow the Line to adjust the daily budget up to 110% of its typical daily budget. The new daily spend is calculated as Budget Multiplier x Daily Budget = New Daily Spend. Keep in mind, the daily budget may adjust based on pacing, and the actual daily spend could exceed the set multiplier.
- Enable Foot Traffic Reporting: Foot Traffic Reporting allows you to enter specific commercial addresses and track whether users that were served your Ads visited those locations.
- Foot Traffic Lookback: Set the time window for tracking foot traffic data.
- Template Description: A brief explanation that helps you and other users understand the purpose of the Template.
- Icon: An image that makes the template easily identifiable, helping users quickly recognize it.
Pacing & Dayparts
If ‘Mange Dayparts’ is NOT enabled on the Campaign Template Setup section and you want to edit the Pacing & Dayparts section of the Line Template, follow these steps:
- Navigate to the Pacing & Dayparts section within the Line Template.
- Make the necessary changes to the Pacing & Dayparts settings. Refer to the documentation page to review available Pacing & Dayparts options: Line Pacing & Dayparts
- If you have finished editing the Template, click the ‘Submit’ button in the top right corner of the page to save and apply all changes. If you do not want to apply the edits, press ‘Cancel’ to discard changes and revert the Campaign to its previous settings. To continue making edits, proceed to other sections.
If ‘Manage Dayparts’ is enabled on the Campaign Template Setup section and you want to edit the Pacing & Dayparts section of the Line Template, follow these steps:
- Navigate to the Pacing & Dayparts section within the Campaign Template that the Line belongs to.
- Edit the Campaign Template and uncheck the ‘Manage Dayparts’ box to enable Line Level control.
- Once disabled, go to the Line Template and update the Pacing & Dayparts settings. Refer to the documentation page to review available Pacing & Dayparts options: Line Pacing & Dayparts
- If you have finished editing, click the ‘Submit’ button in the top right corner of the page to save and apply all changes. If you do not want to apply the edits, press ‘Cancel’ to discard changes and revert the Line to its previous settings. To continue making edits, proceed to another section.
Frequency & Recency
If the ‘Enable Line Frequency’ feature is checked in the Line Template Setup section and you want to edit the Frequency & Recency section of the Line Template, follow these steps:
- Navigate to the Frequency & Recency section within the Line Template.
- Make the necessary changes to the Frequency & Recency settings. Refer to the documentation page to review available Frequency & Recency options: Line Frequency & Recency
- If you have finished editing the Template, close the window and click the ‘Submit’ button in the top right corner of the page to save and apply all changes. If you do not want to apply the edits, press ‘Cancel’ to discard changes and revert the Campaign to its previous settings. To continue making edits, proceed to other sections.
Foot Traffic Reporting
If the ‘Enable Foot Traffic Reporting’ feature is checked in the Line Template Setup section and you want to edit the Locations of the Line Template, follow these steps:
- Navigate to the Foot Traffic Reporting section within the Line Template.
- Add or delete Locations using one of the below methods. Refer to the following documentation for instructions on setting up a new location using each method: Line Foot Traffic Reporting
- Address
- Latitude Longitude (Lat Long)
- Geofence
- Bulk Upload
- If you have finished editing the Template, close the window and click the ‘Submit’ button in the top right corner of the page to save and apply all changes. If you do not want to apply the edits, press ‘Cancel’ to discard changes and revert the Campaign to its previous settings. To continue making edits, proceed to other sections.
Targeting
To edit the Targeting section of a Line, follow these steps:
- Navigate to the Targeting section within the Line Template.
- Click ‘Edit Targeting’ to modify targeting settings.
- Make the necessary changes to the targeting settings. Refer to the documentation page to review available targeting options: Line Targeting
- Click ‘Save’ in the bottom right corner of the popup window to apply all changes. To discard changes and revert to the previous settings, click ‘Cancel’.
- If you have finished editing the Template, close the window and click the ‘Submit’ button in the top right corner of the page to save and apply all changes. If you do not want to apply the edits, press ‘Cancel’ to discard changes and revert the Line Template to its previous settings. To continue making edits, proceed to the other sections.