IP Conversion Pixel: Conversion Rate
Overview
The ‘Conversion Rate Report’ helps track the effectiveness of your ads by analyzing conversion rates day over day. To calculate the conversion rate for each day, divide ‘Conversions’ by ‘Imps’.
The conversion metric in this report matches the UI metrics when the ‘Line’ dimension is included. When this dimension is selected, conversions are not de-duplicated across line items. For example, if a user sees ads from two Lines under the same Campaign and completes one purchase, this will count as a conversion for both Line Items, and the Campaign will show two conversions.
For unique conversions across an advertiser or campaign, you can run a custom ‘IP Conversion Rate’ report without selecting the ‘Line ID’ dimension. This report will show unique conversions on the selected date(s). For unique conversions across a campaign flight, run the ‘IP Path to Conversion Report’ and de-duplicate the hashed IP address across all dates.
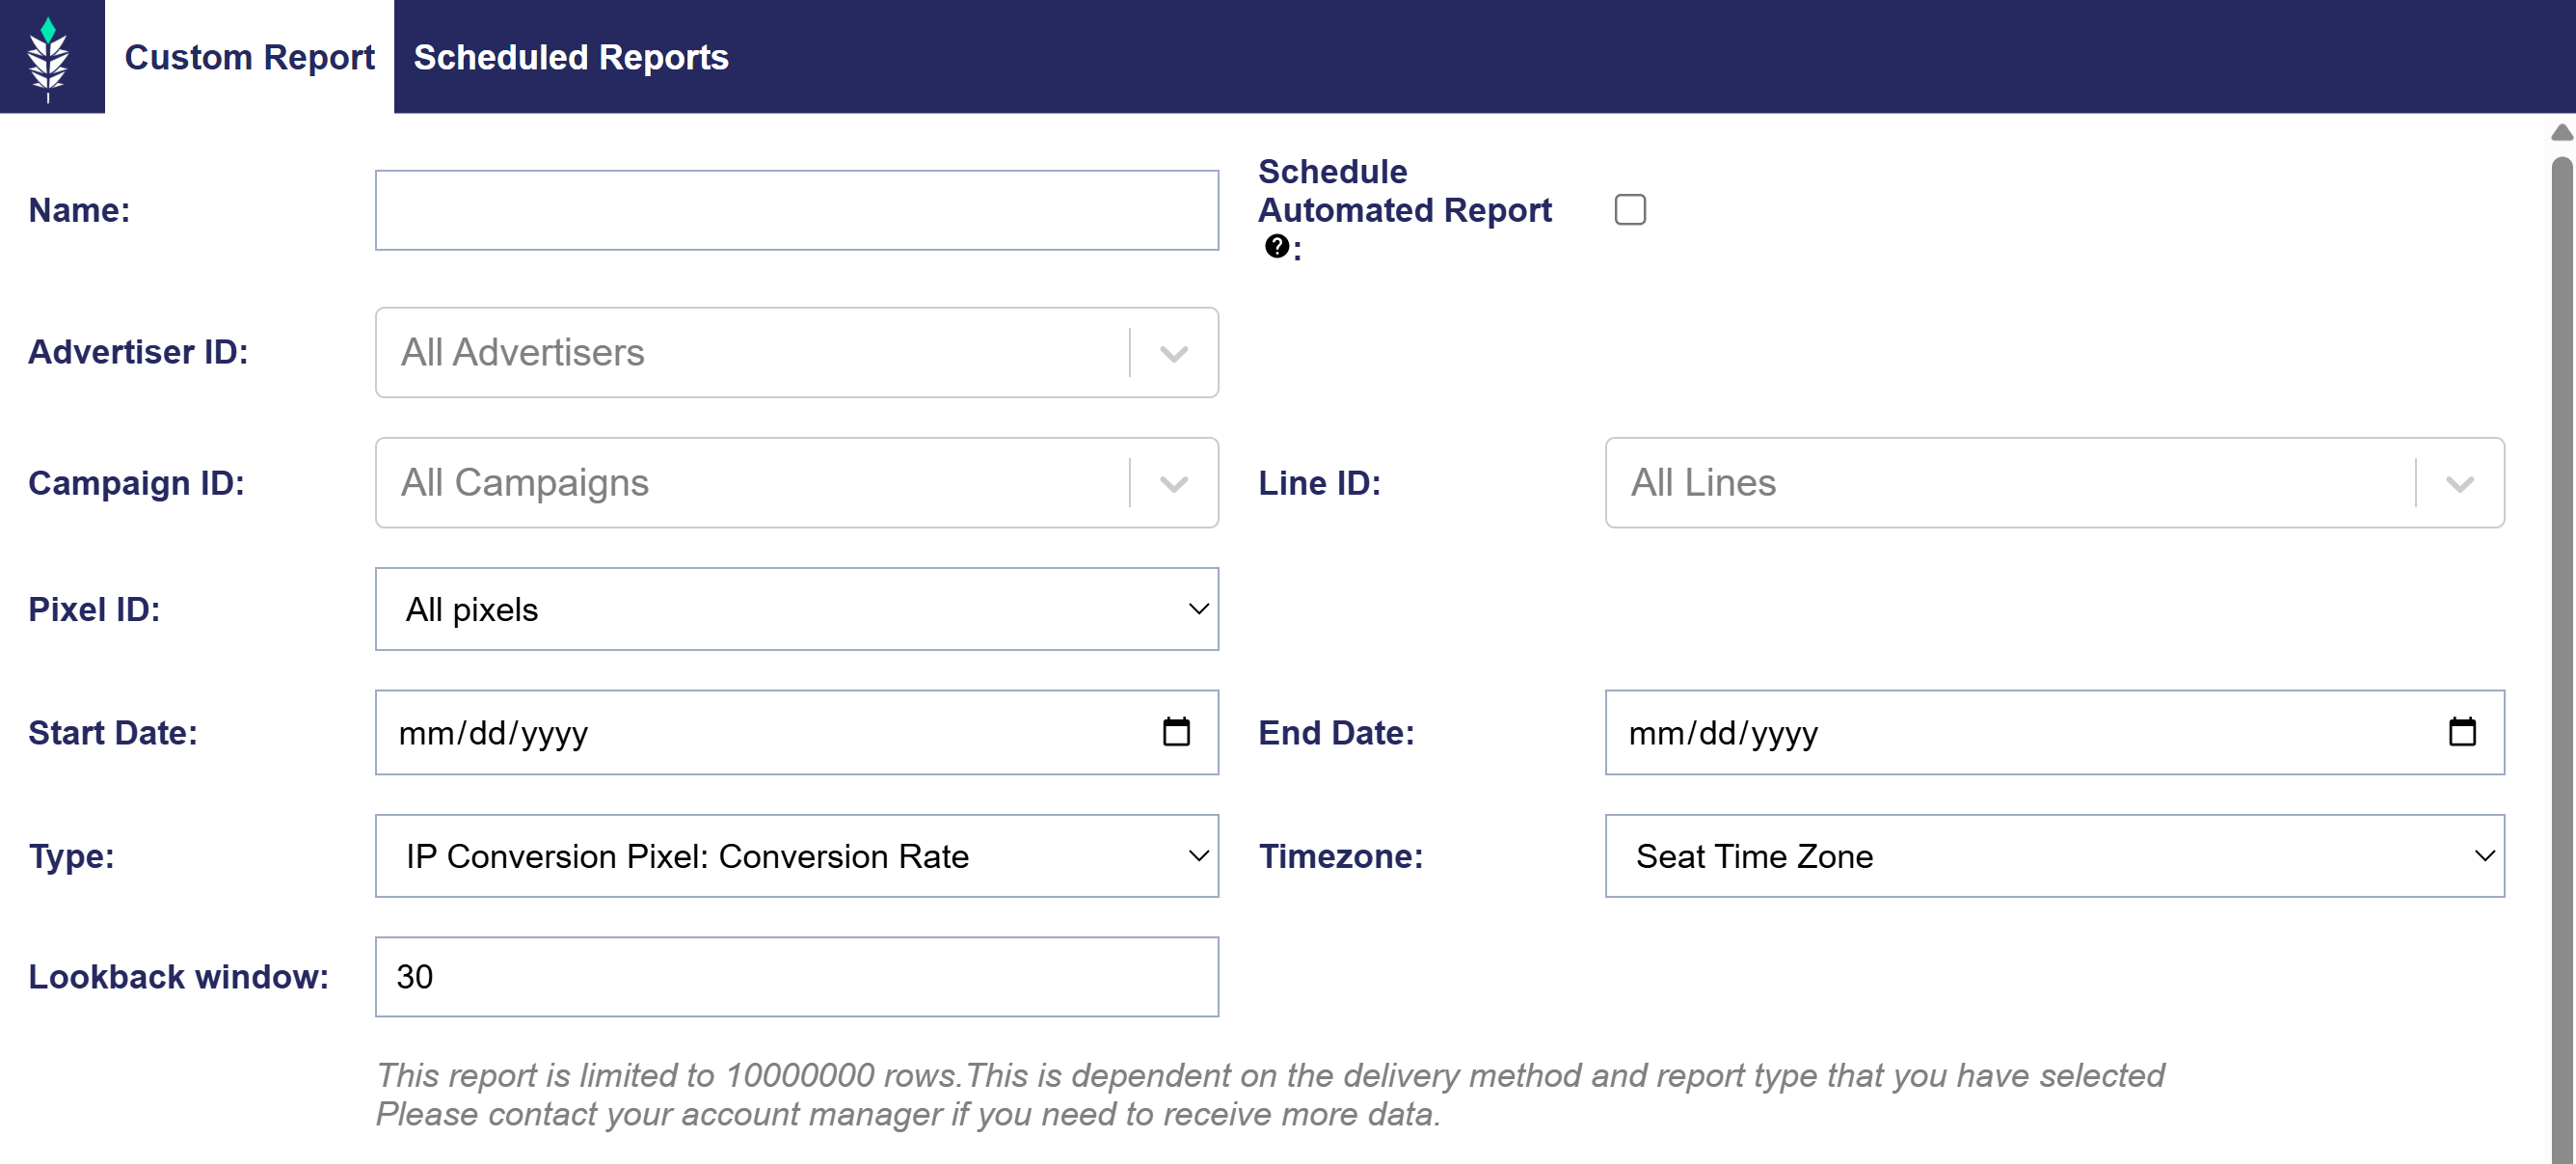
Create an IP Conversion Pixel: Conversion Rate Report
- Navigate to the Reporting tab and open the Custom Reporting dropdown section.
- Click ‘New Custom Report’.
- Select ‘IP Conversion Pixel: Conversion Rate’ as the Type.
- Fill out the required report details.
- Click ‘Save’.
- Expand the Custom Reporting dropdown section and click the ‘Download’ button next to the name of your custom report.
- If Scheduled Automated Reports were selected, the report will be delivered via your chosen delivery method.
Below are the customizations available when creating the report:
- Name: Enter a title for your report.
- Schedule Automated Report: Choose this option to have the report sent to you on regular intervals. See the section for setup details Scheduled Reports
- Advertiser ID: Select the Advertiser IDs that you would like to include in your report. By default, all Advertisers are included.
- Campaign ID: Select the Campaign IDs that you would like to include in your report. By default, all Campaigns under the selected Advertisers are included.
- Line ID: Select the Line IDs that you would like to include in your report. By default, all Lines under the selected Advertisers and Campaigns are included.
- Pixel ID: Select the Pixel IDs that you would like to include in your report. By default, all Pixels are included.
- Start Date: Define the start date for the report interval.
- End Date: Define the end date for the report interval.
- Type: Choose the type of report. See each section for more details on report types.
- Custom Report
- IP Conversion Pixel: Path to Conversion
- IP Conversion Pixel: Page Visits
- IP Conversion Pixel: Conversion Rate
- Log Level Report
- Reach/Frequency Report.
- Timezone: Select the timezone that the report will generate, such as Seat Time Zone, User Time Zone, UTC, etc.
- Lookback window: By default, the IP conversion pixels use a 30-day lookback window.
- Dimensions: Categorical values that define how data is grouped and segmented in reports, such as Line ID and Line Name.