Overview
Custom reporting allows you to select and customize all dimensions and metrics you wish to evaluate, providing an exportable CSV with Campaign data. You can choose Advertisers, Campaigns, Line Items, Dimensions, Metrics, and a Date Range to generate a report. All reports are created in UTC time zone.
Custom Report Types
- Custom Report
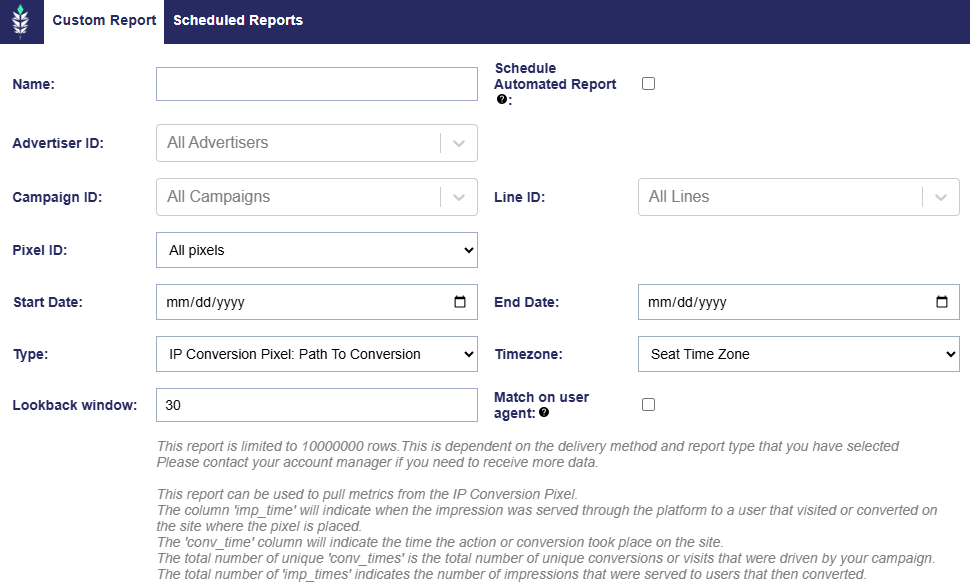
- IP Conversion Pixel: Path to Conversion
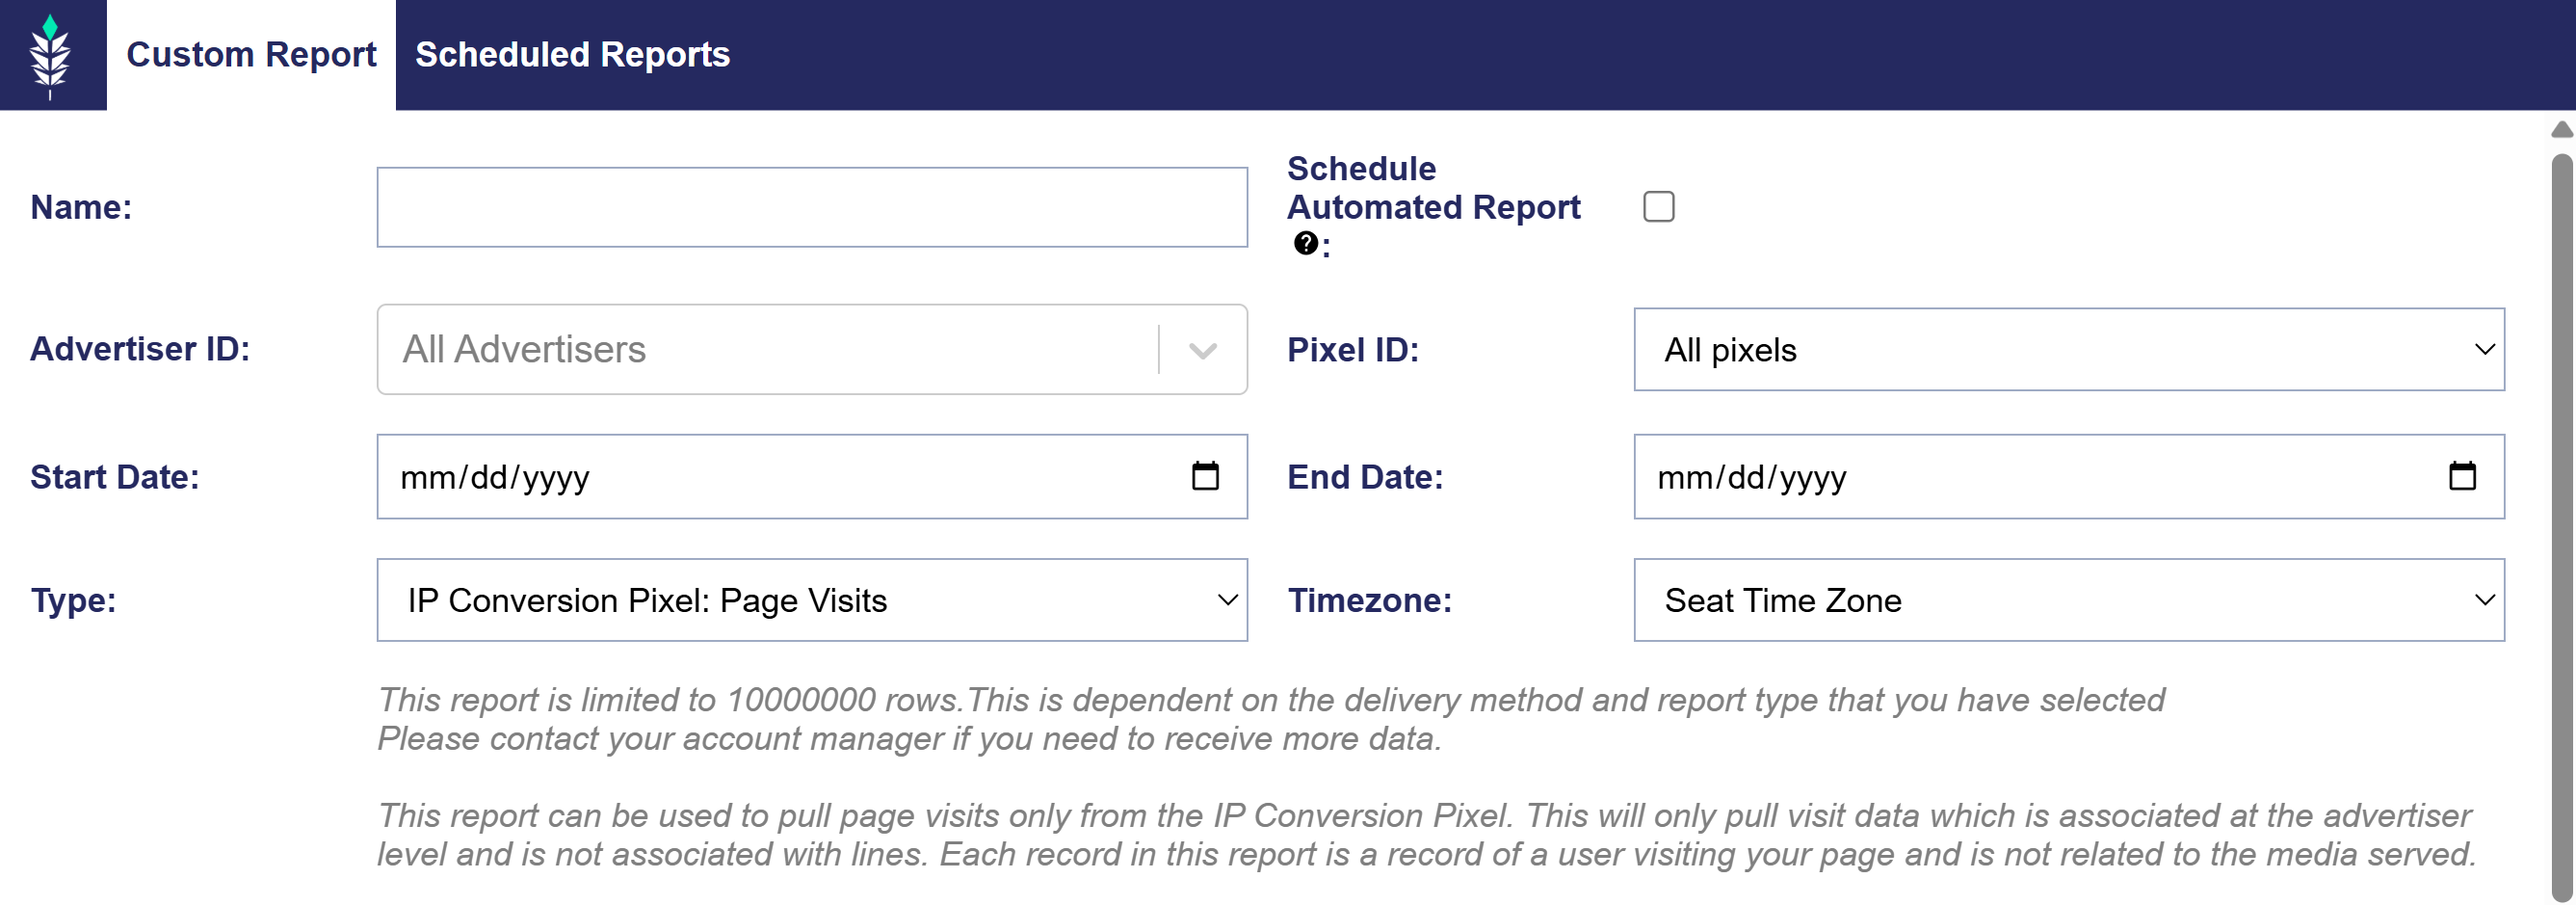
- IP Conversion Pixel: Page Visits
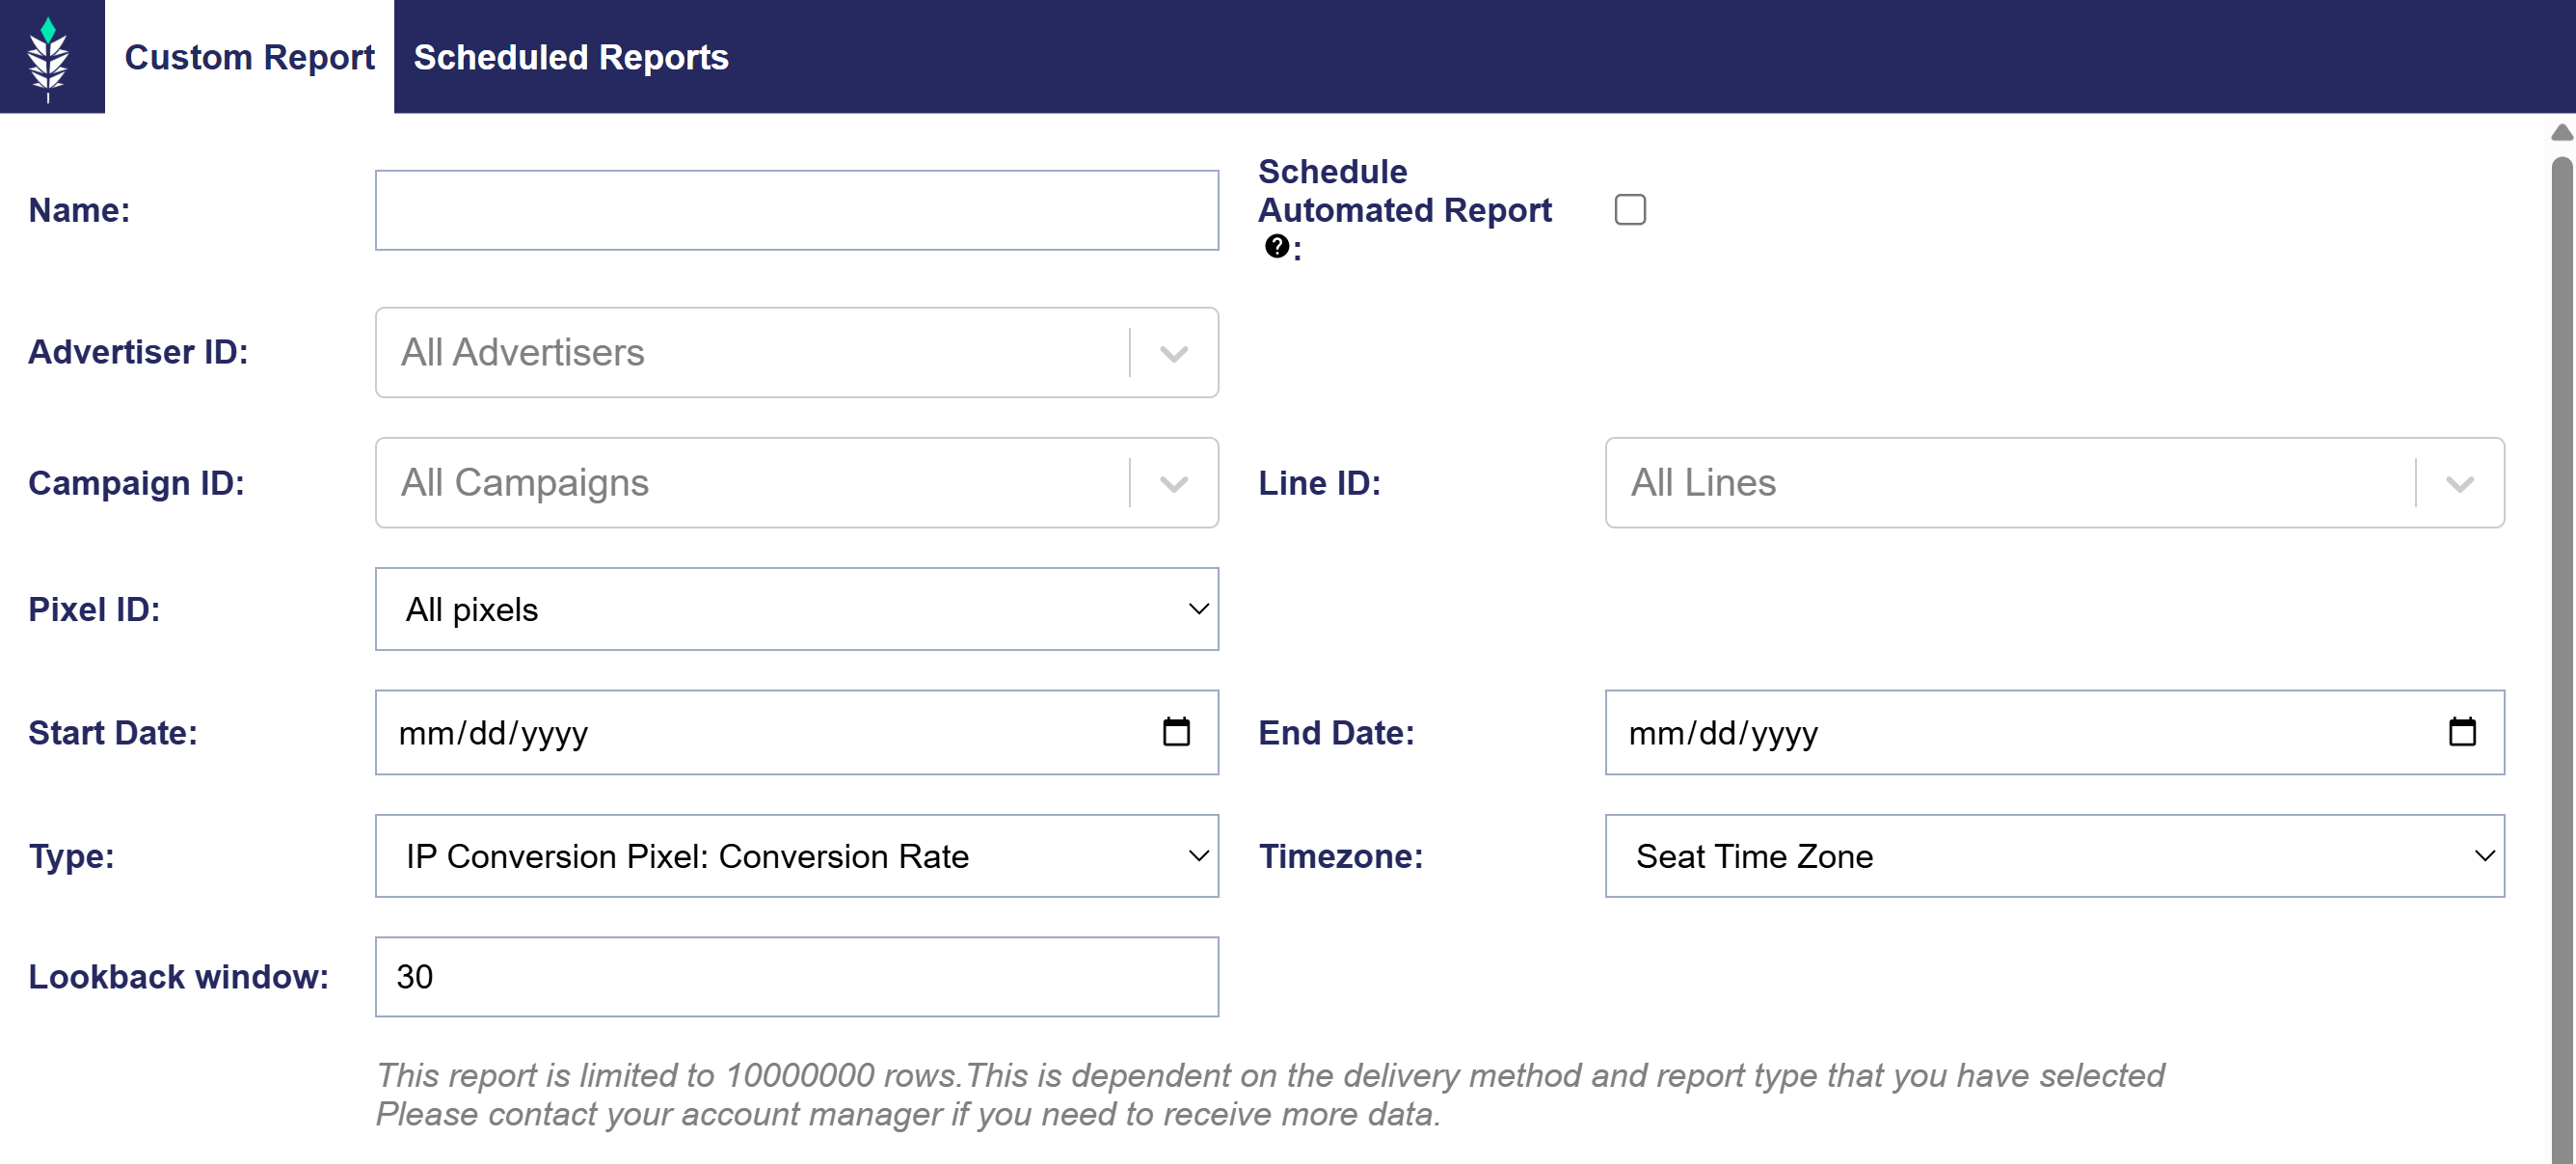
- IP Conversion Pixel: Conversion Rate
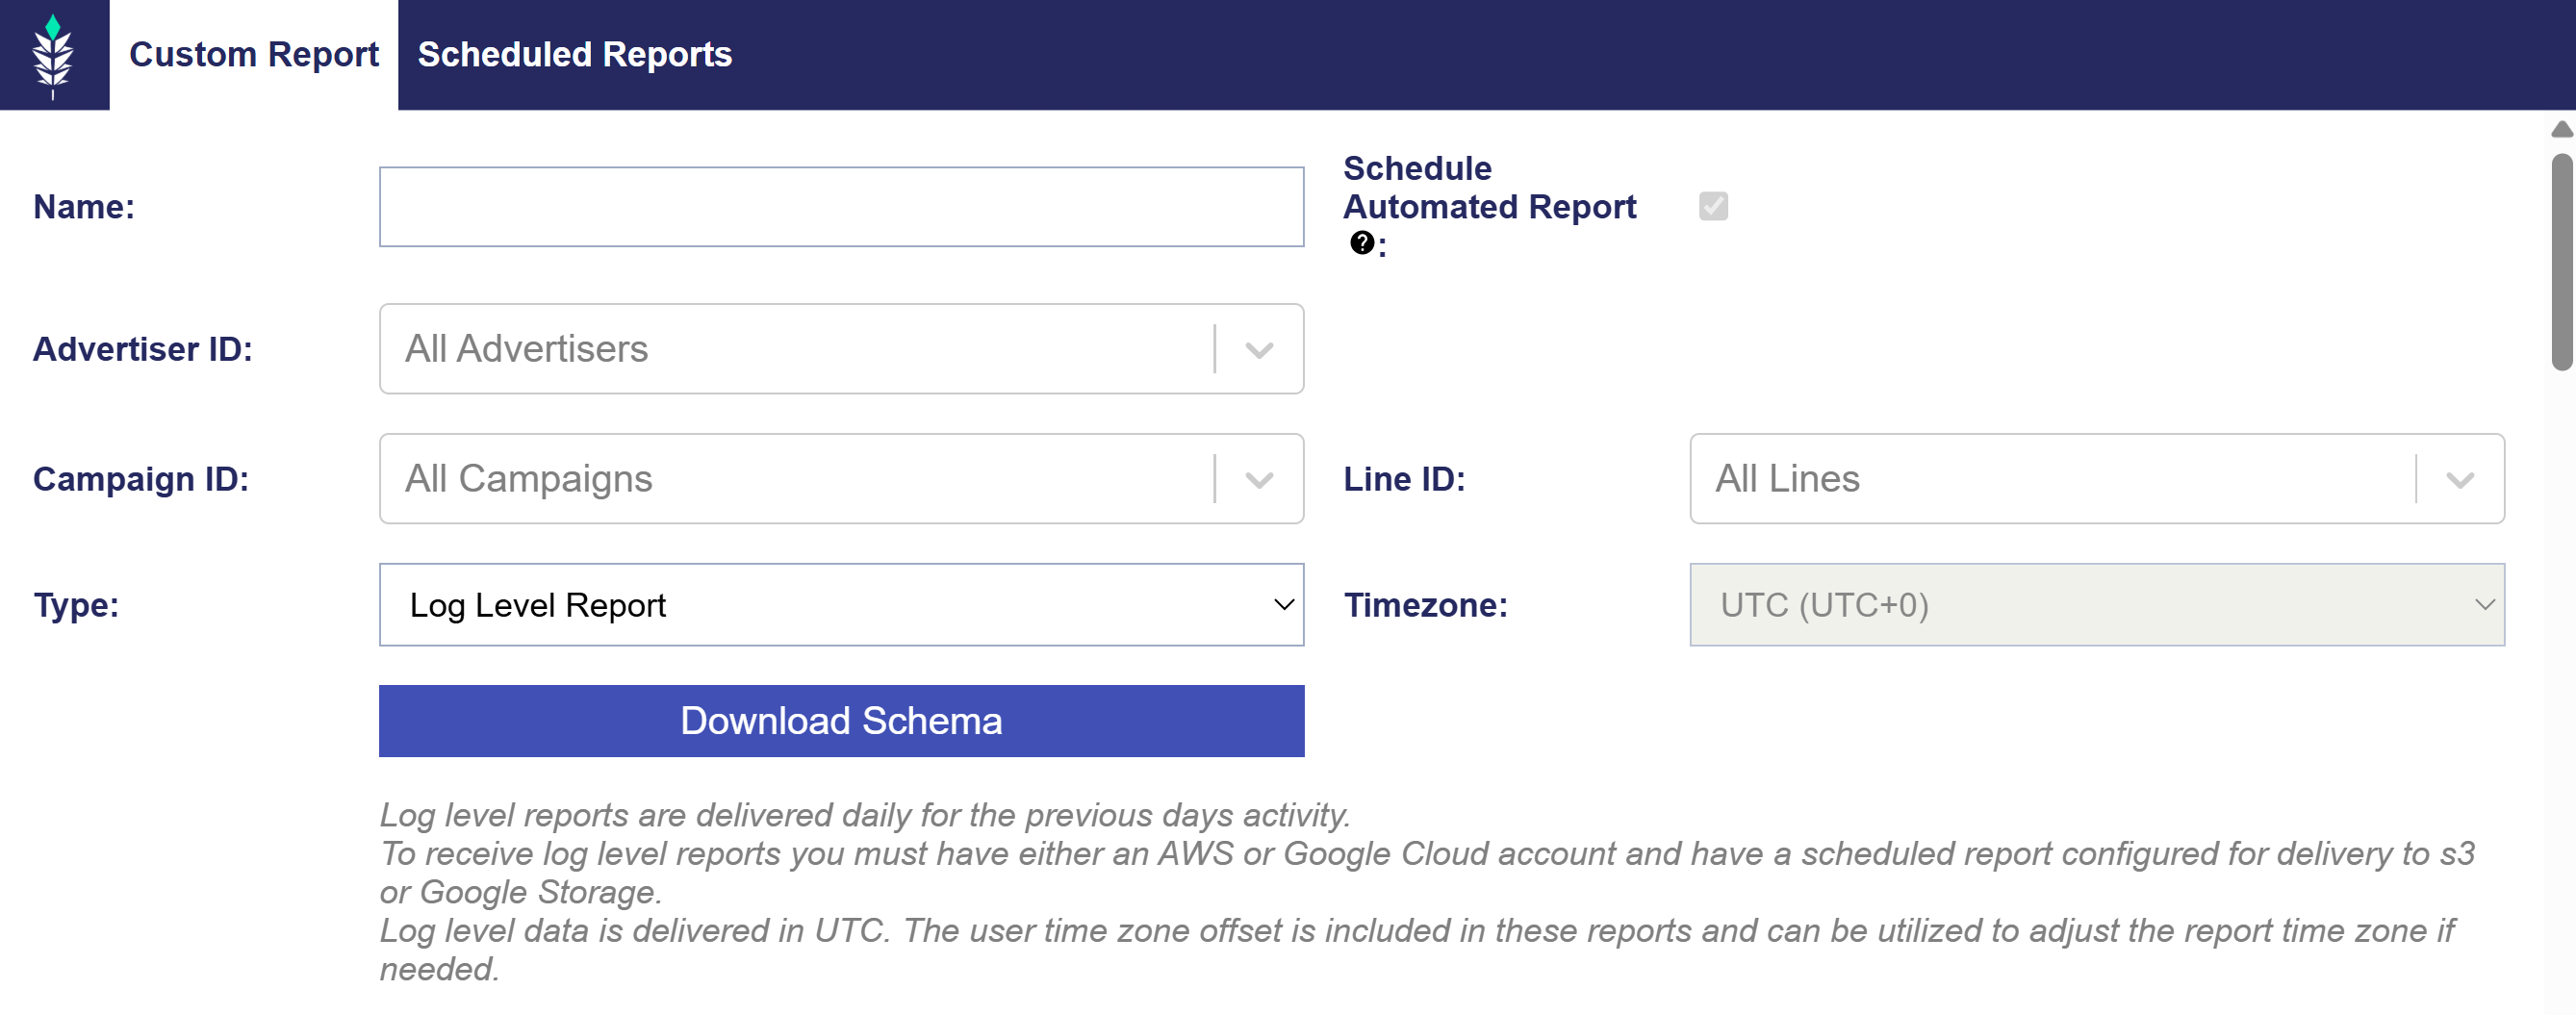
- Log Level Reporting
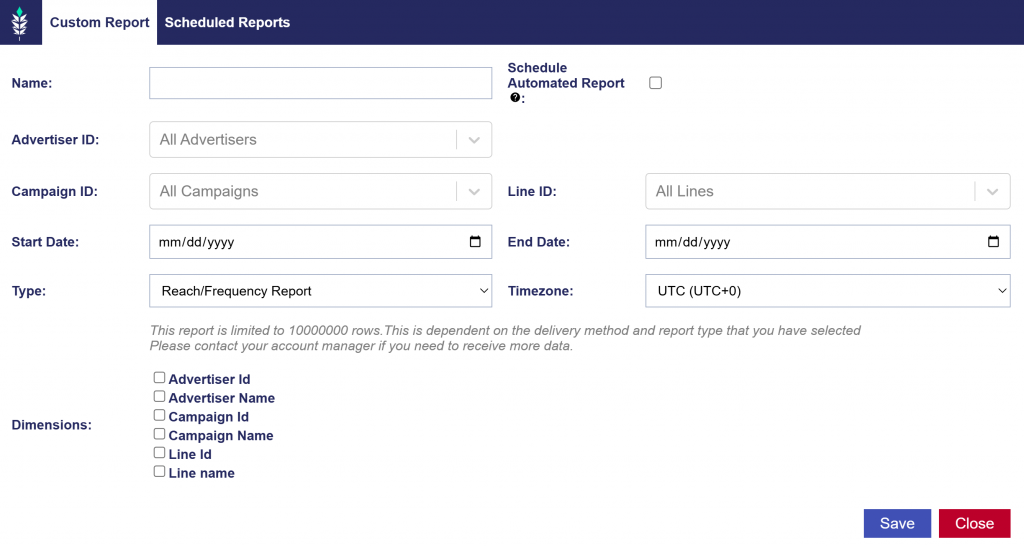
- Reach/Frequency Report
Report Availability
- Reports remain downloadable in the platform for 30 days.
- After expiration, reports must be rerun. Note that some data points may no longer be available.
Report Limitations
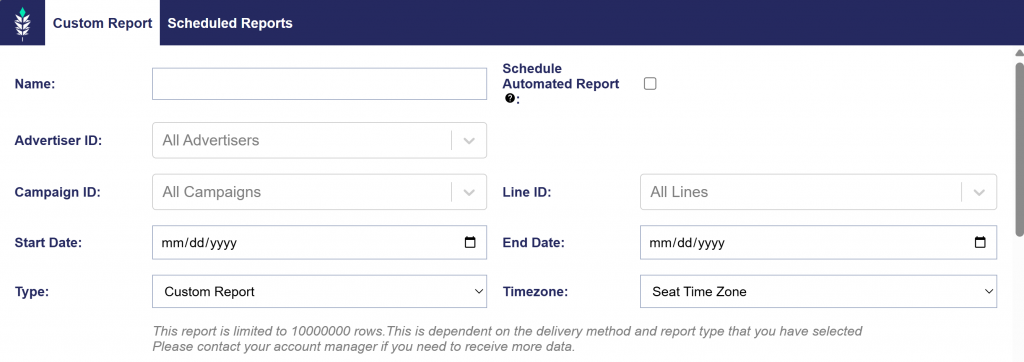
- Maximum Rows: Custom Reports are limited to 10,000,000 rows, depending on the delivery method and report type selected.
- Incomplete Data Warning: If a report exceeds this limit, a yellow caution symbol will appear next to the report name, indicating that the data is incomplete.
- If you require additional data beyond this limit, you can:
- Split the report into multiple smaller reports.
- Reduce the number of selected dimensions to decrease row count.
- Contact your Account Manager for assistance.
- If you require additional data beyond this limit, you can:
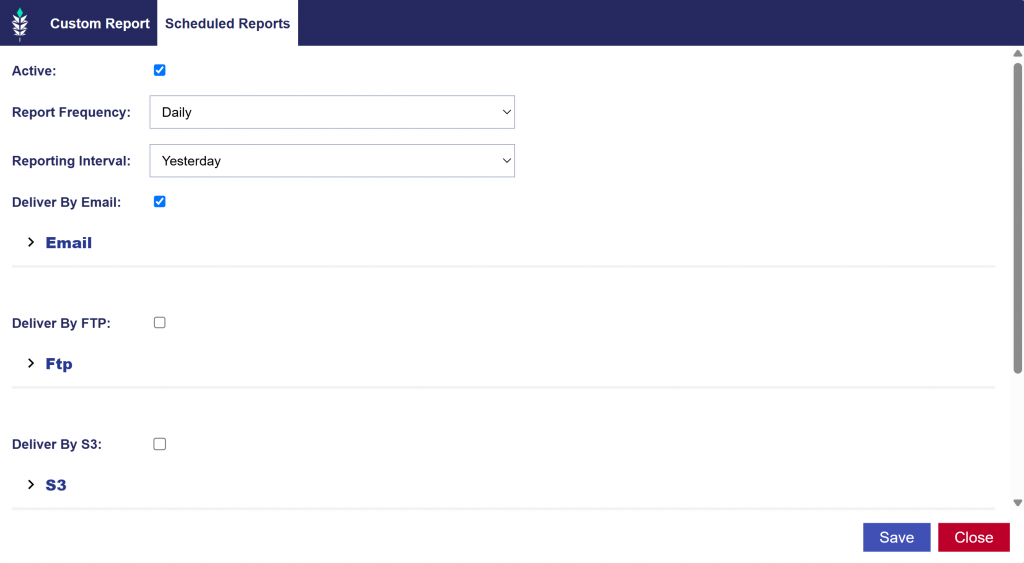
Custom Reporting Time Zone
The time zone for custom reports can be configured on each individual report. Note, metrics will only match billing if the report is pulled in UTC. Custom reports may not match the metrics shown in the platform if they are not pulled in the seat time zone.
User time zone will use the ‘user time zone offset’ from the bid request to adjust report metrics for each impression to the time zone where that impression was served. When the user’s time zone offset is not present in the bid request, it will be defaulted to UTC.
Seat Time Zone
The time zone for your account can be configured under the ‘Admin’ section of the platform in ‘Seat Settings’ under ‘Preferences’. This time zone setting will adjust the metrics in the advertiser tab (advertisers, campaign and line item metrics) as well as the reporting dashboard. Note: this does not apply to billing metrics in the account balance or the pacing and dayparts on campaigns or lines. All billing metrics and transactions are for account activity in UTC. Pacing and dayparting time zones can be configured on each campaign or line.
Note that all platform activity appears in the account balance and is billed in UTC time zone.
Report Status
When users generate a report and it fails, hover over the status to view the tooltip that shows the reason for the failure.
Common issues include, but not limited to:
- This report exceeds the maximum returnable number of rows and contains incomplete results. Please select a smaller date range or more restrictive parameters to see complete results.
- This report failed to process. Please contact your account manager for more information or reach out through the Help Center.
- This report failed to process. Try reducing the timeframe of the report.