IP Conversion Pixels
Overview
With the IP based pixel, a client can place this on their website and attribute online actions (browsing a page, loading the shopping cart, purchases) to CTV, Streaming Audio, and Display campaigns run through the Pontiac platform. Typically, pixels are based on third party cookies which work on browsers, and these do not allow for attribution for CTV and Streaming Audio campaigns. Pontiac IP Conversion Pixels are a proprietary and privacy safe attribution solution for CTV & Streaming Audio that utilizes the user’s IP Address to track website traffic and online purchases driven by your campaigns.
Metrics
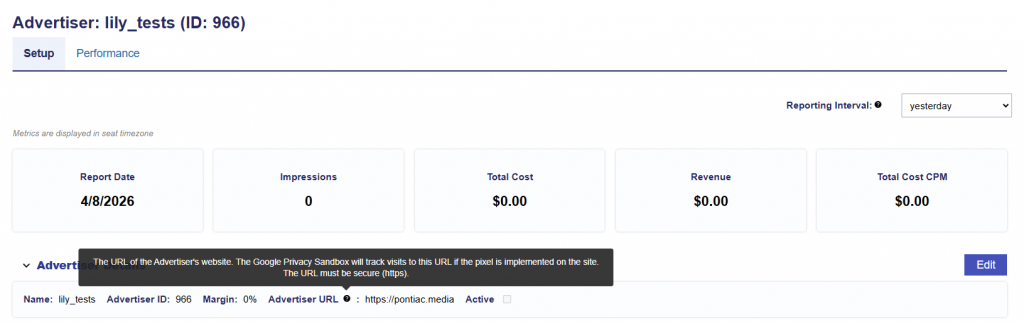
At the Advertiser level, IP Conversion metrics will include conversions from ALL Line Items under this Advertiser, even if the pixel was not associated to the Line. If the pixel is associated to a Line Item, you can see metrics for that Line Item by opening the Line. Detailed reporting can be pulled in the Reporting tab under Custom Reports.
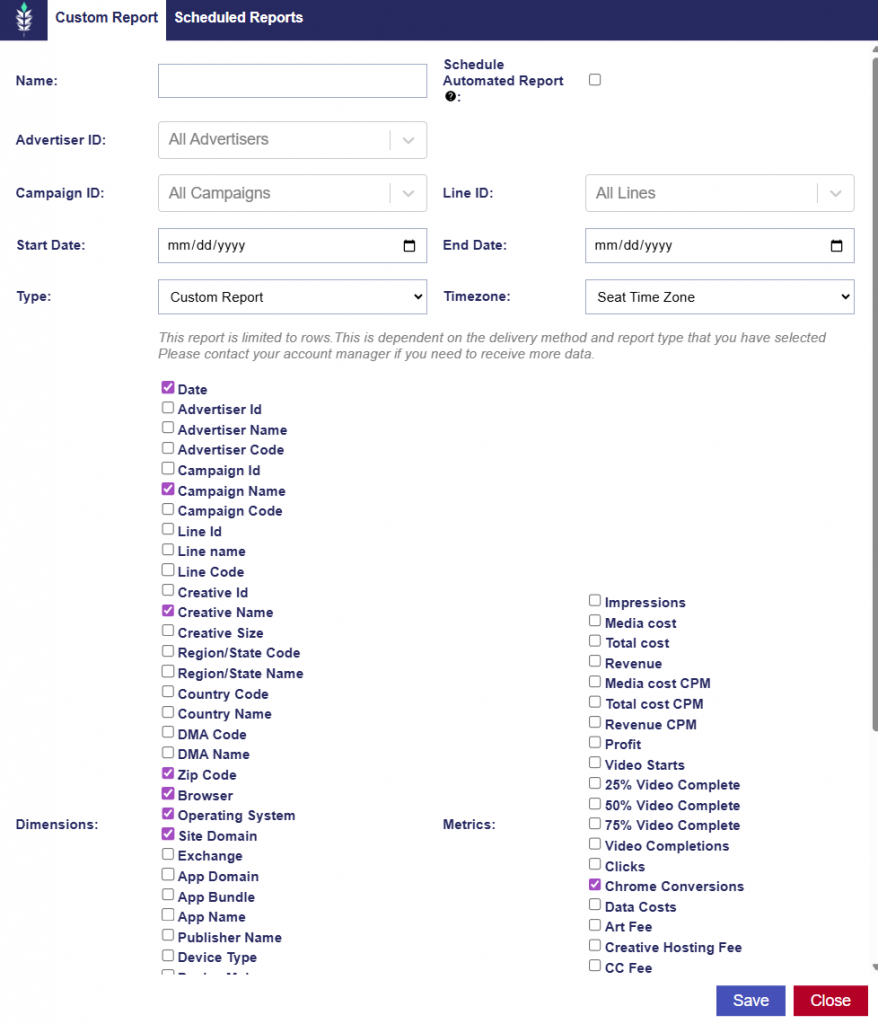
IP conversion pixels have a standard lookback of 30 days in the metrics under the Advertiser. This means that the user must complete the desired action within 30 days of seeing the ad for it to count as a conversion. If you would like to pull reporting with a custom lookback window, this can be done in Custom Reporting using the IP Conversion Custom Report. You can select from ‘5’, ‘7’, ’15’ or ’30’ day as the lookback.
- Attributed Imps: The number of impressions served by a Line Item under the Advertiser to users that then converted.
- Total Convs: The number of conversions, or unique actions that were driven by all Line Items under the Advertiser. A conversion event will be defined according to the pixel placement. For example, if the pixel is placed on all web pages, a conversion event would equal a page visit. If the pixel is placed on the ‘Thank you’ page after a purchase, then a conversion event would equal a purchase.
- Total Loads: The Loads will indicate the number of times the pixel has fired on the page. This is the number of users that have visited the page in the selected time interval regardless if the Line Item drove the conversion. If the pixel is showing 0 loads, this may indicate the pixel is not properly placed or firing correctly.
- Uniques: The total number of unique visitors (loads) to the web page where the pixel is placed in the reporting interval selected.
To pull additional metrics or information from your IP Conversion Pixel, see here: Custom Reporting