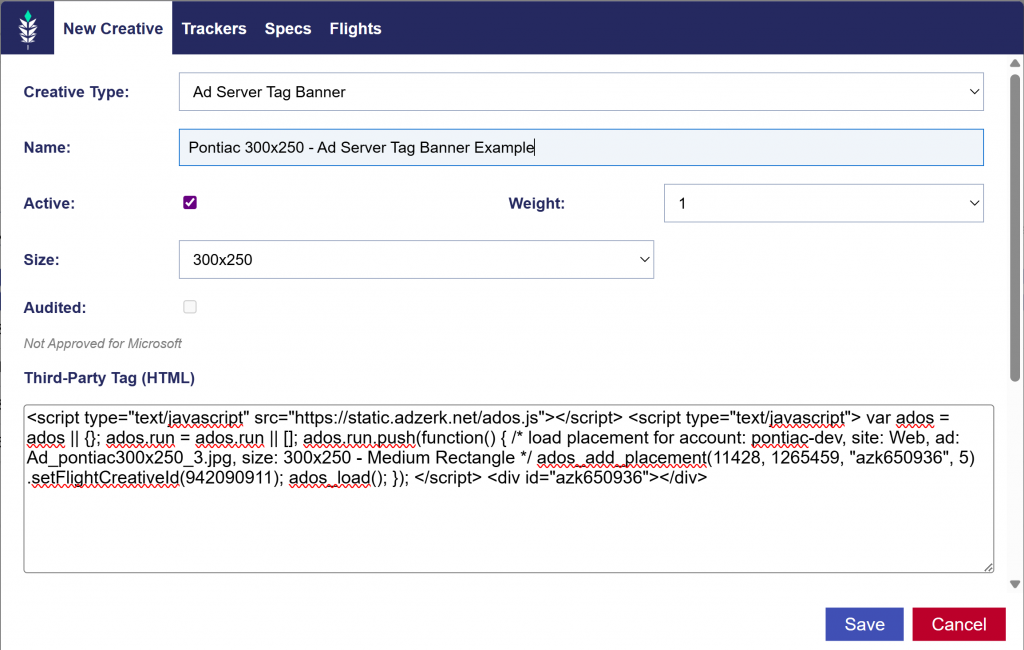
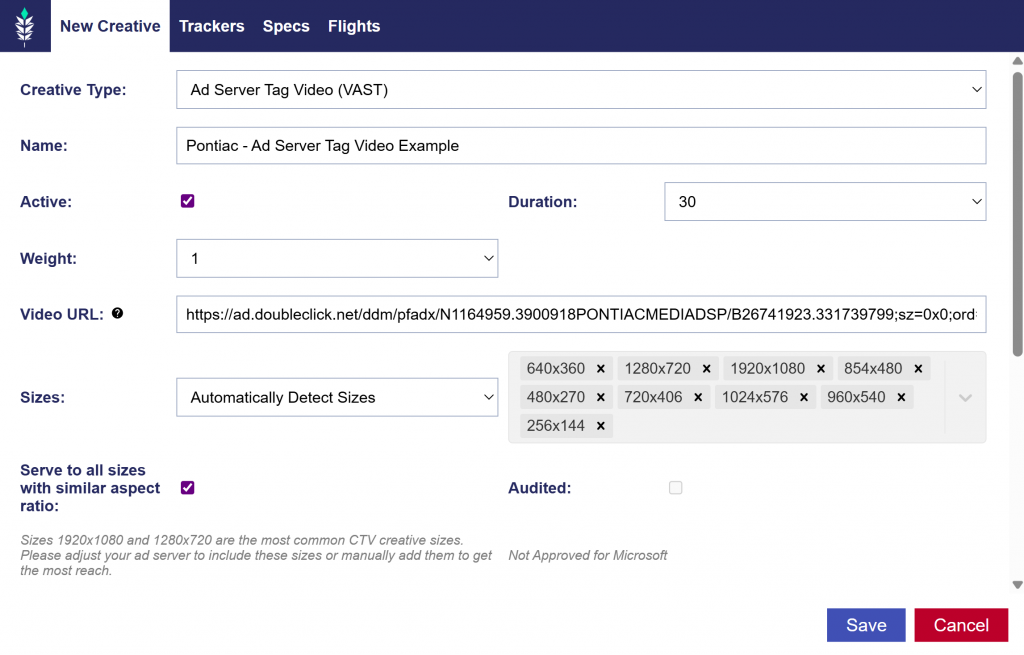
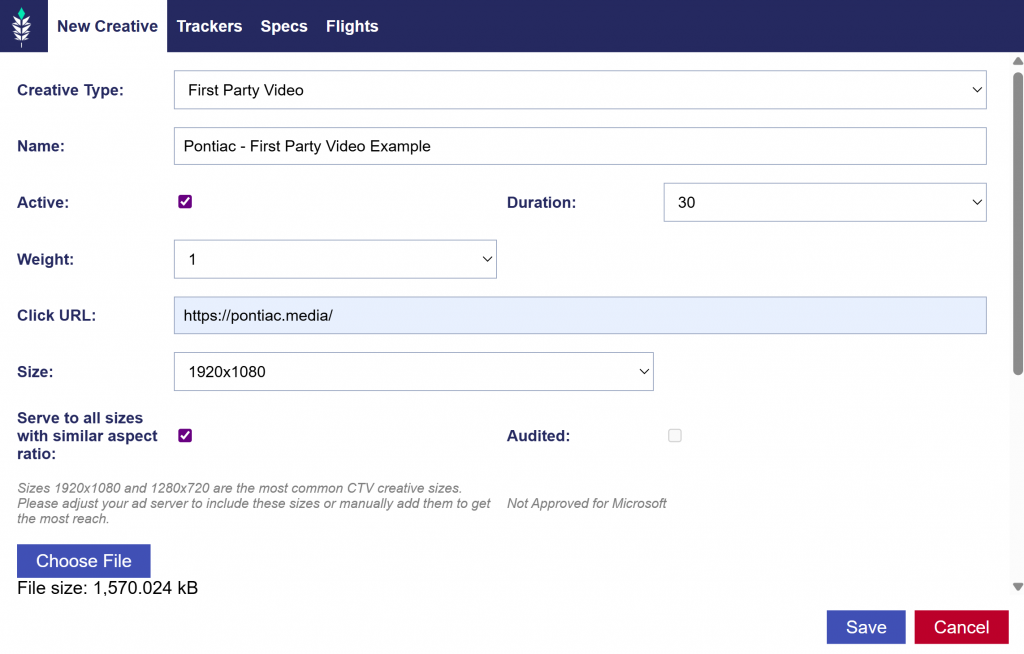
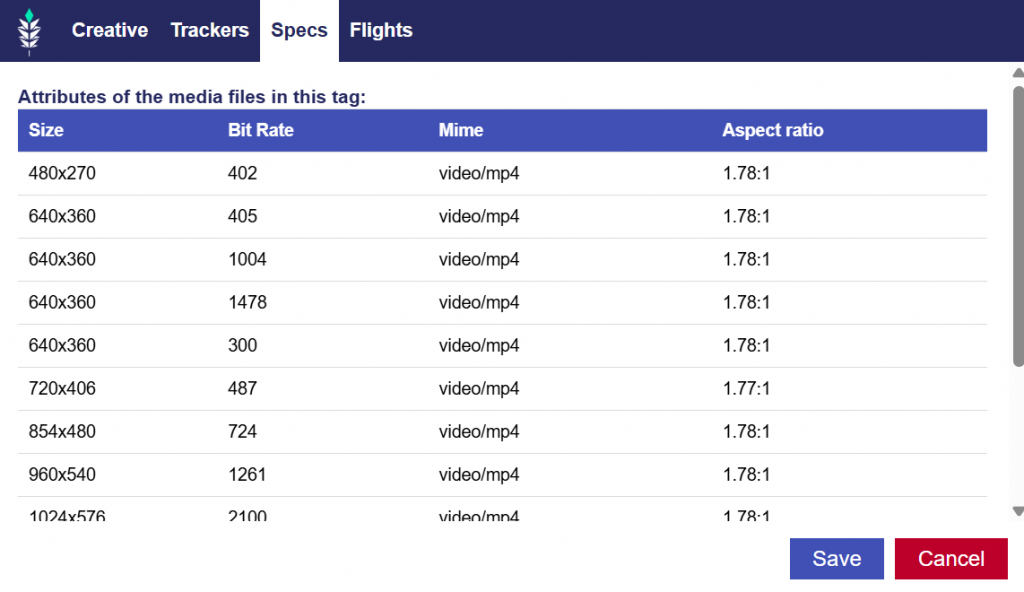
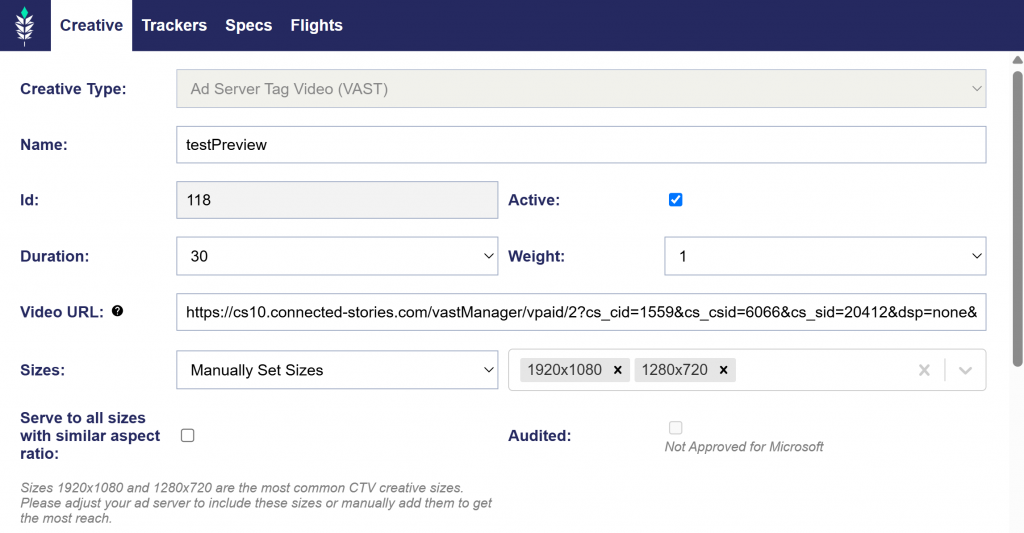
Click Tracking: For Pontiac to track clicks properly when utilizing third-party creative tags, the Click Macro will need to be properly inserted into the tag. Below are examples for the common ad servers. If your ad server is not included here, contact your third-party server for the location where the macro should be placed. The macro is either ${CLICK_URL} or ${CLICK_URL_ENCODED}
Cache-busting: The cache-buster macro helps to ensure that impressions are more accurately counted as it guarantees that a fresh call is made to the ad server each time the tag is called. If this macro is not implemented it is more likely that you will see larger discrepancies between Pontiac reporting and the reporting in your ad server. Below are examples of the macro placement in tags for common ad servers. If your ad server is not included here, contact your third-party server for the location where the macro should be placed. The macro is: ${CACHEBUSTER}
All examples on this page were provided Xandr or by Pontiac clients. Pontiac cannot guarantee that these examples represent the current implementation or that changes have not been made by those third-party servers that may cause these macros not to function. The proper placement of all macros should be provided by your third-party server.
Examples by Ad Server for Ad Server Tag Banners:
AdForm:
<script language="javascript" src="http://track.adform.net/adfscript/?bn=123456;click=${CLICK_URL}"></script>
<noscript>
<a href="${CLICK_URL}http://track.adform.net/C/?bn=123456;C=0" target="_blank">
<img src="http://track.adform.net/adfserve/?bn=123456;srctype=4;ord=${CACHEBUSTER}" border="0" width="930" height="180" alt=""/>
</a>
</noscript>
AdGear:
<script type="text/javascript" language="JavaScript">
(function() {
ADGEAR_SOURCE_CLICKTRACKER = "${CLICK_URL}";
ADGEAR_SOURCE_CLICKTRACKER_EXPECTS_ENCODED = false;
ADGEAR_SOURCE_CLICKTRACKER_IS_ENCODED = false;
ADGEAR_SOURCE_CLICKTRACKER_IS_DOUBLE_ENCODED = false;
var randomnum = "{CACHEBUSTER}";
var agref = "";
var proto = "http:";
if (!agref.match(/^https?/i)) agref = "";
if (window.location.protocol == "https:") proto = "https:";
if (randomnum.substring(0,2) == "__") randomnum = String(Math.random());
document.writeln('<scr' + 'ipt type="text/ja' + 'vascr' + 'ipt" s' + 'rc="' +
proto + '//d.adgear.com' + '/impressions/ext/p=' +
'1234' + '.js?AG_R=' + randomnum +
(agref === "" ? "" : ("&AG_REF=" + encodeURIComponent(agref))) +
'"></scr' + 'ipt>');
})();
</script>
AdInterax:
<SCRIPT>adx_U_555555="";adx_D_55555="${CLICK_URL}";adx_I_555555="";</SCRIPT>

<SCRIPT
SRC="http://mi.adinterax.com/js/denvernp,atencio_300X_seren,C=XXXXX,P=XXXXX/ad2.js?q=55555555" LANGUAGE="JavaScript"></SCRIPT>

<NOSCRIPT><A HREF="${CLICK_URL}http://tr.adinterax.com/re/denvernp,atencio_300X_seren,C=XXXXXX ,P=XXXXX/0/0/tc,c:noscript/http://www.johnatencio.com/search?q=new+heart&x=16&y=9"><IMG SRC="http://tr.adinterax.com/re/XXXXXX,atencio_300X_seren,C=John_atencio,
P=Scott/0/0/in,ti/http://mi.adinterax.com/customer/XXXXXXX/0/300x250_FL_newart.jpg?adxq=1282775581" BORDER=0></A></NOSCRIPT>
Adition:
<!-- BEGIN ADITIONTAG -->
<script type="text/javascript" src="http://imagesrv.adition.com/js/adition.js"></script>
<script type="text/javascript" src="http://ad1.adfarm1.adition.com/js?wp_id=12345&kid=12345&clickurl=${CLICK_URL}"></script>
<noscript><a href="${CLICK_URL}http://ad1.adfarm1.adition.com/click?sid=12345&ts=${CACHEBUSTER}">
<img src="http://ad1.adfarm1.adition.com/banner?sid=12345&kid=12345&ts=${CACHEBUSTER}" border="0"></a></noscript>
<!-- END ADITIONTAG -->
AdShuffle:
<iframe allowTransparency="true" frameborder="0" scrolling="no"
marginheight="0" marginwidth="0" topmargin="0" leftmargin="0" width="728"
height="90"
src="http://this.content.served.by.adshuffle.com/p/kl/01/234/r/56/7/8/abdef/ghijkl/view.html?${CACHEBUSTER}&ASTPCT=${CLICK_URL}"></iframe>
Adtech:
<!--IFRAME Tag (General Redirect) // Page: 728x90 //  -->
<IFRAME WIDTH="728" HEIGHT="90" SCROLLING="No" FRAMEBORDER="0" MARGINHEIGHT="0" MARGINWIDTH="0" SRC="http://adserver.adtech.de/adiframe|3.0|1234|1234|0|1234|ADTECH;AdId=1234;BnId=-1;;target=_blank;misc=[timestamp];rdclick=${CLICK_URL}"><script language="javascript" src="http://adserver.adtech.de/addyn|3.0|1234|1234|0|1234|ADTECH;AdId=1234;BnId=-1;;loc=700;target=_blank;misc=[timestamp];rdclick=${CLICK_URL}"></script><noscript><a href="http://adserver.adtech.de/adlink|3.0|1234|1234|0|1234|ADTECH;AdId=9479763;BnId=-1;;loc=300;misc=[timestamp]" target="_blank;AdId=9479763;BnId=-1;"><img src="http://adserver.adtech.de/adserv|3.0|1234|1234|0|1234|ADTECH;loc=300;misc=[timestamp]" border="0" width="728" height="90"></a></noscript></IFRAME>
<!-- End of IFRAME Tag -->
Atlas (New):
<script src='http://ad.atdmt.com/i/a.js;p=11002201227900;cache=${CACHEBUSTER}?click=${CLICK_URL_ENC}'></script><noscript><iframe frameborder='0' scrolling='no' marginheight='0' marginwidth='0' topmargin='0' leftmargin='0' allowtransparency='true' height='250' width='300' src='http://ad.atdmt.com/i/a.html;p=11002201227900;cache=${CACHEBUSTER}?click=${CLICK_URL_ENC}'></iframe></noscript>
Previous:
<iframe src="http://view.atdmt.com/CNT/iview/1234567890/direct;wi.160;hi.600/01${CACHEBUSTER}?click=${CLICK_URL}" frameborder="0" scrolling="no"
marginheight="0" marginwidth="0" topmargin="0" leftmargin="0" allowtransparency="true" width="160" height="600">
<script language="JavaScript" type="text/javascript"> document.write('<a href="${CLICK_URL}http://clk.atdmt.com/CNT/go/1234567890/direct;wi.160;hi.600/01/"
target="_blank"><img src="http://view.atdmt.com/CNT/view/195860978/direct;wi.160;hi.600/01/${CACHEBUSTER}"/></a>');
</script><noscript><a href="${CLICK_URL}http://clk.atdmt.com/CNT/go/195860978/direct;wi.160;hi.600/01/" target="_blank"><img border="0"
src="http://view.atdmt.com/CNT/view/1234567890/direct;wi.160;hi.600/01/${CACHEBUSTER}" /></a></noscript></iframe>
DoubleClick:
<script language="JavaScript" src="http://ad.doubleclick.net/adj/1234.567.890/;net=123456;sz=728x90;click=${CLICK_URL};ord=${CACHEBUSTER}?"
type="text/javascript"></script><noscript><a href="${CLICK_URL}http://ad.doubleclick.net/jump/1234.567.890/;net=123456;sz=728x90;ord=${CACHEBUSTER}?"
target="_blank"><img src="http://ad.doubleclick.net/ad/1234.567.890/;net=123456;sz=728x90;ord=${CACHEBUSTER}?" width="728" height="90" border="0"
alt=""></a></noscript>
DoubleClick (New Ins Tag):
Note: The DoubleClick ‘ins’ type tag will not need the Cachebuster macro.
<ins class='dcmads' style='display:inline-block;width:728px;height:90px'
   data-dcm-placement='N3241.163472.EXAMPLEAD/B8852666.112976410'
   data-dcm-rendering-mode='script'
   data-dcm-https-only
   data-dcm-click-tracker=${CLICK_URL_ENCODED}>
 <script src='//www.googletagservices.com/dcm/dcmads.js'></script>
</ins>
EyeReturn:
<script type="text/javascript" src="http://voken.eyereturn.com/?144857&click=${CLICK_URL}¶ms=${CACHEBUSTER}"></script>
Fetchback:
<script language='javascript' type='text/javascript' src='http://imp.fetchback.com/serve/fb/adtag.js?tid=47476&type=widesky&clicktrack=${CLICK_URL_ENC}'></script>
Flashtalking:
<script language="Javascript1.1" type="text/javascript">
var ftClick = "${CLICK_URL}";
var ftX = "";
var ftY = "";
var ftZ = "";
var ftContent = "";
var ft160x600_OOBclickTrack = "";
var ftRandom = Math.random()*1000000;
var ftBuildTag1 = "<scr";
var ftBuildTag2 = "</";
var ftTag = ftBuildTag1 + 'ipt language="javascript1.1" type="text/javascript" ';
ftTag += 'src="http://servedby.flashtalking.com/imp/55555;55555;201;js;MediaIQ;Sky160x600/?click='+ftClick+'&ftx='+ftX+'&fty='+ftY+'&ftadz='+ftZ+'&ftscw='+ftContent+'&cachebuster='+ftRandom+'" id="ftscript_160x600" name="ftscript_160x600"';
ftTag += '">' + ftBuildTag2 + 'script>'; document.write(ftTag);
</script>
<noscript>
<a href="${CLICK_URL}http://servedby.flashtalking.com/click/55555;55555;0;209;0/?url=232492" target="_blank">
<img border="0" src="http://servedby.flashtalking.com/imp/55555;55555;205;gif;MediaIQ;Sky160x600/?CB=${CACHEBUSTER}"></a>
</noscript>
Integral Ad Science:
Additional Macro: The macro IS_PREVIEW should be included at the end of the fw.adsafeprotected.com URLs to ensure that the creative previews properly in audit. If this macro is not included, the tag will be rejected in the audit process.
<script language="JavaScript" type="text/javascript" src="http://fw.adsafeprotected.com/rjss/at/53729/573929/CAT/jview/101010101/direct/01/${CACHEBUSTER}?click=${CLICK_URL}&adsafe_preview=${IS_PREVIEW}">
</script><noscript><a href="${CLICK_URL}http://clk.atdmt.com/CAT/go/101010101/direct/01/" target="_blank"><img border="0" src="http://fw.adsafeprotected.com/rfw/at/53729/573930/CAT/view/101010101/direct/01/${CACHEBUSTER}?adsafe_preview=${IS_PREVIEW}" /></a></noscript>
<IFRAME SRC="http://fw.adsafeprotected.com/rjsi/dc/54321/123456/adi/N1068.151790.ABCDE/B6797568.72;sz=160x600;click=${CLICK_URL};ord=${CACHEBUSTER}?adsafe_preview=${IS_PREVIEW}" WIDTH=160 HEIGHT=600 MARGINWIDTH=0 MARGINHEIGHT=0 HSPACE=0 VSPACE=0 FRAMEBORDER=0 SCROLLING=no BORDERCOLOR='#000000'>
<SCRIPT language='JavaScript1.1' SRC="http://fw.adsafeprotected.com/rjss/dc/54321/455394/adj/N1068.151790.ABCDE/B6797568.72;abr=!ie sz=160x600;click=${CLICK_URL};ord=${CACHEBUSTER}?adsafe_preview=${IS_PREVIEW}">
</SCRIPT>
<NOSCRIPT>
<A HREF="${CLICK_URL}http://ad.doubleclick.net/jump/N1068.151790.ABCDE/B6797568.72;abr=!ie4;abr=!ie5;sz=160x600;ord=${CACHEBUSTER}?">
<IMG SRC="http://fw.adsafeprotected.com/rfw/dc/54321/455392/ad/N1068.151790.ABCDE/B6797568.72;abr=!ie4;abr=!ie5;sz=160x600;ord=${CACHEBUSTER}?adsafe_preview=${IS_PREVIEW}" BORDER=0 WIDTH=160 HEIGHT=600 ALT="Advertisement"></A>
</NOSCRIPT>
</IFRAME>
Kevel:
<script type="text/javascript" src="https://static.adzerk.net/ados.js"></script>
<script type="text/javascript">
  var ados = ados || {};
  ados.run = ados.run || [];
  ados.run.push(function() {
    /* load placement for account: pontiac-dev,
                          site: Web,
                          ad: Ad_2BrainFreeze-300x250png,
                          size: 300x250 - Medium Rectangle */
    ados_add_placement(11428, 1265459, "azk36943", 5)
      .setFlightCreativeId(964774214).setRedirectUrl('${CLICK_URL}');
    ados_load();
  });
</script>
<div id="azk36943"></div>
Sizmek:
<script src="http://bs.serving-sys.com/BurstingPipe/adServer.bs?cn=rsb&c=12&pli=1234567&PluID=0&w=728&h=90&ord=${CACHEBUSTER}&ifrm=-1&ucm=true&ncu=$$${CLICK_URL_ENC}$$">
</script><noscript><a href="${CLICK_URL}http%3A//bs.serving-sys.com/BurstingPipe/BannerRedirect.asp%3FFlightID%3D1234567%26Page%3D%26PluID%3D0%26Pos%3D1234"
target="_blank"><img src="http://bs.serving-sys.com/BurstingPipe/BannerSource.asp?FlightID=1234567&Page=&PluID=0&Pos=1234" border=0 width=728
height=90></a></noscript>
MediaPlex:
<script type="text/javascript" src="http://altfarm.mediaplex.com/ad/js/12345-678901-23456-7?mpt=${CACHEBUSTER}&mpvc=${CLICK_URL_ENC}"></script>
<noscript><a href="${CLICK_URL}http://altfarm.mediaplex.com/ad/nc/12345-678901-23456-7?mpt=${CACHEBUSTER}">
<img src="http://altfarm.mediaplex.com/ad/nb/12345-678901-23456-7?mpt=${CACHEBUSTER}" alt="Click Here" border="0"></a></noscript>
<IFRAME SRC="http://b3.mookie1.com/2/abcdefg/hijkl/123456/Banner/300/1${CACHEBUSTER}@x90" WIDTH=0 HEIGHT=0 MARGINWIDTH=0
MARGINHEIGHT=0 HSPACE=0 VSPACE=0 FRAMEBORDER=0 SCROLLING=no BORDERCOLOR="#000000"></IFRAME>
Open Ad Stream (24/7):
<script LANGUAGE="JavaScript1.1"
SRC="http://oasn04.247realmedia.com/RealMedia/ads/adstream_jx.ads/XXXXX/XXXXX/XXXXX/XXXXX/300/1${CACHEBUSTER}@x90?${CLICK_URL}">
</script>
PointRoll:
<script type="text/javascript">
function pr_swfver(){
var osf,osfd,i,axo=1,v=0,nv=navigator;
if(nv.plugins&&nv.mimeTypes.length){osf=nv.plugins["Shockwave Flash"];if(osf&&osf.description){osfd=osf.description;v=parseInt(osfd.substring(osfd.indexOf(".")-2))}}
else{try{for(i=5;axo!=null;i++){axo=new ActiveXObject("ShockwaveFlash.ShockwaveFlash."+i);v=i}}catch(e){}}
return v;
}
var pr_d=new Date();pr_d=pr_d.getDay()+"|"+pr_d.getHours()+":"+pr_d.getMinutes()+"|"+-pr_d.getTimezoneOffset()/60;
var pr_postal="";
var pr_data="";var pr_ies="";

var pr_redir="${CLICK_URL}$CTURL$";

var pr_nua=navigator.userAgent.toLowerCase();
var prHost=(("https:"==document.location.protocol)?"https://":"http://");var pr_sec=((prHost=='https://')?'&secure=1':'');
var pr_pos="",pr_inif=(window!=top);
if(pr_inif){try{pr_pos=(typeof(parent.document)!="unknown")?(((typeof(inDapIF)!="undefined")&&(inDapIF))||(parent.document.domain==document.domain))?"&pos=s":"&pos=x":"&pos=x";}
catch(e){pr_pos="&pos=x";}if(pr_pos=="&pos=x"){var pr_u=new RegExp("[A-Za-z]+:[/][/][A-Za-z0-9.-]+");var pr_t=this.window.document.referrer;
var pr_m=pr_t.match(pr_u);if(pr_m!=null){pr_pos+="&dom="+pr_m[0];}}else{if(((typeof(inDapMgrIf)!="undefined")&&(inDapMgrIf))||((typeof(isAJAX)!="undefined")&&(isAJAX))){pr_pos+="&ajx=1"}}}
if(pr_postal!=""){var przipmatch=/^\d{5}$/;if(przipmatch.test(pr_postal)){pr_pos+="&postal="+pr_postal;}}
if((pr_data!="")&&(pr_data.indexOf("&")<0)){pr_pos+="&data="+pr_data;}
if((pr_ies!="")&&(pr_ies.indexOf("&")<0)){pr_pos+="&ies="+pr_ies;}
var pr_s="ads.pointroll.com/PortalServe/?pid=xxxx&flash="+pr_swfver()+"&time="+pr_d+"&redir="+pr_redir+pr_pos+pr_sec+"&r="+Math.random();
document.write("<scr"+"ipt type='text/javascript' src='"+prHost+pr_s+"'></scr"+"ipt>");
</script>
Project Sunblock:
When previewing Project Sunblock tags, please ensure you deselect Serve in iFrame as this will stop the tags previewing in our UI and you will be unable to test click-tracking.
<script type='text/javascript'>
    var _sblq = _sblq || [];
    (function() {
        var s = document.getElementsByTagName('script'), s0 = s[0], adElement = s[s.length-1];
        var sl = Math.random().toString(36).substring(2);
        _sblq.push([sl, 'setClickUrl', '${CLICK_URL}']);
        _sblq.push([sl, 'displayAd', adElement,300, 1234]);
        var sb = document.createElement('script'); sb.type = 'text/javascript'; sb.async = true; sb.defer = true;
        sb.src = ('http:'==document.location.protocol ? "http:" : "https:")+'//js.sblk.io/sb.js';
        s0.parentNode.insertBefore(sb, s0);
    })();
</script>
<noscript><img src='//api.sblk.io/request.gif?campaign_id=000&ad_id=0000' width='1' height='1'></noscript>
SmartAdServer:
<SCRIPT LANGUAGE="JavaScript1.1" SRC="http://ww856.smartadserver.com/call/adj/306890/2591652/CLIENT.campaign/600x300/${CACHEBUSTER}/no?${CLICK_URL}"></SCRIPT>

<NOSCRIPT><a href="${CLICK_URL}http://ww856.smartadserver.com/call/jumpi/306343/2591652/CLIENT.campaign/600x300/${CACHEBUSTER}/no?" target="_blank">
<img src="http://ww856.smartadserver.com/call/adi/306890/2591343/CLIENT.campaign/600x300/${CACHEBUSTER}/no?" border="0"></a></NOSCRIPT>
Trade Doubler:
<script type="text/javascript">
var uri = 'http://impde.tradedoubler.com/imp?type(iframe)g(18906306)a(1838453)preurl(${CLICK_URL})' + new String (Math.random()).substring (2, 11);
document.write('<iframe src="'+uri +'" width="160" height="600" frameborder="0" border="0" marginwidth="0" marginheight="0" scrolling="no"></iframe>');
</script>
Traffiq:
<iframe src="http://ads.traffiq.com/ad.imp?pid=1234&oid=5678&rand=${CACHEBUSTER}/?pclk=${CLICK_URL}" width="728" height="90"
frameborder="0" marginheight="0" marginwidth="0" scrolling="no" topmargin="0" leftmargin="0"> </iframe>
Weborama:
<a href="${CLICK_URL}http://gae.solution.weborama.fr/fcgi-bin/dispatch.fcgi?a.A=cl&a.si=54&a.te=56&a.ra=__RANDOM__&a.im=1&g.lu=" target="_blank">
<img src="http://gae.solution.weborama.fr/fcgi-bin/dispatch.fcgi?a.A=im&a.si=54&a.te=56&a.he=600&a.wi=160&a.ra=__RANDOM__&a.hr=R" width="160" height="600"></a>
Yield Manager:
<IFRAME FRAMEBORDER=0 MARGINWIDTH=0 MARGINHEIGHT=0 SCROLLING=NO WIDTH=300 HEIGHT=250 SRC="http://ad.yieldmanager.com/st?ad_type=iframe&ad_size=300x250§ion=XXXXXXX&pub_redirect_unencoded=1&pub_redirect=${CLICK_URL}"></IFRAME>
Zedo:
<script language="JavaScript" src="http://d7.zedo.com/jsc/d3/fl.js?n=809&c=1839/1740&s=704&d=14&w=728&h=90&l=${CLICK_URL}&z=${CACHEBUSTER}"></script> <noscript><a href="http://yads.zedo.com/ads2/r?n=809;c=1839/1740;s=704;x=3584;u=j;z=${CACHEBUSTER}" target="_blank"><img

 border="0" width="728" height="90" src="http://yads.zedo.com/ads2/x?n=809;c=1839/1740;s=704;x=3584;u=j;z=${CACHEBUSTER}" alt="Click here"></a> </noscript>
ViralGains Odyssey:
<iframe src = 'https://odc-wsb.viralgains.com?lineItemId=1234abcd&vendorId=1234abcd&creativeId=1234abcd&cachebuster=${VG_CACHEBUSTER}&clickURLEnc=${CLICK_URL_ENC}' width='xxx' height='yyy' frameborder='0' marginheight='0' marginwidth='0' target='_blank' scrolling='no'></iframe>
