Campaign Pixels
Pixels can be managed at the Campaign level when the same Pixel configuration should apply across all Lines within the Campaign.
When Manage Pixels is enabled in Campaign Setup, Pixels associated with the Campaign apply across its Lines.
Pixels must first be created under the Campaign’s Advertiser. Pixels cannot be created or edited directly from the Campaign.
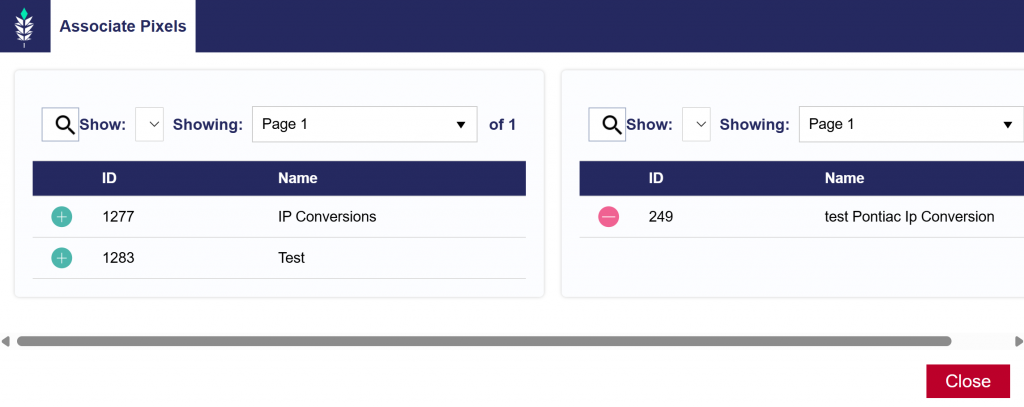
Associate Pixels to the Campaign
- Open the applicable Campaign and select Edit.
- Confirm Manage Pixels is enabled in Campaign Setup.
- Navigate to the Pixels section.
- Select Associate Pixel.
- Select the green plus sign (+) next to the applicable Pixel or Pixels.
- To remove an associated Pixel, use the red minus sign (−).
- Review the associated Pixels and close the Associate Pixel window.
- Select Submit to save the Campaign.
For information on creating, editing, and managing Pixels, see the Pixels documentation.