Display Setup
Display campaigns allow advertisers to serve Banner and HTML5 creatives across supported exchanges: Index Exchange, Microsoft, and Magnite (DV+). Follow the guides below to launch your display campaigns.
Index and Microsoft Display Campaign Setup Using Curate Deal Feature (recommended):
To run a Display Campaign on the Bidder, you can do so by automatically creating an Index Curated Deal, by enabling our Curated Deal (Beta) feature! This helps increase scale. First, start off by following these steps:
- Upload Creative:
- If you do not yet have an Advertiser created for this Campaign, first create the Advertiser. Then open the Advertiser and upload one or more of your Display Creatives.
- The Creative will need to pass the Creative Audit which may take up to 24 hours.
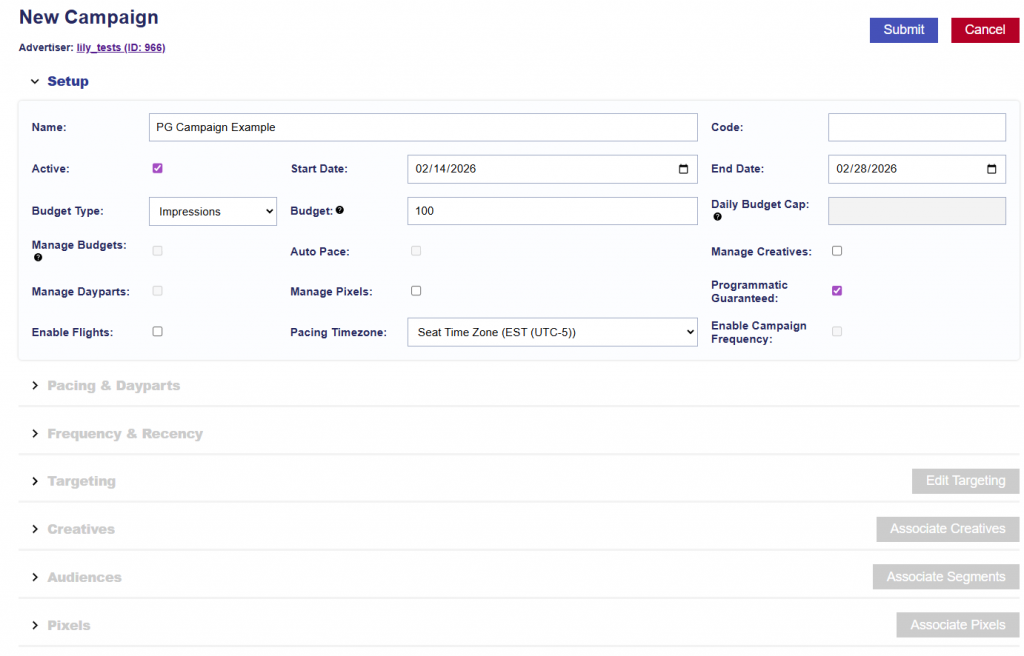
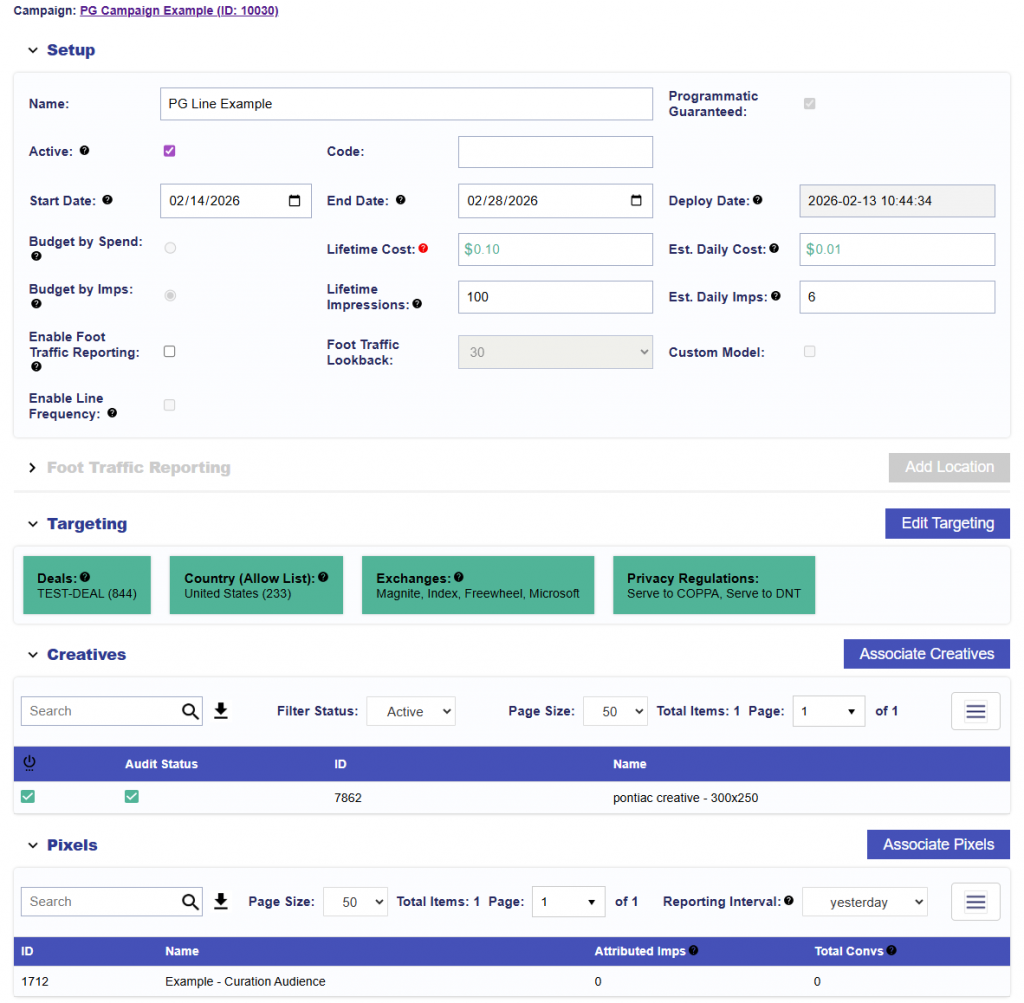
- Setup a Campaign and then your Line Item:
- Under the Advertiser, create a Campaign and then Line Item following these recommendations:
- Inventory Type: Web, Combined, or In App.
- It is highly recommended to select Web or Combined for the best scale. In App banner inventory can be extremely limited.
- Start Date
- End Date
- Budget Type: Select Spend or Impressions.
- Bid Type:
- Basic Bid: Enter the bid price. Default value is $5.11.
- Advanced Bid Control: Select Advanced Bid Controls and input a Default Bid Price and Max Bid for each Deal associated to the Campaign and Lines. Note that only the intersection of Campaign and Line Deals will be shown. Associate Deals the Campaign and Line in the Targeting section at each level or either (one or the other) to set a custom bid for each selected Deal. When new Deals are added to the Line and a custom bid is not set, the bid price will default to the value set in the Default Bid Price field on the Line.
- Bid at Floor: Bid at the deal’s floor automatically. This is very helpful when the bid floors are dynamic and change.
- Bid at Floor Plus: When the Bid at Floor is selected, next to the Max Bid Price (the bid price ceiling) there is an option to add an additional fixed CPM or % to the floor price. This enables you to bid at the floor price plus some extra, so you are not directly competing with those bidding at the floor.
- Bid Price: In general, we recommend using the price floors for guidance and adding an additional 40-50% to start the bidding. If you are not achieving the desired scale, continue to increase bids.
- Budget Multiplier: This feature allows the user to specify a multiplier on the daily budget. For example, a 1.1 multiplier will allow the Campaign to adjust the daily budget up to 110% of it’s typical daily budget. The calculation is Budget Multiplier * Daily Budget = New Daily Spend.
- Enable Foot Traffic Reporting: Optionally, enable Foot Traffic Reporting which allows you to enter specific commercial addresses and track whether users that were served your ads visited those locations. This is available for Banners at a $1.50 CPM, add this additional cost to your bid CPM.
- Budget Allocation Weight: If Manage Budgets is enabled on the Campaign level, establish the budget allocation weight for each Line that sits underneath the Campaign. If three lines have a weight of 1, the budget will be evenly distributed across all lines to be a 1/3 = 33.33% budget allocation per Line.
- Targeting and Audiences
- You must use the Curation tab to curate a display specific deal in order for the curation to work.
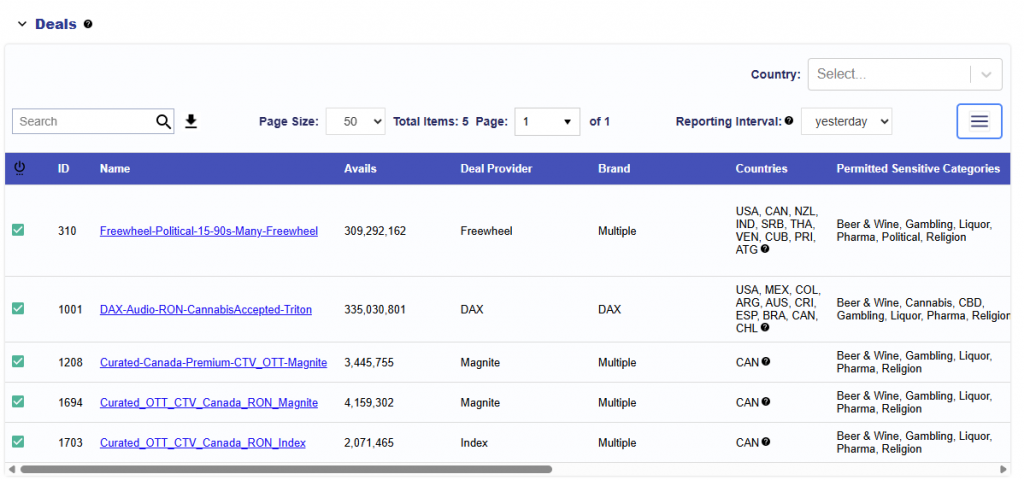
- Index and/or Microsoft must be targeted exchanges.
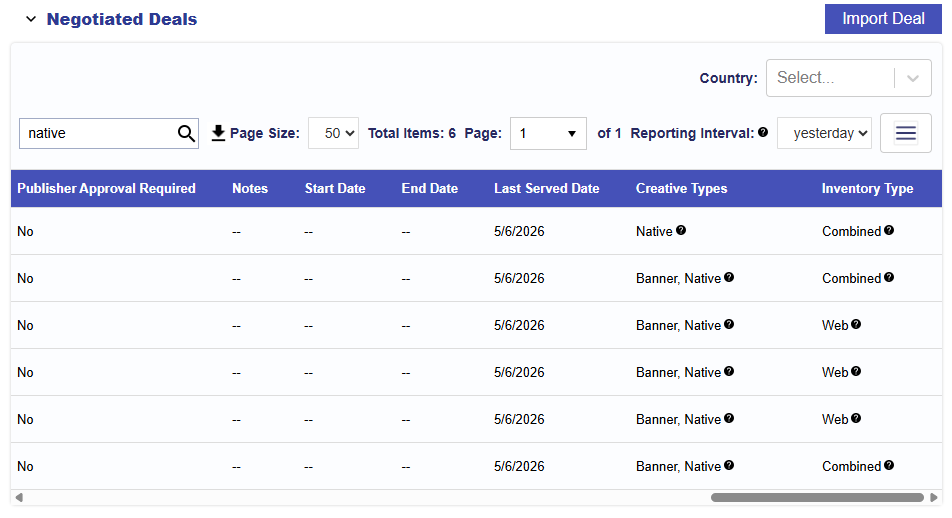
- See below for visual reference.
- Creatives
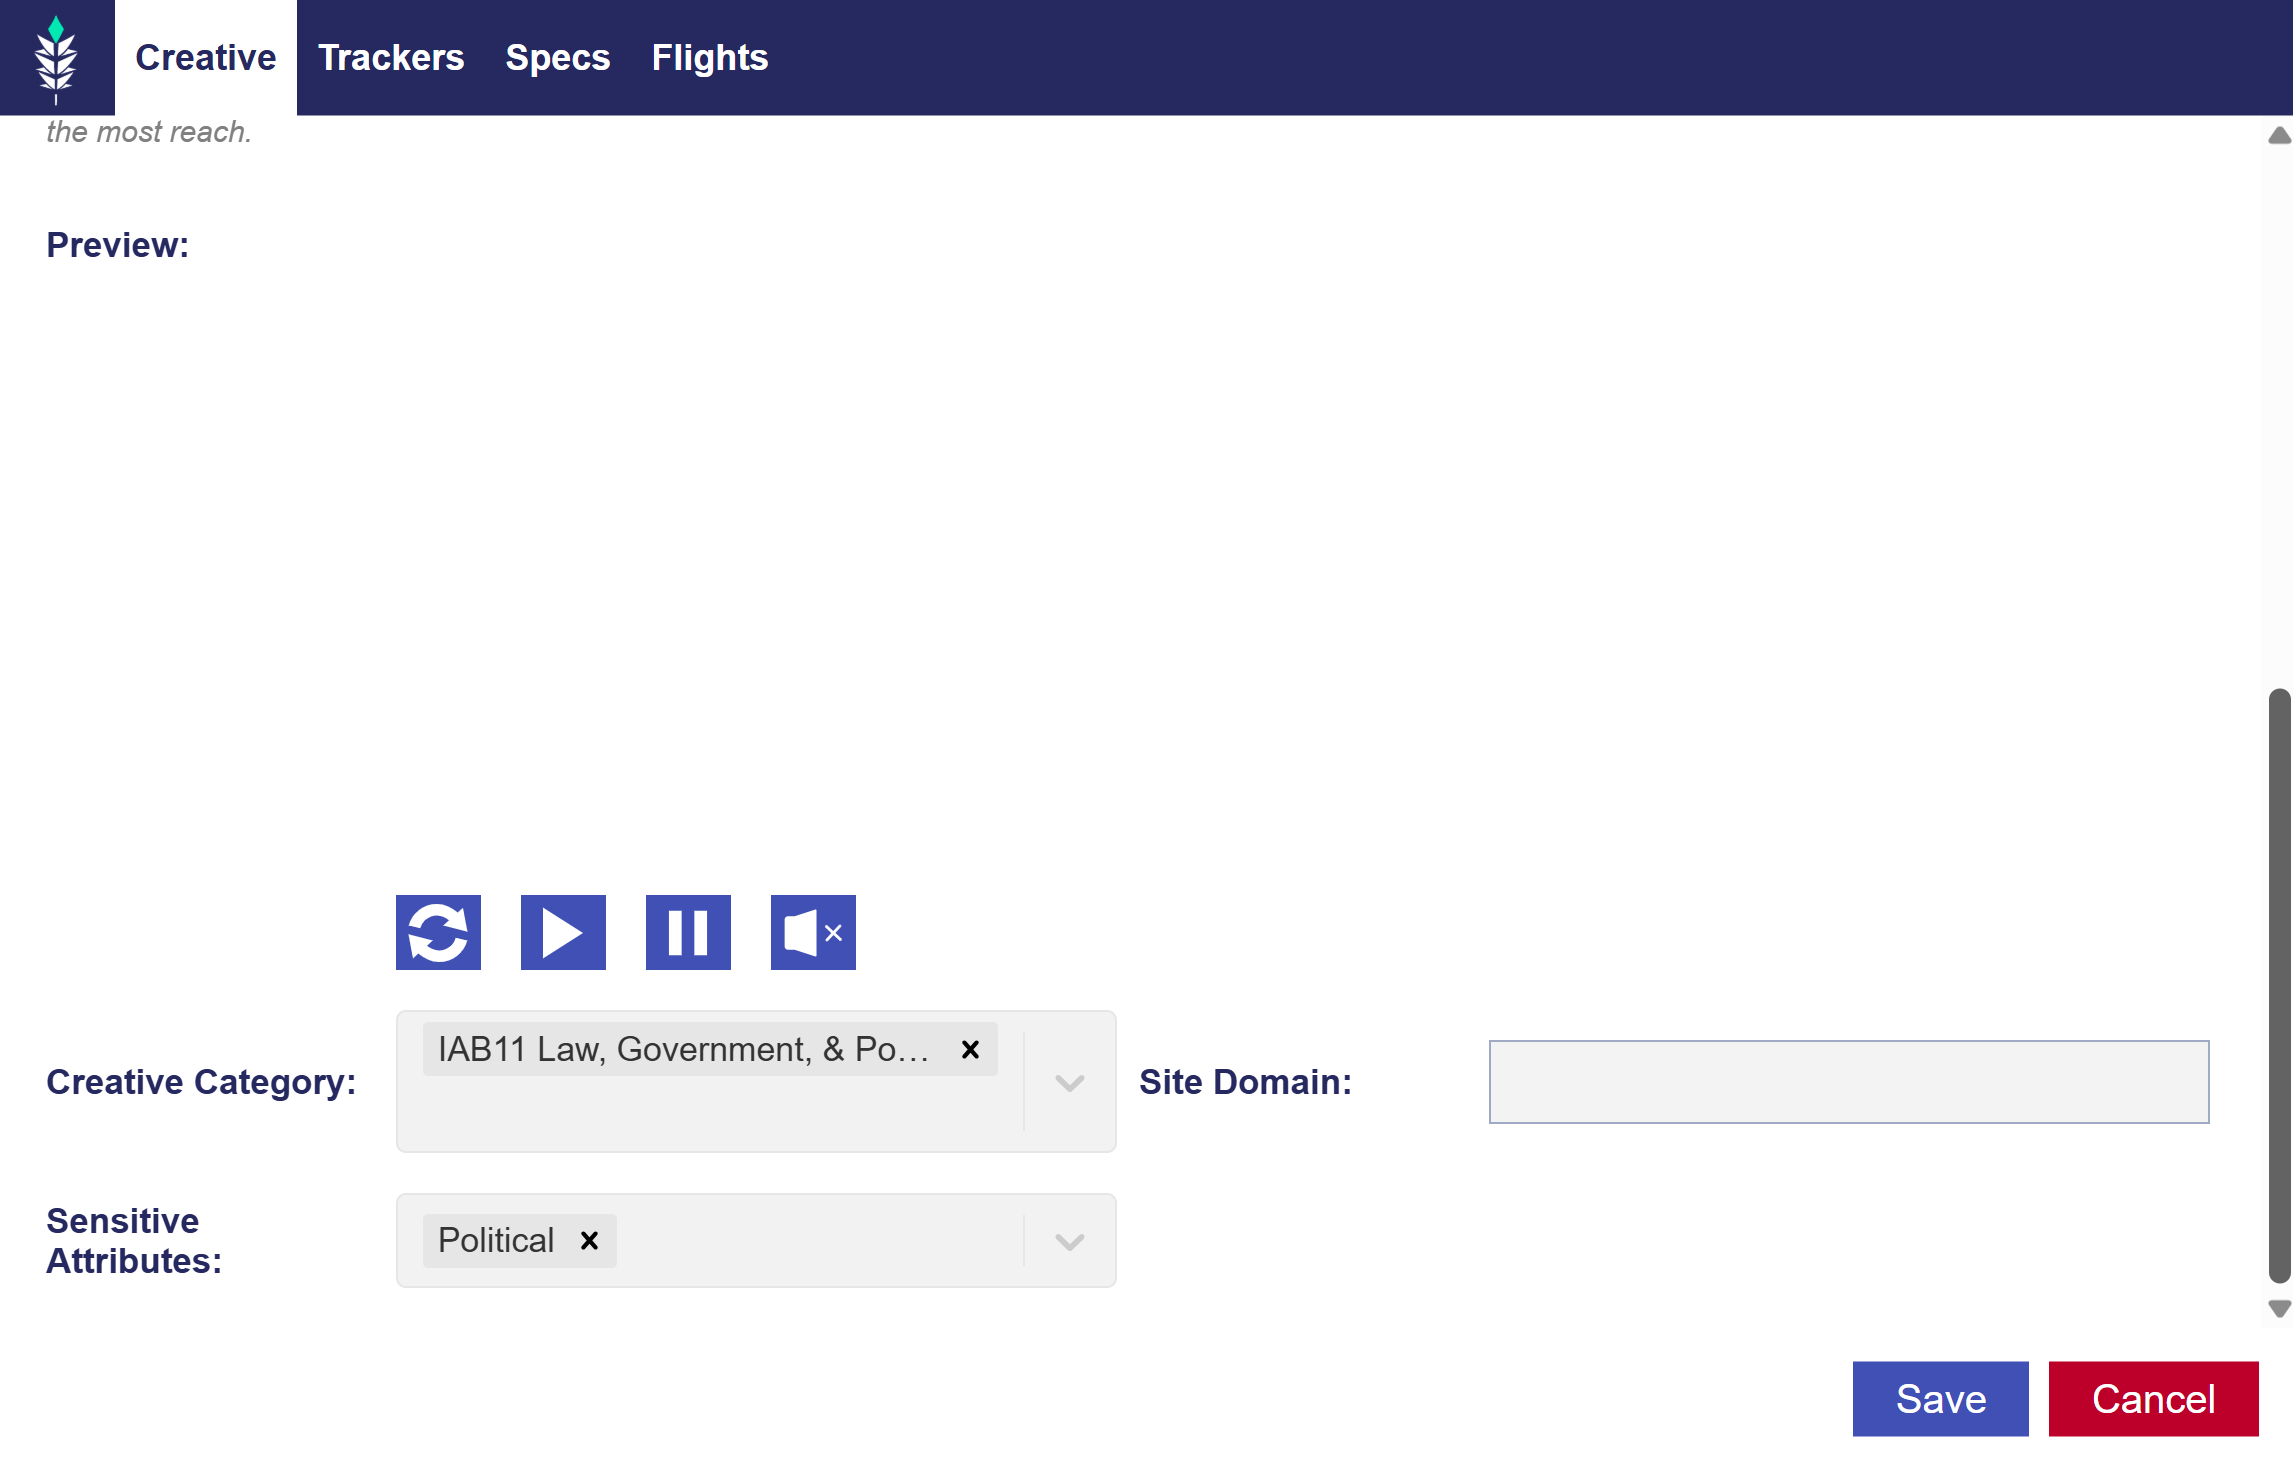
- Associate your Display/Banner Creatives. Note that Index and Microsoft must approve creatives in addition to Pontiac Bidder approval, which can take up to an additional 48 hours. Please reach out to the Ticketing Center to expedite the process for a specific Campaign if needed.
This feature enables automatic deal creation in Index and Microsoft Exchange based on a line’s targeting and can be used to run Display Campaigns only. When activated, Pontiac builds a curated marketplace deal in Index that mirrors the line’s targeting parameters and associates it directly with that line automatically.
How to Use the Curation feature:
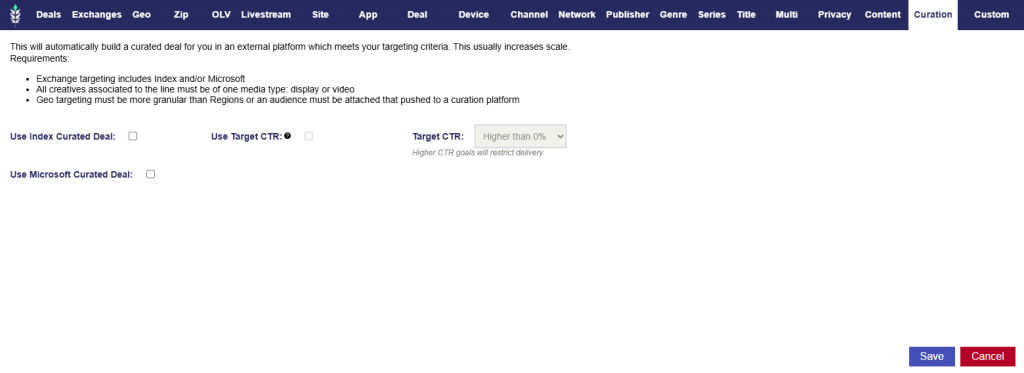
- In the Targeting dialog box of the Line, a new tab “Curation” is displayed on the left hand side of the window. Here, the section includes the following text and checkbox to enable the curation:
- This will automatically build a curated deal for you in an external platform which meets your targeting criteria. This usually increases scale.
- Requirements:
- Exchange targeting includes Index and/or Microsoft
- All creatives associated to the line must be of one media type: display or video
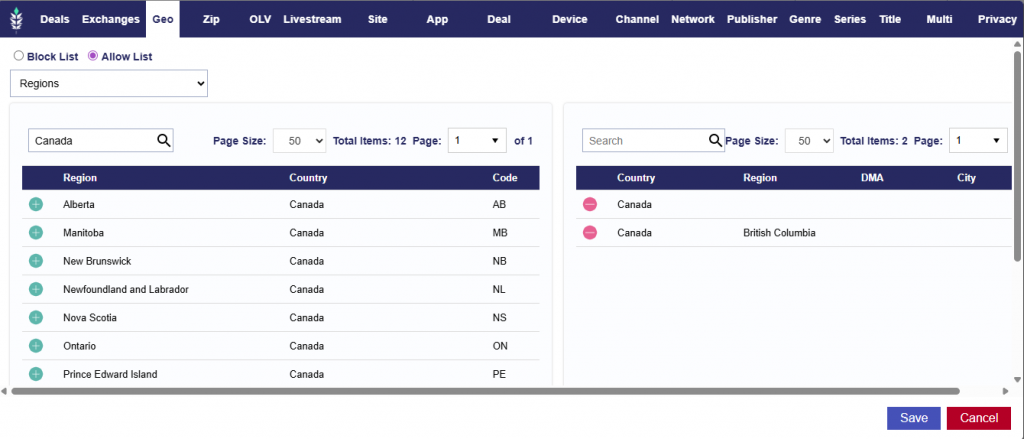
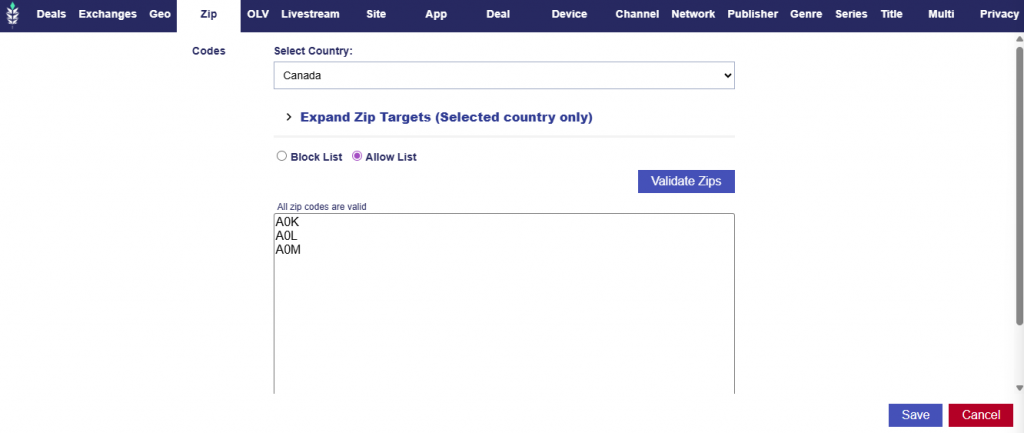
- Geo targeting must be more granular than Regions or an audience must be attached that pushed to a curation platform.
- Checkboxes:
- Use Index Curated Deal: This generates a curated deal through Index.
- Optional Feature: Use Target CTR
- When checked, this will attempt to filter inventory to a specific CTR goal and could limit delivery. This will not work with CTV or audio campaigns.
- Target CTR: Select from the following options:
- Higher than 0%
- .01% or Higher
- .02% or Higher
- .05% or Higher
- .075% or Higher
- .1% or Higher
- .15% or Higher
- .2% or Higher
- .5% or Higher
- 1% or Higher
- Note: Higher CTR goals will restrict delivery.
- Optional Feature: Use Target CTR
- Use Microsoft Curated Deal: This generates a curated deal through Microsoft.
- Use Index Curated Deal: This generates a curated deal through Index.
- Note that if validation criteria are not met, the line will fail to save and the user will be redirected back to the line setup page.
Index Display Campaign Setup for the Open Exchange:
To run a Display Campaign on Index, follow the same Display campaign instructions as above. Target Index as the exchange, but do not check the Curation feature. Note that Index must approve creatives in addition to Pontiac Bidder approval, which can take up to 48 hours. Reach out to the Help Center to expediate the approval process.
Microsoft Display Campaign Setup for the Open Exchange:
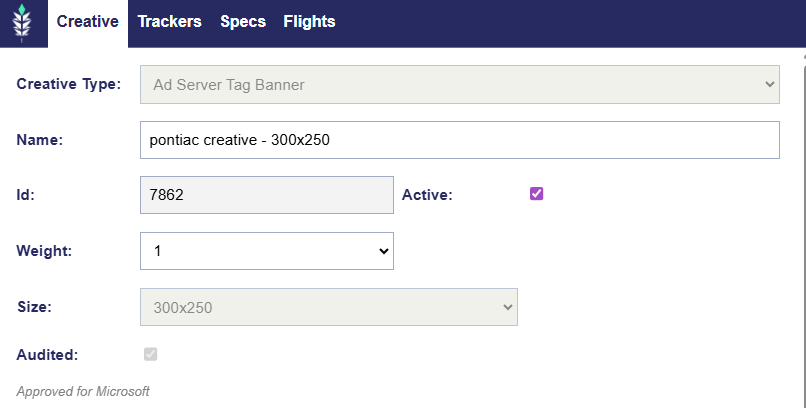
To run a Display Campaign on Microsoft Inventory, you can also do so by selecting Microsoft as the desired exchange. Display can be run on Microsoft open or through Microsoft curated deals. Reach out to your account manager or the help center for more information on how to push curated deals to Pontiac. Note that Microsoft must approve creatives in addition to Pontiac Bidder approval. To check if your creatives have been approved for Microsoft, click your creative name and under the audit checkbox, there will be text that indicates Microsoft approval.
Magnite (DV+) Display Campaign Setup for the Open Exchange:
To run a Display Campaign on Magnite (DV+), follow the same Display campaign instructions as above. Target Magnite (DV+) as the exchange but do not check the Curation feature. Note that Magnite (DV+) must approve creatives in addition to Pontiac Bidder approval, which can take up to 48 hours.