Custom Audiences
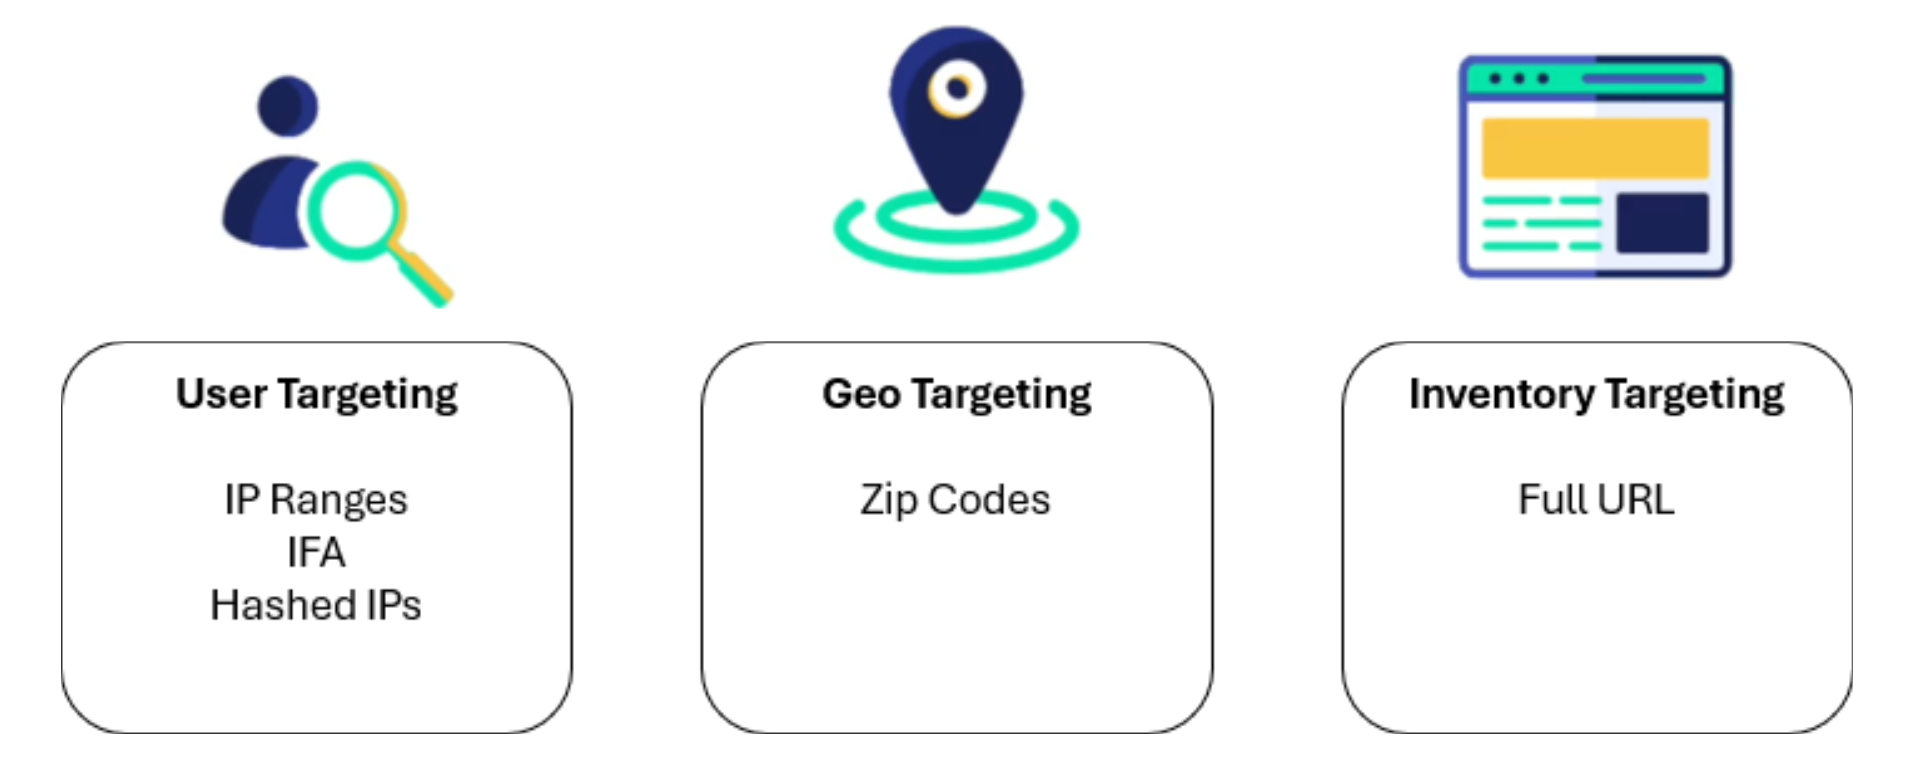
Custom Audiences are first-party audiences created or generated within Pontiac using data available to the Advertiser or Seat. They can be used to target users, devices, geographic areas, or specific web content.
Custom Audiences are managed under Bidder > Audiences > Custom and can be associated with eligible Campaigns or Lines for targeting or anti-targeting.
Custom Audiences include:
- IP Ranges
- Zips
- IFAs
- Hashed IPs
- Full URLs
- Lat Long Audiences
- Pixel IP Audiences
Custom Audiences expire 180 days after they are created unless otherwise noted. The expiration date is displayed in the Custom Audiences table. An expired Audience can be reactivated by opening the Audience, selecting Active, and clicking Save.
If an Audience appears in gray and cannot be associated, it may be expired or incompatible with the selected Creative or inventory type.
Create a Custom Audience
To create a new Custom Audience:
- Navigate to Audiences > Custom.
- Select New Custom Audience.
- Enter an Audience Name.
- Select the applicable Audience Type.
- Enter the Audience data using the required format for that Audience type.
- Select Save.
The following Custom Audience types can be created manually:
- IP Ranges
- Zips
- IFA
- Hashed IPs
- Full URLs
- Lat Long
Pixel IP Audiences are remarketing audiences automatically generated from qualifying Pontiac Pixel activity and displayed under Audiences > Custom. See the below section for all of the details.
Enter the Audience data according to the indicated format. These Audiences will automatically be available to associate to any Campaign. To learn how to associate Custom Audience Segments to a Campaign or Line, continue to the following documentation: Associate Segments
- IP Ranges
Use IP Ranges to target individual IP addresses or ranges of IP addresses.
- Line Format:
[IP]or[Start IP],[End IP] - Line Example:
63.148.81.24 - Range Example:
234.123.0.13,234.123.10.15
- Zips
Use Zip Audiences to target specific postal areas. A Zip Audience can contain up to 100,000 records.
Enter one Zip Code per line followed by the Country Code. If the Country Code is omitted, Pontiac defaults to the United States.
- Line Format:
[Zip Code],[Country Code] - Example:
03102,US
- IFA
Use IFA Audiences to target known device advertising identifiers. IFAs may be obtained from Pontiac reporting or log-level data from previous campaigns.
Enter one IFA per line.
- Line Format:
[Device IFA] - Example:
735612e1-d4b9-40ec-83da-9ea0d3c5ceb3
- Hashed IPs
Use Hashed IP Audiences to target Pontiac-hashed IPs obtained from Pontiac reporting, including:
- IP Path to Conversion reports
- Log Level reports
- IP Pixel Page Visits reports
Only IPs that were hashed by Pontiac can be used.
- Line Format:
[IP Hash] - Example:
225f334d5db5e4c824d49cd7b03fc73ae21d1c715573a7c1a86abb7a11a80364
- Full URLs
Use Full URL Audiences to target specific page URLs, such as individual articles or content pages. These Audiences can be used for eligible web or OLV inventory.
Enter one URL per line and do not include the URL scheme.
- Line Format:
[Full URL] - Example:
www.viki.com/videos/1153464v
- Lat Long
Use Lat Long Audiences to target geographic areas surrounding specific Latitude / Longitude coordinates.
A single radius is applied to every coordinate included in the Audience.
- Select Lat Long from the Type dropdown.
- Select the Radius (meters).
- Minimum: 150 meters
- Maximum: 1,000 meters
- Enter one Latitude / Longitude pair per line using:
[Latitude],[Longitude]
Example:
45.5189,-122.6772
45.4958,-122.8192
44.0533,-123.0897
If the radius is set to 500 meters, Pontiac applies that 500-meter radius to each coordinate included in the Audience.
Invalid or improperly formatted records must be corrected before the Audience can be saved.
Common use cases include:
- Retail locations
- Dealerships
- Event venues
- Campuses
- Points of interest
- Other known geographic coordinates
Lat Long targeting is useful when a Campaign requires more precise geographic targeting than broader ZIP, DMA, state, or regional targeting.
Viewing & Managing Custom Audiences
Navigate to Audiences > Custom to view and manage Custom Audiences available to the Seat.
The Custom Audiences table provides a summary of each audience and can be used to search, filter, review audience status, and open existing audiences for additional details or edits.
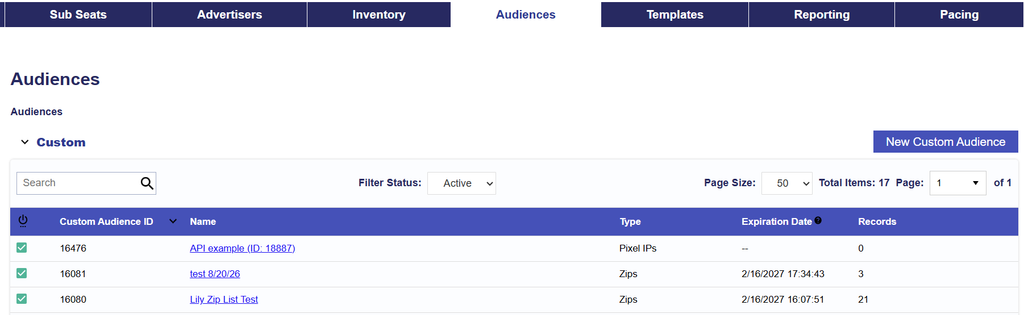
The following information is displayed for each Custom Audience:
- Status: Indicates whether the audience is currently Active or Inactive.
- Custom Audience ID: Pontiac’s unique identifier for the audience.
- Name: The name assigned to the audience. Select the audience name to open and review its configuration.
- Type: Identifies the type of audience data, such as Zips, Pixel IPs, or Lat Long.
- Expiration Date: Displays the date and time the audience is scheduled to expire, when applicable.
- Records: Displays the number of records currently included in the audience. The meaning of a record depends on the audience type. For example, a Lat Long audience with three coordinate rows will display 3 Records.
Use the table controls to:
- Use the Search field to locate a Custom Audience by name or other searchable table values.
- Use Filter Status to control which audiences are displayed, such as Active, Inactive, or All audiences.
- The Page Size control determines how many Custom Audiences are shown on each page. Use the page selector to move between pages when additional audiences are available.
Edit an Existing Custom Audience
To edit an existing Audience:
- Navigate to Audiences > Custom.
- Select the Audience Name.
- Update the Audience as needed.
- Select Save.
When editing:
- Type cannot be changed after the audience has been created.
- The audience can be set to Active or Inactive.
- Existing audience records can be updated, added, or removed as applicable for the audience type.
- The Records value will update to reflect the currently saved Audience data.
The Records value in the Custom Audiences table will update to reflect the current number of records saved in the audience.
Because Custom Audiences may already be associated with active Campaigns or Lines, review existing targeting before making significant changes.
Pixel IP / Remarketing Audiences
Pixel IP Audiences are remarketing audiences automatically generated from qualifying Pontiac Pixels and displayed under Audiences > Custom.
They can be built from different types of exposure:
- Website activity: Place a Pontiac Pixel on an Advertiser’s website, such as the homepage, product page, or checkout page, to build an Audience of qualifying visitors.
- Creative exposure: Add a Pontiac Pixel to a Creative as an impression tracker to build an Audience of users exposed to that Creative. These users can later be retargeted, including through a different media type as part of a cross-channel strategy.
Create a Pixel IP Audience
When creating or editing a Pontiac Pixel, the following Audience settings are available:
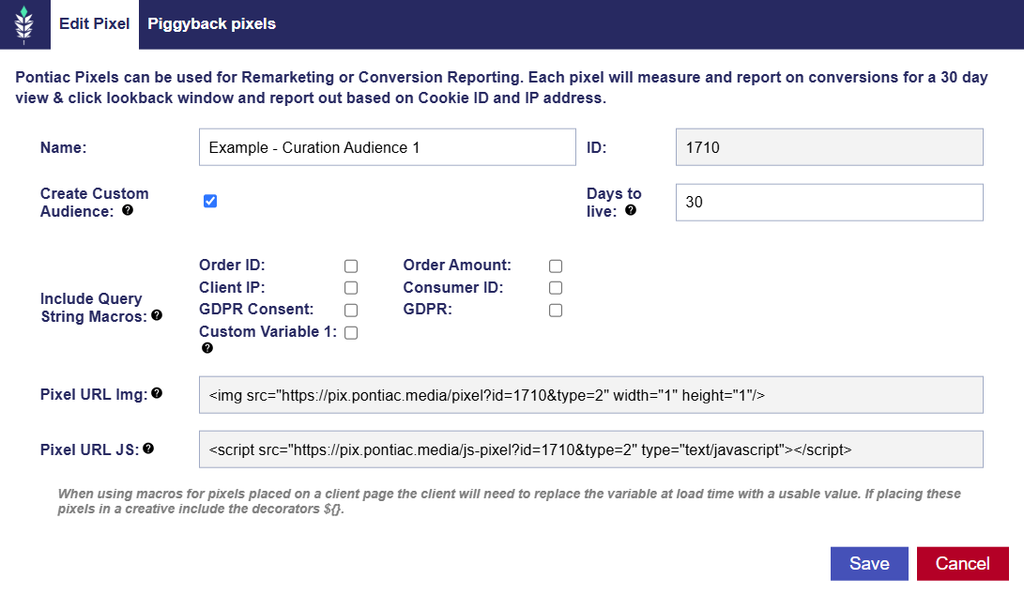
- Create Custom Audience: Creates a Pixel IP Audience from qualifying Pixel fires.
- Days to Live: Determines the number of days each record remains active in the Audience.
- The default value is 180 days. Common windows include 30, 60, or 90 days.
- Updating the Days to Live value applies only to future records added to the Audience.
- Pixel placement on a website or as a Creative Impression Tracker.
Once generated, the Audience automatically appears under Audiences > Custom using the associated Pixel name and ID. The Audience begins populating as qualifying Pixel activity is recorded.
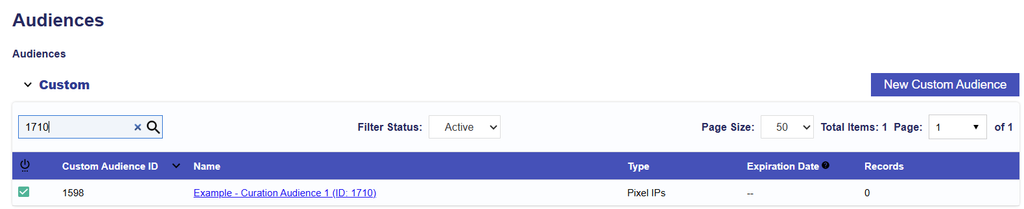
When viewing the Audience, the displayed IP list is limited to a sample of 30,000 records, while the Records field displays the total Audience record count.
Pixel Placement
The Pixel can be implemented in one of two ways:
- Website Remarketing: Place the Pixel on the desired page of the Advertiser’s website, such as:
- Homepage
- Product page
- Checkout page
- Thank you page
- Users who generate qualifying Pixel activity can be added to the resulting Pixel IP Audience.
- Creative Exposure Remarketing: Add the Pixel to a Creative as an Impression Tracker. To build an Audience based on Creative exposure:
- Navigate to the applicable Advertiser.
- Open the Pixel and copy the desired Pixel Image URL, for example, using Pixel ID 1720: https://pix.pontiac.media/pixel?id=1710&type=2
- Open the applicable Creative.
- Select the Trackers tab.
- Add the Pixel URL as an Impression Event Tracker.
- Save the Creative.
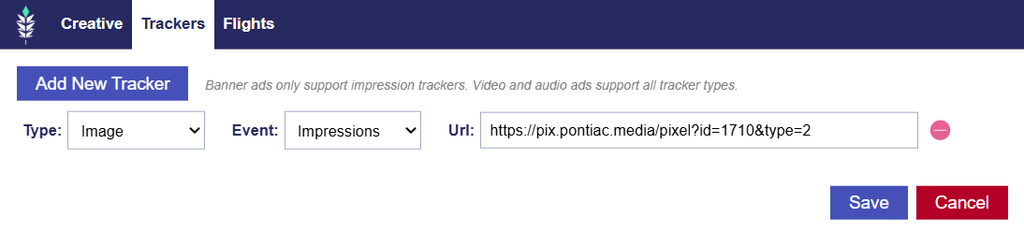
Once the Pixel begins firing through either method, the resulting Pixel IP Audience will populate under Audiences > Custom, and the Records count will begin increasing as qualifying activity is captured.
View and Manage a Pixel IP Audience
Pixel IP Audiences can be viewed under Audiences > Custom.
The Records field displays the total Audience record count.
When the Audience itself is opened, Pontiac displays a sample of up to 30,000 IP records rather than the complete Audience membership.
Audience membership is primarily managed through:
- Qualifying Pixel activity
- The Pixel’s configured Days to Live
- The Audience’s Active or Inactive status
Updating Days to Live affects only records added after the change.
Associate a Pixel IP Audience to a Campaign or Line
To use a Pixel IP Audience for targeting or anti-targeting:
- Navigate to the applicable Campaign or Line.
- Enter Edit mode.
- Open Audiences and select Associate Segments.
- Select Custom Audiences.
- Search for the Pixel IP Audience by Name or ID.
- Select Add New Group and add the Audience to the desired targeting group.
- Select the green plus (+) to target the Audience.
- Select the red minus (–) to anti-target the Audience.
- Configure any additional Audience or Boolean logic as needed.
- Close the dialog and select Save.
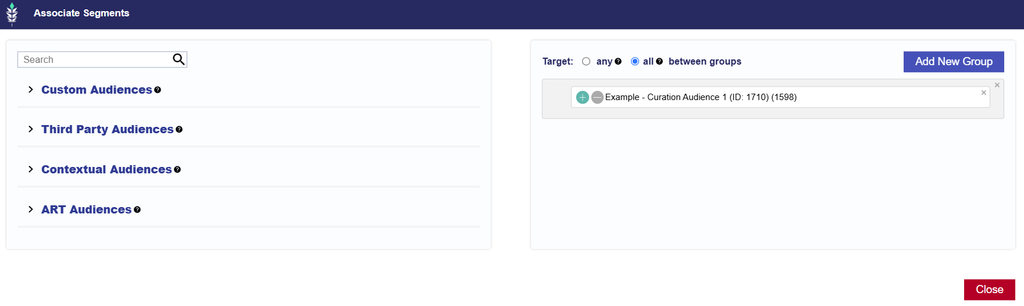
For more information on combining multiple Audiences or applying Campaign- and Line-level Audience logic, see Associate Segments and Boolean Logic.