Create an Advertiser
The Advertiser level in the Pontiac platform represents an individual brand, product or client. This Advertiser will house all of the Campaigns and Line Items for this brand or product and the associated Creatives, Pixels and Audiences.

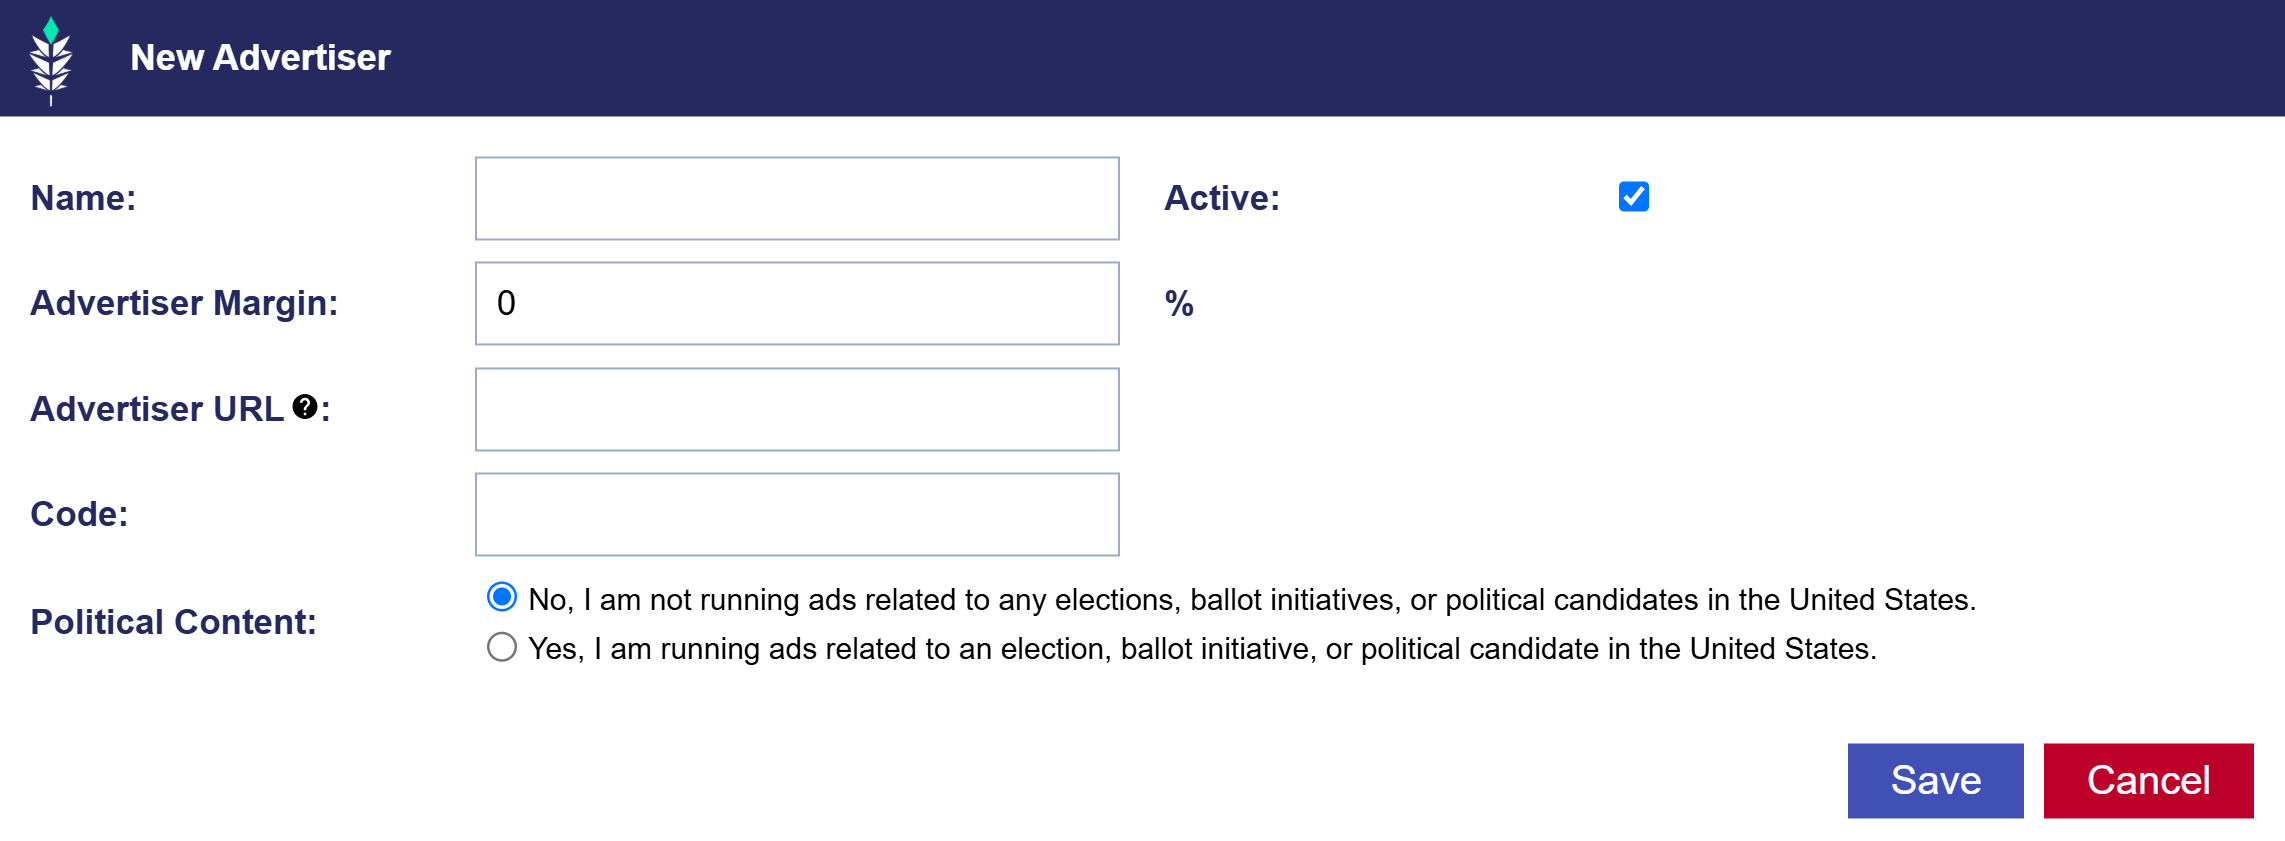
- Select ‘New Advertiser’.
- Name: Give the Advertiser a name.
- Active: The ‘Active’ box will be selected by default, setting the Advertiser as live. Unselect this box if you want to create the Advertiser with an Inactive status.
- Advertiser Margin: Enter the desired Advertiser Margin (or fee) percentage at the Advertiser level. This is typically a percentage of the total ad spend to cover costs and profit.
- Advertiser URL: Add the URL of the Advertiser’s website. The Google Privacy Sandbox will track visits to this URL if the pixel is implemented on the site.
- Code: This is optional and used for reporting purposes only.
- Political Content: Choose ‘No’ or ‘Yes’ depending on whether the Advertiser is running ads related to any elections, ballot initiatives, or political candidates in the United States.
Once you have created an Advertiser, you can click on it’s name to open the Advertiser menu. This is where you will be able to upload Creatives, create Pixels, and create Campaigns and Line Items.
See the following links to learn more about these topics: Creatives, Pixels, Campaigns, and Line Items.